Manage File Permissions in Plesk
File permissions define access to files and folders on a server or website. Plesk provides permissions functionality within the File Manager, allowing you to adjust permissions without using the command line.
File permissions control what users can and cannot do within your server or website. You can manage these permissions via command line and also within the File Manager in Plesk. This article will walk you through editing file permissions using the File Manager.
Tip
Learn more about the different permissions that can be granted in our article: File Permissions.
Plesk for Windows
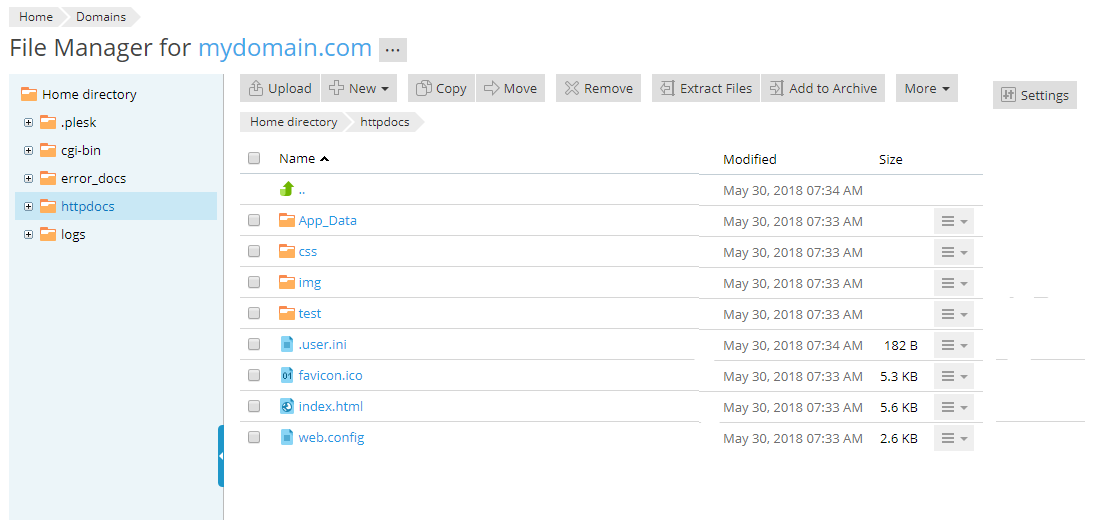
- To manage file permissions, navigate to the File Manager for the domain for which you want to adjust permissions (see Using the File Manager in Plesk).
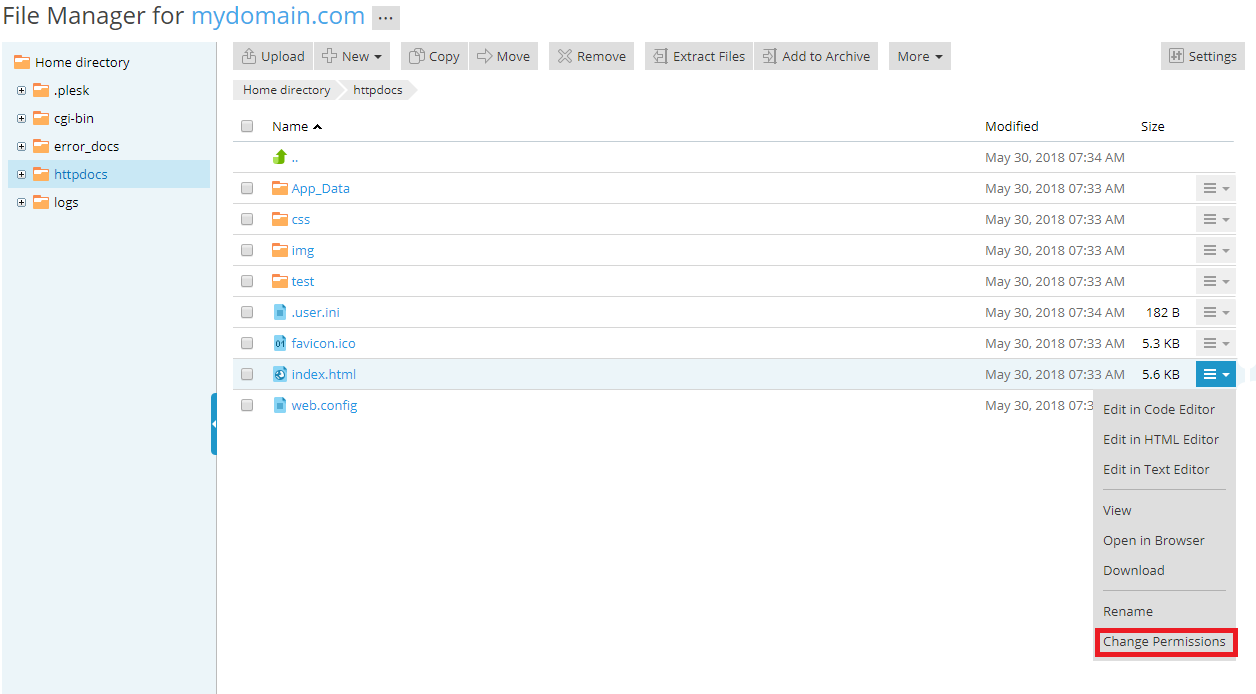
- To the right of the screen, there are drop-down menus for each file and directory. Click on the menu next to the file or directory that you want to modify and choose Change Permissions.
- Select the user group for whom you wish to modify permissions (typically the application pool group for website permissions) and select appropriate permissions.
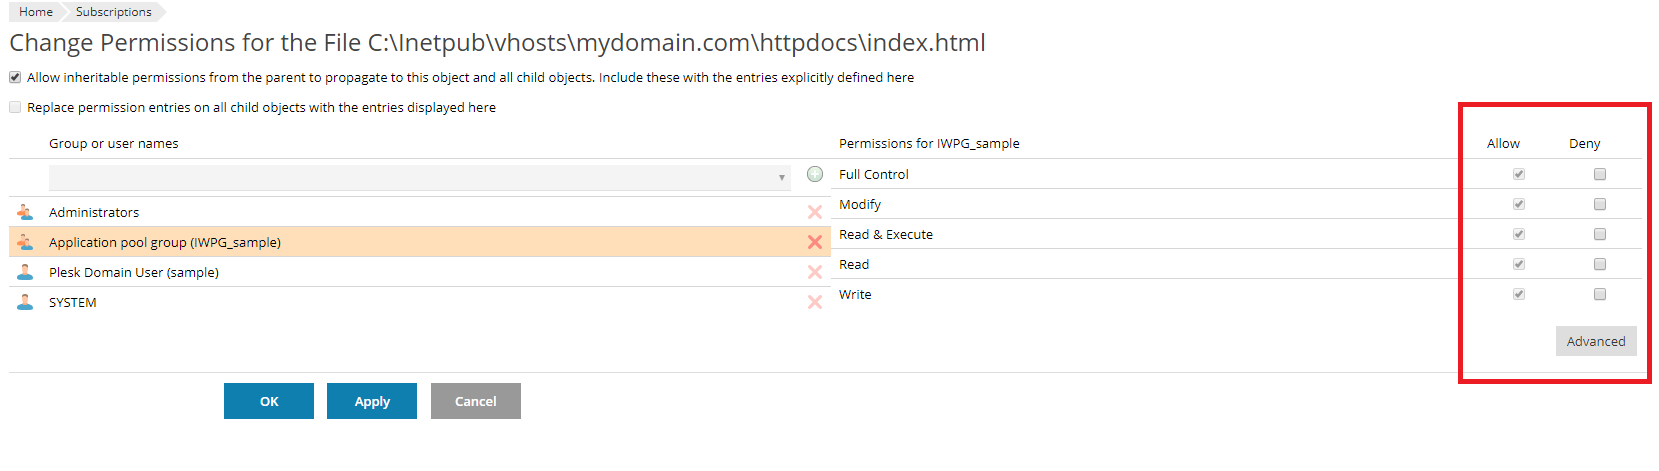
- Click OK. You will be taken back to main screen in the File Manager where you can continue working as needed.
Plesk for Linux
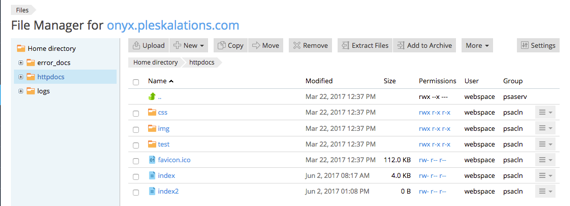
- To manage file permissions, navigate to the httpdocs directory in the File Manager.

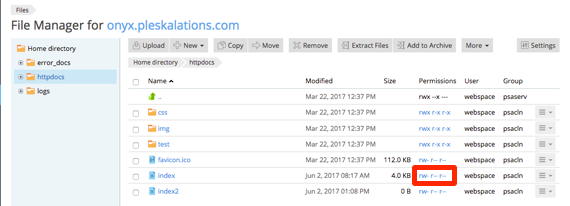
- In the list of files and directories, you will see a column called Permissions. In the line for the directory or file you want to edit, you will see a link that looks like: rwx r-x r-x. Click on this link.
- This will direct you to a page where you can edit the permissions, by clicking the box under Read (r), Write (w), and Execute/search (x). Make the changes you need and click Apply to apply the changes.

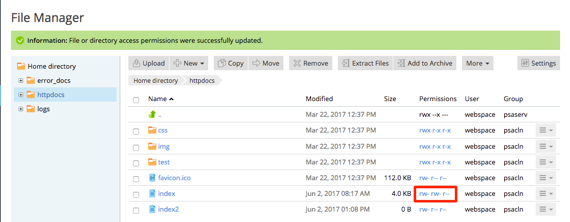
- Click Ok to be directed back to the File Manager home page.
- You will now see the changed permissions under the Permissions section of the row.