Managing DNS records in Plesk
This article outlines the process of managing DNS records within the Plesk control panel. It provides a step-by-step guide detailing how to access and modify existing DNS records for a specific domain. The instructions cover accessing the DNS settings, selecting a record to edit, making necessary changes, and publishing those changes to ensure they take effect.
Editing DNS records
2. Go to Domains > example.com > Hosting & DNS > DNS
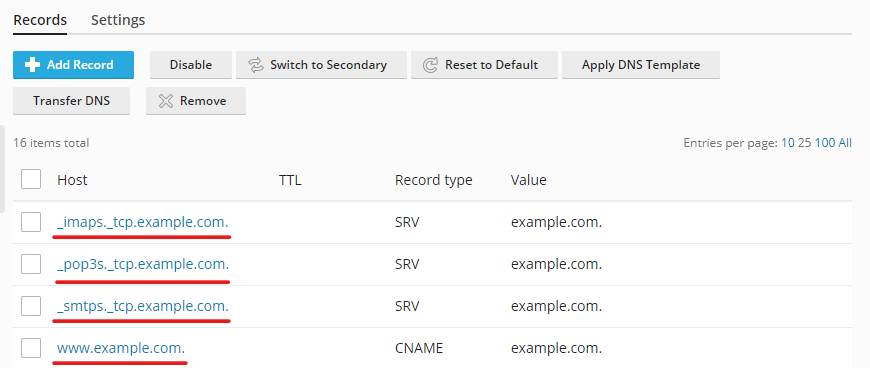
3. Click the name of the record in the Host column that you want to adjust.
4. Make the necessary changes to all of the available fields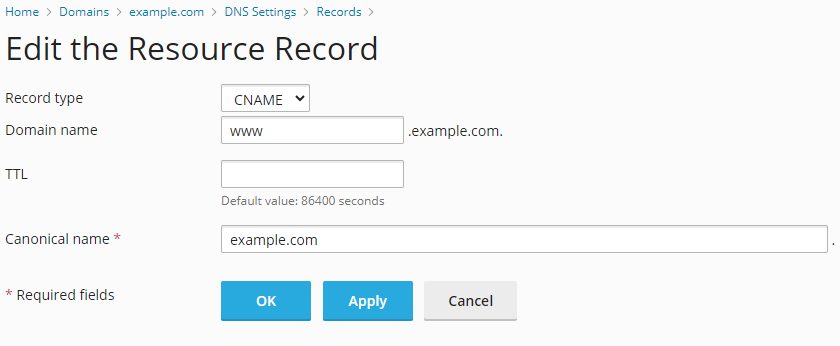
5. Press OK
6. Click the Update button in order to publish the changes that have been made to all DNS records for this domain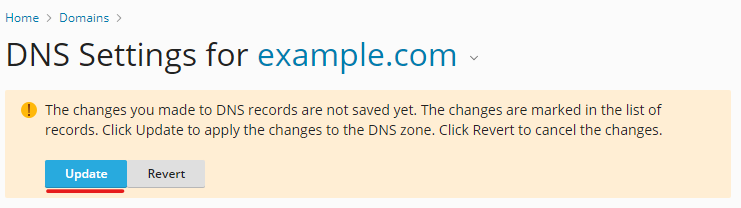
Adding new DNS records
Adding new DNS records in Plesk requires basically the same steps as editing records.
- Login to Plesk
- Go to Domains > example.com > Hosting and DNS > DNS
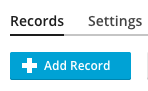
- Click Add Record.

- Enter all the required information (record type, domain name, TTL, and IP address).

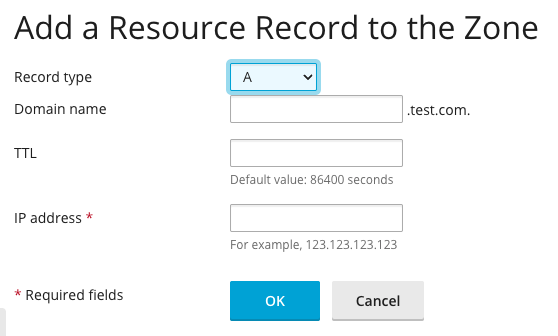
- Click OK to save the record.
- Click the Update button in order to publish the changes that have been made to all DNS records for this domain
Removing DNS records
Removing DNS records in Plesk is very simple.
- Login to Plesk
- Go to Domains > example.com > Hosting and DNS > DNS
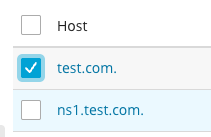
- Click the check box beside one or more records.
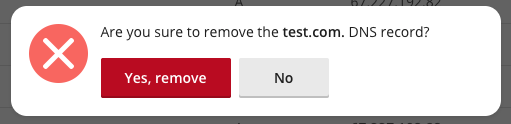
- Click Remove, then click Yes, remove on the confirmation pop-up.

- Click the Update button in order to publish the changes that have been made to all DNS records for this domain