Logging in to the VDC in VMware Multi-Tenant
Logging in to the Virtual Data Center (VDC) is the first step to utilizing the enhanced access options in VMware Multi-Tenant. Once logged in to the VDC, you’ll be able to create, resize, and delete VMs, as well as manage disks, networking, and firewall rules.
Logging in to the Virtual Data Center (VDC) is the first step to utilizing the enhanced access options in VMware Multi-Tenant. Once logged in to the VDC, you’ll be able to create, resize, and delete VMs, as well as manage disks, networking, and firewall rules.
- Open the URL provided by Liquid Web to go to your Virtual Data Center. Each URL is unique to each customer and will be similar to https://vcloud.liquidweb.services/tenant/somenumbersandletters
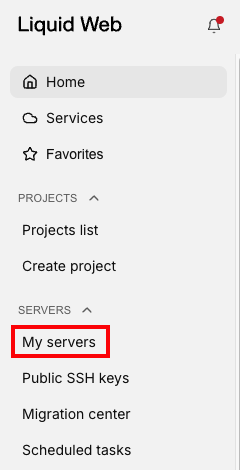
- If you need to find the URL, you can log in to your Liquid Web account. Then go to My Servers.

- Find your VDC in the server list (usually has vdc at the beginning of the server name).
- Click the 3 dots to the right of the VDC line. A Go To VMWare link will appear. Click the link to be taken to your VDC login page. (Note: you can also find this link on the server details page for the VDC).

- Enter your username and password provided by Liquid Web. You should have received these credentials in a Secure Note (for more information, see Using One-Time Secret for Password Protection).
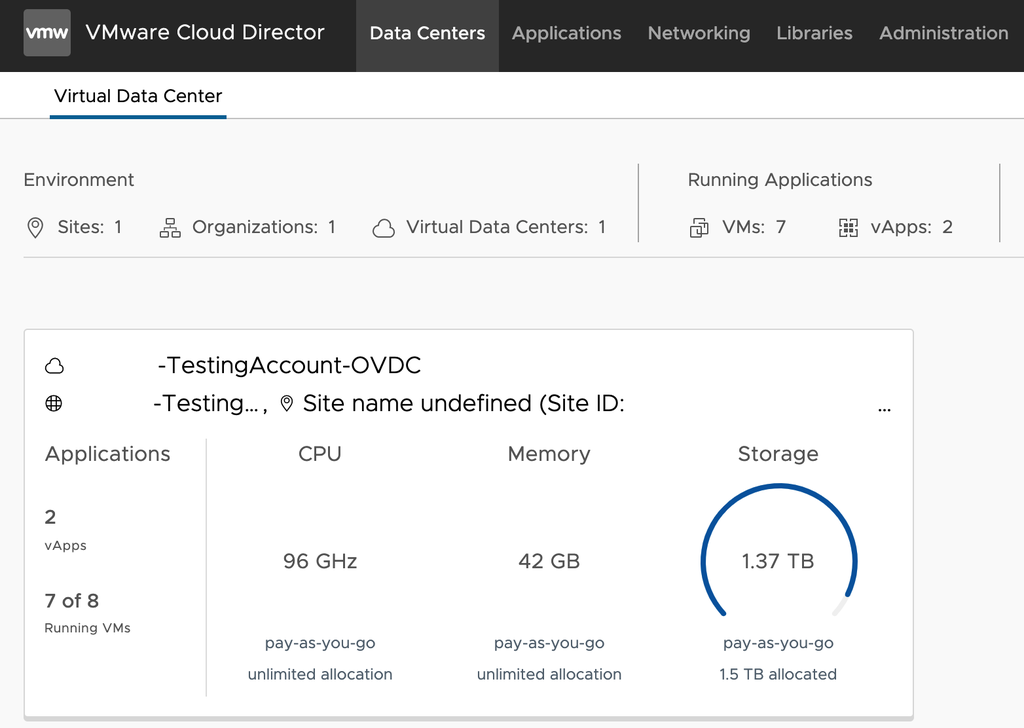
- Once logged in, you will be presented with an overview of your VDC and links to various functions. Click on the box with the name of your VDC to work with your VM environment.
You’re now logged in and ready to manage your VMs!