Generating an SSL Certificate Signing Request (CSR) in Plesk
Obtaining an SSL certificate requires a Certificate Signing Request (CSR). Let Plesk simplify the process by encoding the necessary information for you.
A certificate signing request (CSR) is information generated by your Plesk server that is necessary to apply for a SSL certificate (for more information about SSL’s, see What Is an SSL Certificate?). It contains information about your website, but it’s encoded. Instead of trying to learn the notation and encode a CSR yourself, Plesk can do all that for you. All you have to do is enter your information and Plesk will create the CSR for you.
- Log into Plesk.
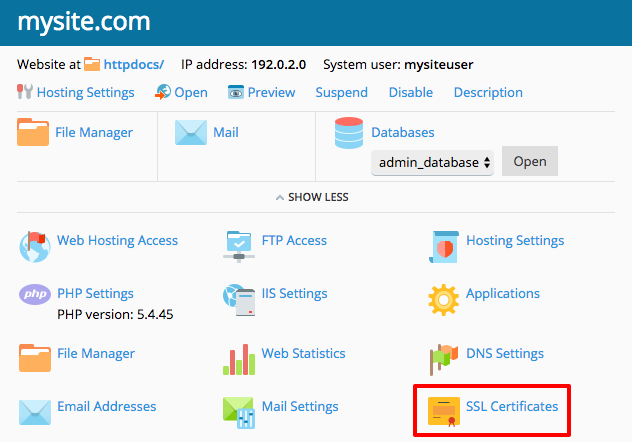
- In the left navigation menu, click Websites & Domains. (If you use Service Provider view, click on Domains and select the domain you need.)
- Click on SSL Certificates for the domain where you’ll be generating a CSR.

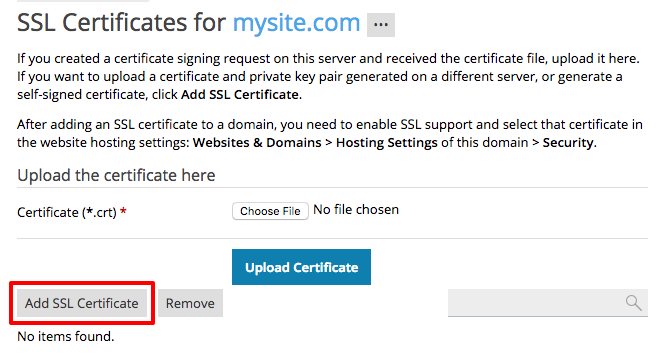
- Click Add SSL Certificate.

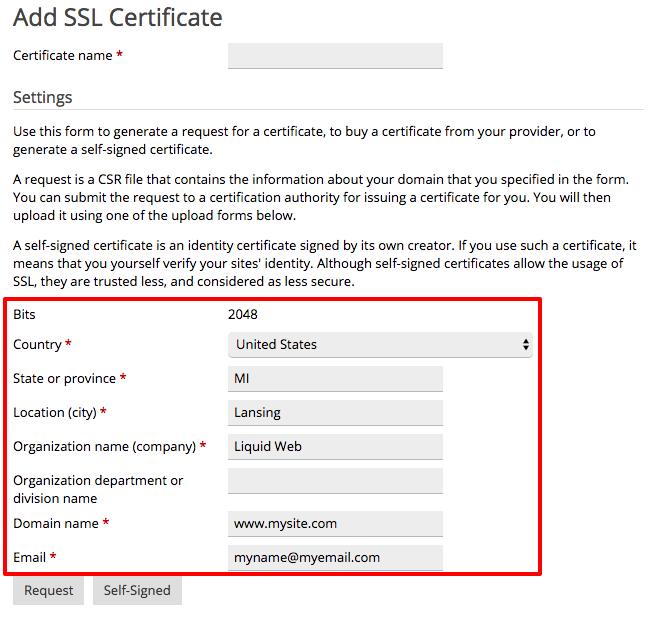
- Choose a name for your certificate. This name is for your reference: if you have multiple websites, you may end up with multiple uploaded certificates. Choosing a logical name, like your domain name, will make finding your certificates much easier.

- You’ll see a Settings section. Make sure your website’s information is correct. If you want your certificate to cover both “mysite.com” and “www.mysite.com,” make sure to type “www.mysite.com” in the Domain name field. Otherwise, only “mysite.com” will be covered.

Notice:
It is very important that this contact information is the same information associated with your domain name. If this information isn’t the same, the certificate authority could reject your request or require additional identity verification before issuing you an SSL certificate. If you’re not sure how you registered your domain name, you can look up the information using whois or an online whois checker. - Once you’ve confirmed all the website information is correct, click Request.
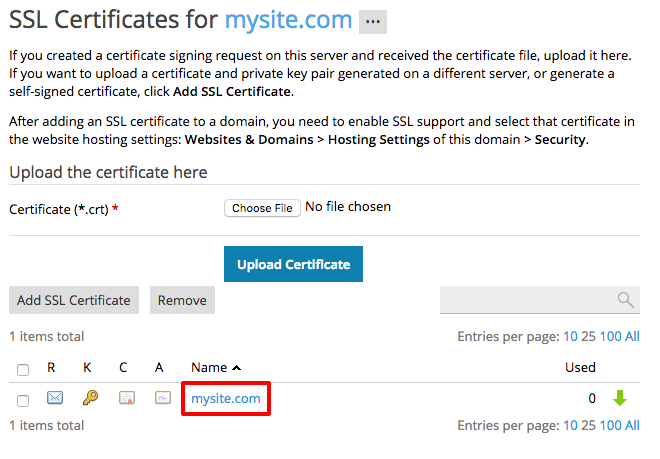
- After requesting your CSR, you’ll be taken back to the main certificate page. You should see a new certificate added to the list. Click on the certificate you just added.

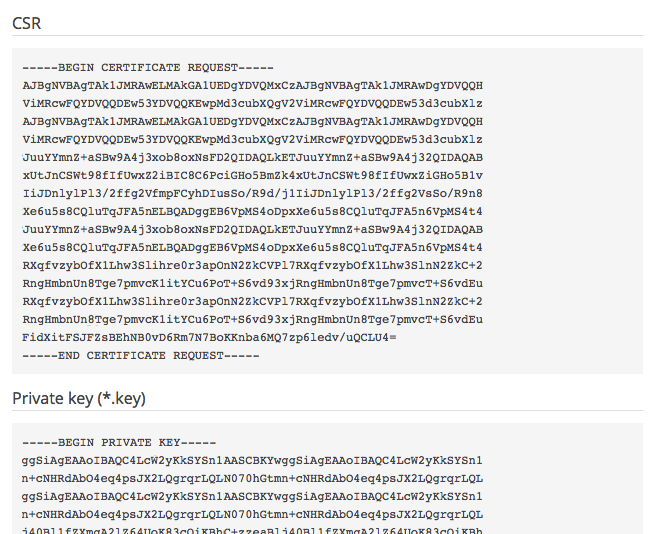
- You’ll see the CSR and Private key are now filled out. However, the two certificate fields are not filled out. But, the CSR and private key information will allow you to order your certificate. You can keep this page open while you order your certificate or copy and paste the CSR and private key into a text editor.


Now that you have your CSR, you can move on to the next step: Ordering an SSL Certificate.