Enable DKIM in Plesk
DomainKeys Identified Mail (DKIM) is a way to attach an encrypted digital signature to your email. Like adding an SPF record to your server, DKIM helps prevent email spoofing. Email spoofing is when spammers send email that looks like it’s coming from your email address. Outgoing DKIM works by generating an encrypted digital signature that is attached to email messages sent by your server. Follow the directions below for enabling and configuring DKIM in Plesk Onyx.
- Log into Plesk. If you need help logging in to Plesk, see Getting Started with Plesk.
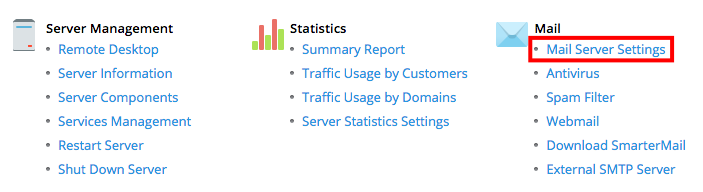
- In the left navigation menu, click on Tools & Settings.
- Under Mail, click on Mail Server Settings.

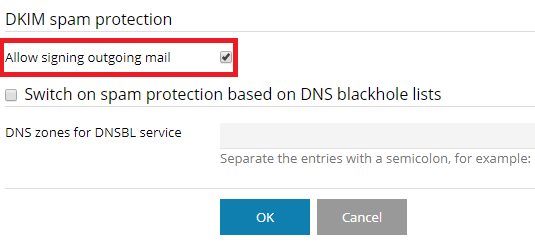
- Within the server-wide mail settings configuration, scroll down to DKIM spam protection. Then, select the check box next to Allow signing outgoing mail. This makes DKIM protection available for every domain on your server.

- Click OK to save your settings. Now you can enable DKIM on domains you’d like to protect.
Adding DKIM Protection to a Domain
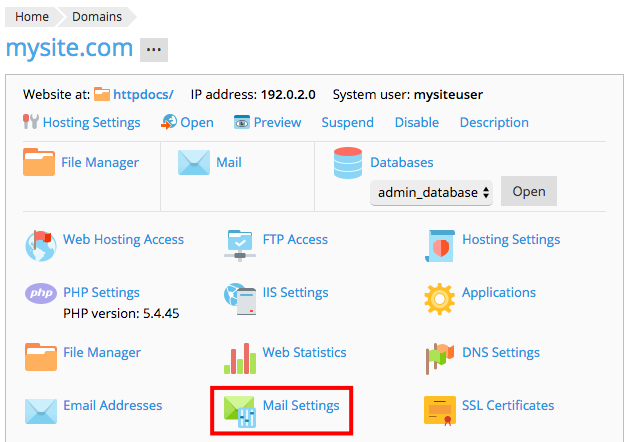
- In Power User view, click on Websites & Domains in the left navigation menu. Then, scroll down to the domain where you want to enable DKIM. In Service Provider view, click on Domains and select the domain you need.
- In the domain-specific menu, click on Mail Settings.

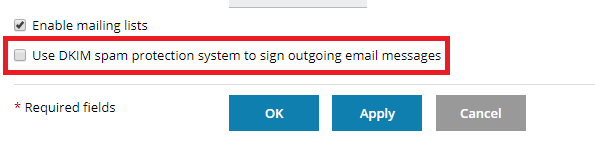
- Click the checkbox next to Use DKIM spam protection system to sign outgoing email messages.

- Click OK to save your settings. This will place a DNS record in Plesk and generate a digital signature for every email you send. If you use the same server for your DNS server, you are all done setting up DKIM. If you use Liquid Web nameservers or external nameservers, you will need to move the DNS record to the appropriate place.
Adding Your DKIM Records to DNS
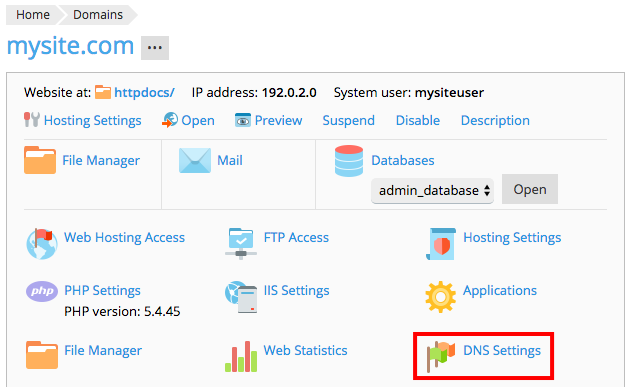
- In Power User View, click on Websites & Domains in the left navigation menu. Then, scroll down to the domain where you just enabled DKIM. In Service Provider view, click on Domains and select the domain you need.
- Click on DNS Settings.

- You will see two DNS records that look like this:
_domainkey.mysite.com.	TXT	o=-
default._domainkey.mysite.com.	TXT	p=MHwwDQYJKoZIhvcNAQEBBQADawAwaAJhAK4LeIDAQABlB6nId
l/DnWo7wFzNoawAwaAc/dX8r/FGmwIDAQABslrXRPY0cQhu1DrS
/v3bkawAwaAT63sBK6ghRWIIuAF0q7MZDawAwaAIzJKUeZeWMxI
DAQAB/xzpEwIDAQAB
Copy and paste these records from Plesk into a text editor. You’ll need to enter these records wherever your DNS is hosted.
Now that you’ve found your DKIM records, you need to add both to your DNS records. These directions are different depending on where your DNS is hosted:
If you don’t know where your DNS is hosted, read Where Is My DNS Hosted? first!
Your DNS Is Hosted at Liquid Web
If you are using Liquid Web’s nameservers, you can update your DNS records right in your Liquid Web account. Liquid Web’s nameservers are:
- ns.liquidweb.com
- ns1.liquidweb.com
- ns.sourcedns.com
- ns1.sourcedns.com
As long as your domain is using one of these nameservers, you’re good to go!
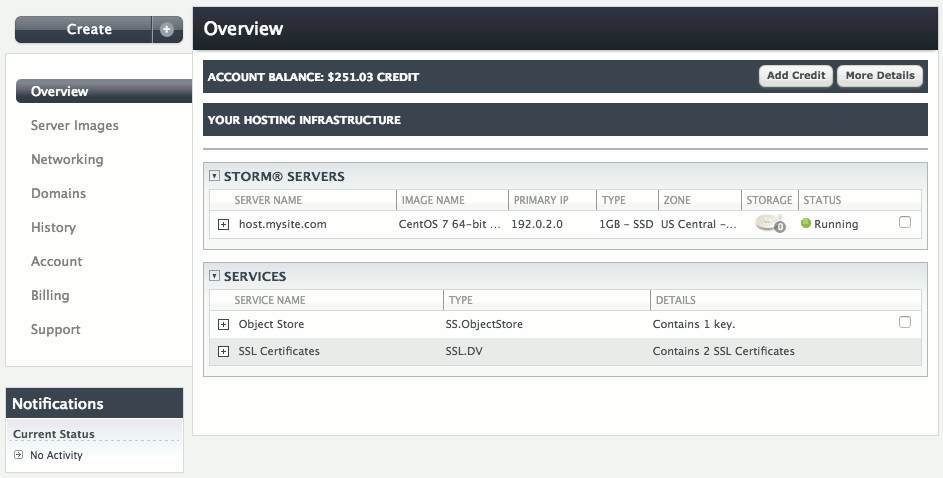
- Log into your Liquid Web account.
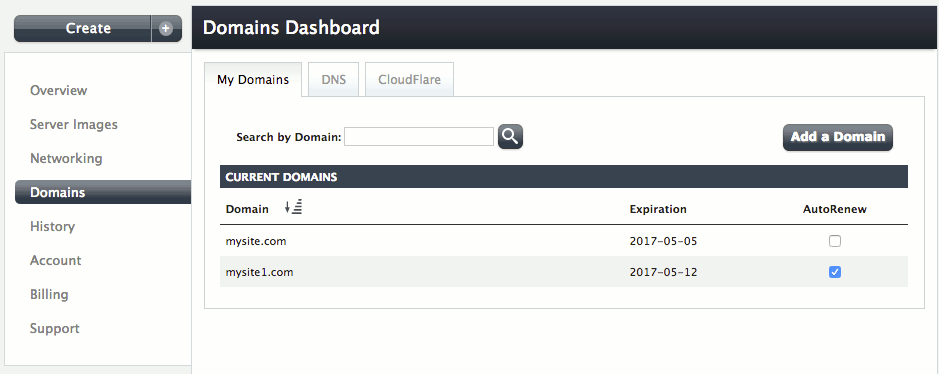
- In the left navigation menu, click on Domains.

- The Domains Dashboard has three tabs along the top. Click on DNS.

- Scroll down to Current DNS Zones and click the [+] next to the domain where you’re adding the DKIM record. You’ll see a list of your current DNS records. At the bottom of that list, click on Add a New Record. Now, you can follow the steps you’d normally use to add a DNS record.

- The first field in your new record is for the subdomain. In this field, enter the first part of your record:
_domainkey.mysite.com

- The second field is the time to live, or TTL. This is how quickly new changes will take effect. You can match this to your other DNS records.
- Now, choose TXT from the Type dropdown menu.
- The last field is the data field. Here you’ll copy and paste the rest of the record Plesk created for you.

- Click the green checkmark to save your DNS record.
- Repeat this process to add your second DKIM record!

Your DNS Is Hosted with Another Company
If you registered your domain at another company and host your DNS there, you log into your account with that company to manage your DNS. Find their DNS record editor and enter both DKIM records according to their specifications.