Enabling DKIM for Premium Business Email
DomainKeys Identified Mail (DKIM) is a way to attach an encrypted digital signature to your email. Like adding an SPF record to your server, DKIM helps prevent email spoofing. Email spoofing is when spammers send email that looks like it’s coming from your email address. Spammers spoof your address to make it more likely that recipients will open spam emails, less likely that messages will be marked as spam, and harder to find the true spam source. If your address is spoofed, your server could get flagged as a spam server and you can have trouble sending legitimate mail, even if you aren’t doing anything wrong. This is commonly known as having a bad mail reputation.
Outgoing DKIM works by generating an encrypted digital signature that is attached to email messages sent by your server. This signature is generated using a public key you save as a DNS record. Theoretically, only you have access to your DNS records, so mail signed using this key should be unmodified and verified as coming from your server.
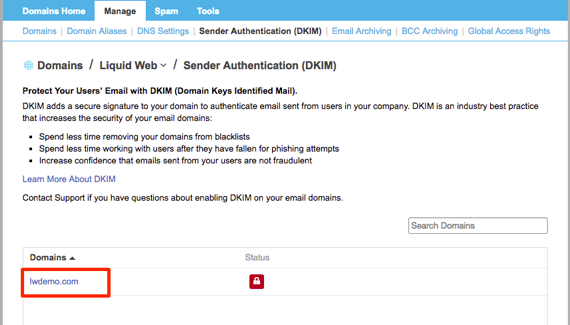
- Log into your Premium Business Email control panel.
- In the Domains section, click on Enable DKIM
 .
. - Click on the domain where you’re enabling DKIM.

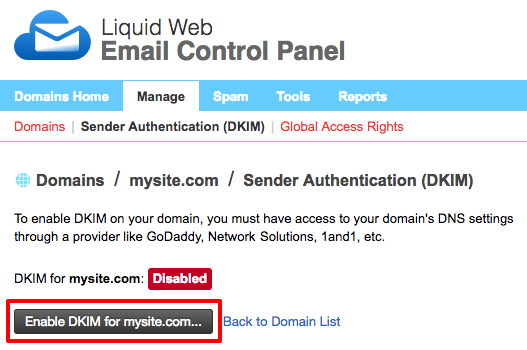
- Click Enable DKIM for mysite.com.

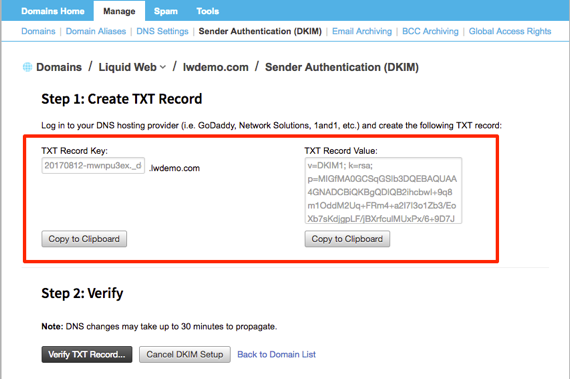
- Premium Business Email will generate the TXT record you need for DKIM. For DKIM to work, you must add this record to your DNS. If you aren’t sure where your DNS is hosted, check out Where Is My DNS Hosted? Then, follow the instructions in Adding and Editing DNS Records to add your TXT record.
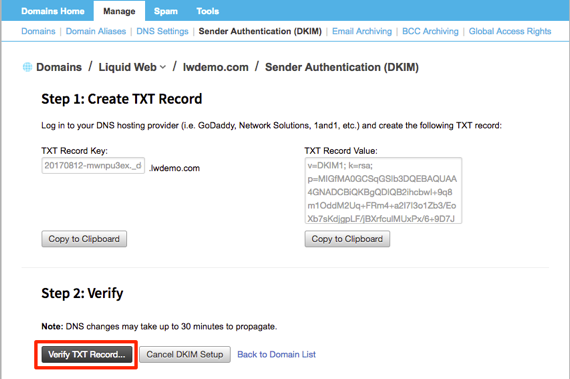
- After you’ve added your record, within the control panel, click Verify TXT Record… It takes a while for your DNS changes to reach the whole internet. We recommend waiting at least 30 minutes before attempting to verify your DKIM record.
- Once you see a success message for your DNS verification, your domain will automatically start using DKIM verification when it sends email!
 .
.