Blocking IP Addresses in WHM
At times, an IP address will need to be blocked directly to keep a malicious IP address from trying to gain access to your server. Most often, our Support team catches the issue, blocks the IP address and investigates the issue before it is even cause for concern to you or your users.
However, in certain instances, you may need to block an IP address yourself. This tutorial will take you through the steps to block an IP address using the ConfigServer Security & Firewall (CSF) plugin in WHM. CSF is automatically installed on your Cloud VPS and blocking an IP address takes just a few simple steps in WHM.
Here you will see how to:
Permanently Block an IP Address
- Log into WHM.
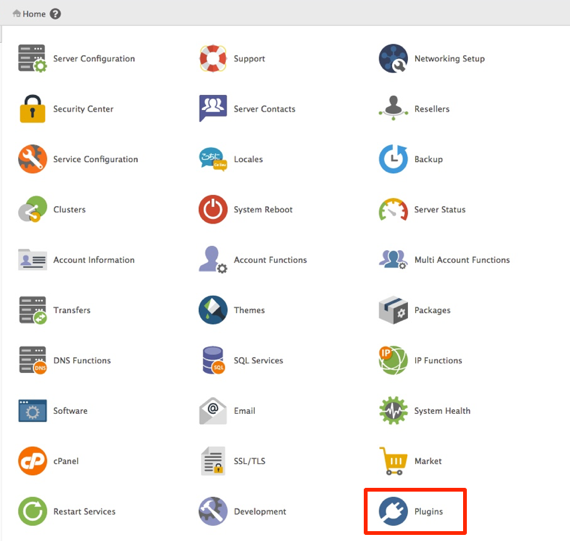
- ConfigServer Security & Firewall is found under Plugins. Scroll to the bottom of the page and click the Plugin link on the home screen.

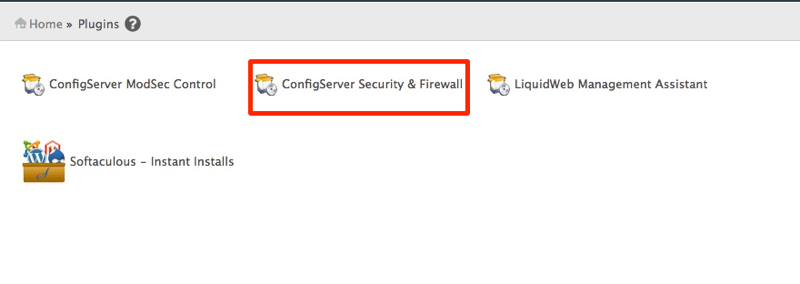
- From the Plugin page, click on ConfigServer Security & Firewall to open the plugin controls.

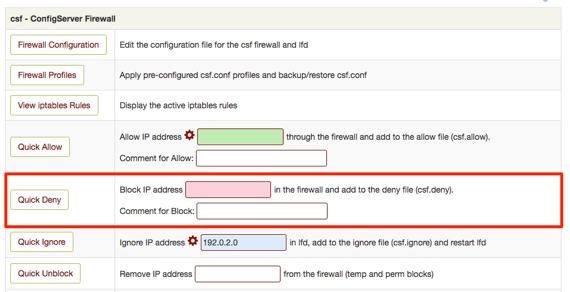
- Once CSF opens, navigate to Quick Deny.

- Type in the IP address you want to block and click Quick Deny. You can also add comments for the block if you are blocking multiple IP addresses and need to keep track of the reasoning for the block.
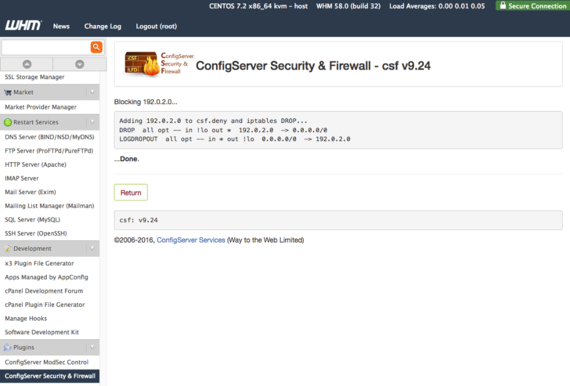
- A page will open confirming that the IP address has been blocked.

Temporarily Block IP Address
You can temporarily block an IP address for testing and development purposes. With this function, you can choose the IP address, port to block it from and the length of time to block the IP for.
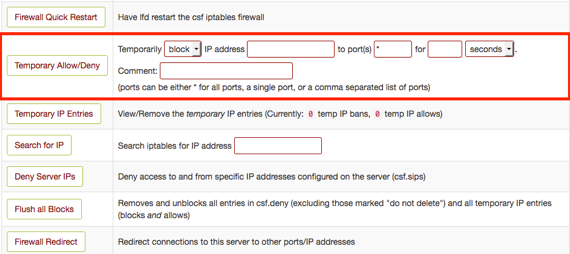
- Scroll down to Temporary Allow/Deny in the CSF plugin.

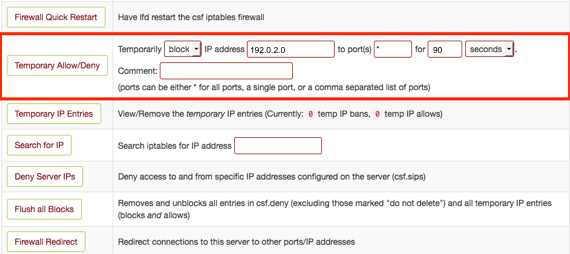
- Enter the IP address, port, if needed, and the length of time you want the IP address to be denied for. To block the IP from all ports leave the asterisk (*) in the port section. Choose seconds, minutes, hours, and days for the amount of time the IP address will be blocked for.
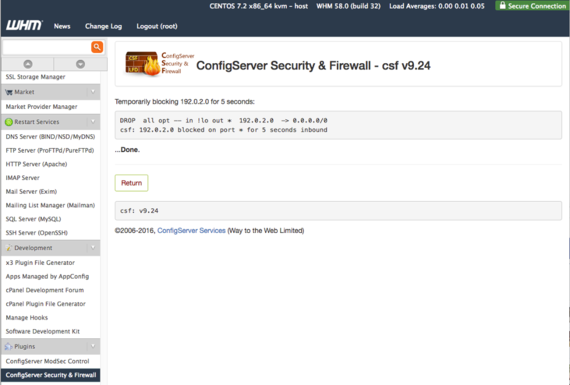
- Click on Temporary Allow/Deny and a confirmation of the IP address, port and time will show on the page.

View Blocked IP Addresses
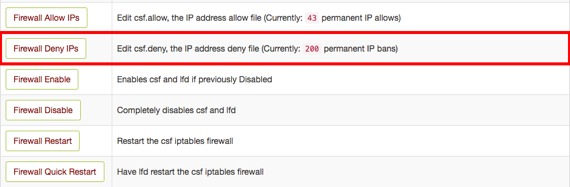
- To view all blocked IP addresses, navigate to the Firewall Deny IPs section of CSF, and click on the button and you will be directed to the csf.deny file.

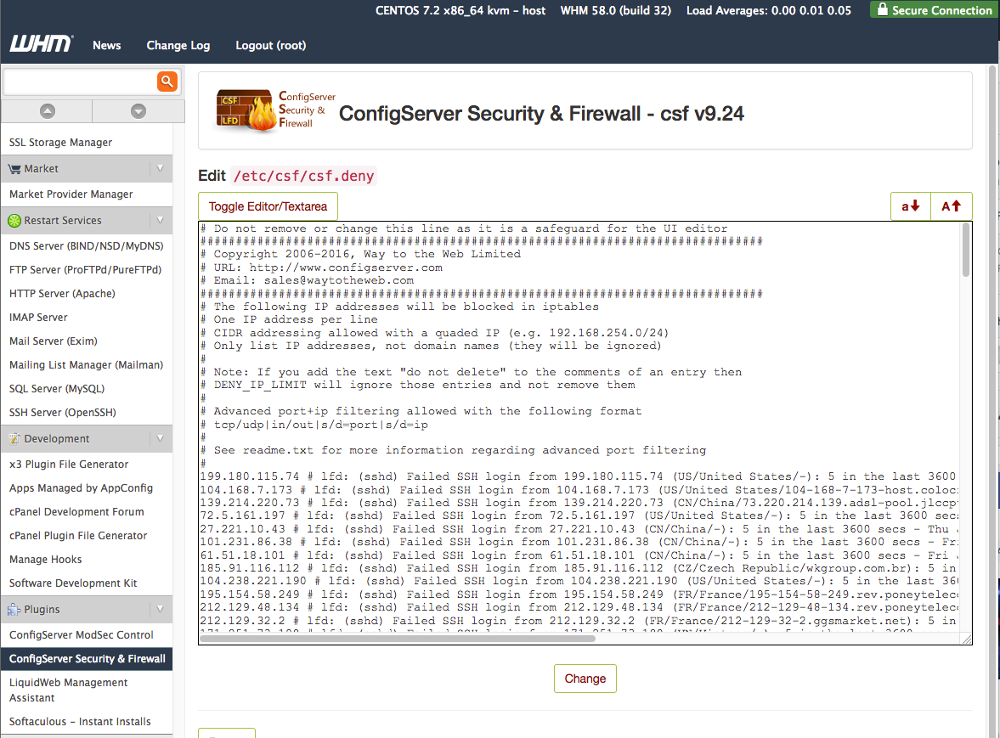
- This file can be edited by clicking Toggle Editor/Text area. When you click the link, the text color will change, you can then scroll down to the bottom and enter the IP address you wish to block.
Note:
Edits in the csf.deny file will not affect temporary IP address blocks and will require a restart of the firewall to take effect. 
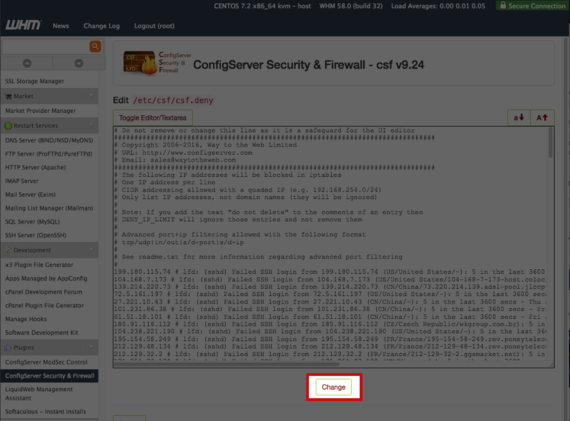
- Click Change to save your changes.
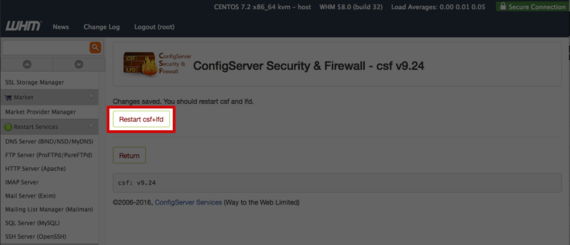
- CSF will confirm that your changes were made and request that you restart CSF. Click the Restart csf+lfd button to start the process.

- Once the restart process is complete, click Return to go back to the main CSF control page.