Installing Drupal with cPanel
Installing Drupal on your domain is a breeze with Liquid Web. Use the Softaculous Apps Installer in cPanel for easy, automated installation and configuration, including your first administrator account setup.
Drupal is a content management system (CMS) that manages your website’s look and content. If you aren’t familiar with CMSes, check out What Is a Content Management System (CMS)? before installing Drupal to make sure it’s the right CMS for you.
Installing Drupal on your domain is simple at Liquid Web. The Softaculous Apps Installer in cPanel installs packages so you don’t have to download and install them manually. Softaculous walks you through installing Drupal, choosing some basic settings, and setting up your first administrator account.
- Log into your domain’s cPanel account. If you haven’t created an account yet, read Creating a cPanel User Account first.
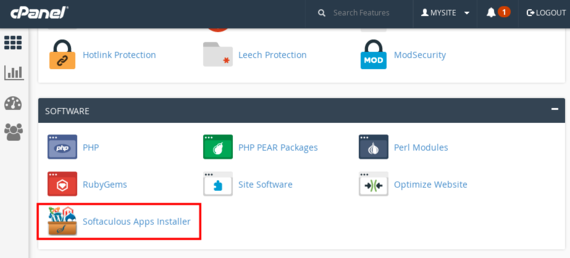
- On the home page of cPanel, scroll down to Software and click on Softaculous Apps Installer.

- Use the search bar to search for “Drupal” or click on Portals/CMS in the left navigation.
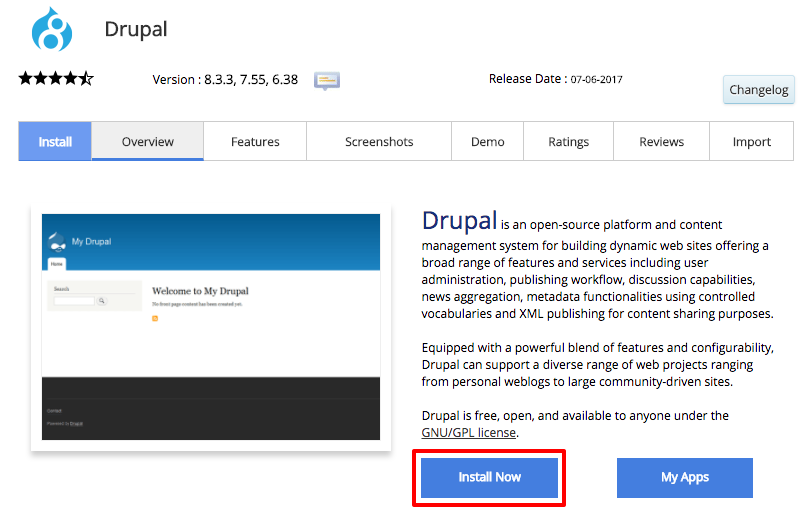
- Click on Drupal and then click on Install Now.

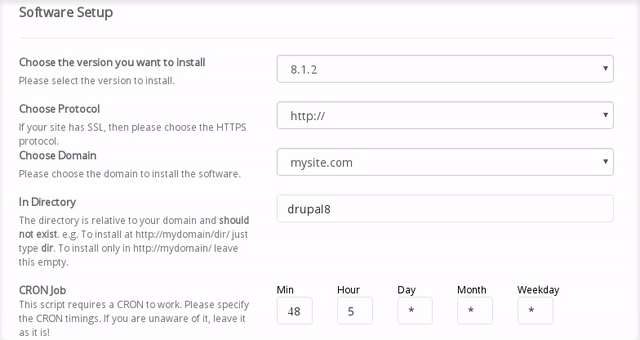
- Choose what Version of Drupal to install. We recommend the latest version to keep your site secure.
- If you have installed an What Is an SSL Certificate? on the domain where you’re installing Drupal, choose https:// or https://www. in the Choose Protocol field.
- Make sure your domain is correct (you can choose to install on a subdomain), and decide which Directory to use for Drupal. This determines the URL used to see your Drupal site. The default is mysite.com/drupal8.
Tip:
To install Drupal on mysite.com (instead of mysite.com/drupal8), leave the In Directory field blank. - For CRON Job settings, we recommend leaving these timings as they are. A cron job is a scheduled task, and this setting just tells Drupal when to run the scheduled tasks.

- Under Site Settings, choose your Site Name. You can change this at any time.

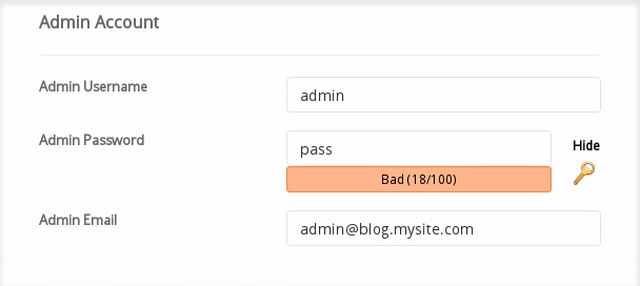
- Create your Admin Account. This is how you’ll start making changes and editing your site. Enter a Username and Password and an Admin Email you will check for Drupal notifications.
Password Security:
We recommend choosing a unique username (not “admin”) and choosing a strong password. If someone discovers your password, they have control over your whole site. See more about secure passwords in our article Best Practice: Creating a Secure Password. 
- Choose your preferred Language.
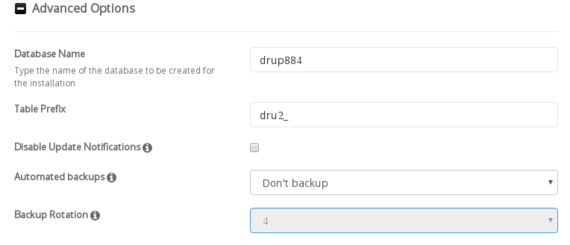
- In Advanced Options, you can choose a Database Name and other options. These can be changed at any time. You can also choose to create automated backups.

- Click Install.
- Once you have installed Drupal, Softaculous will confirm the installation URL and admin page URL.

- Click on the installation URL to make sure Drupal is installed.

- Click on the admin URL and try to log in using the username and password you created during installation.


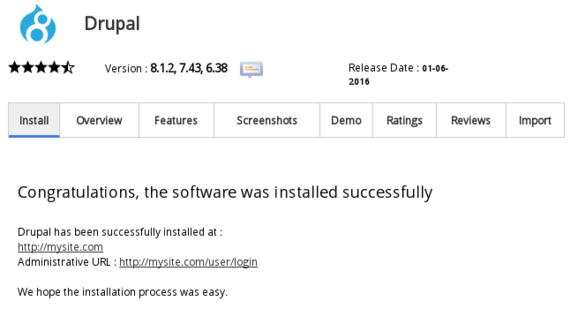


You’ve successfully installed Drupal on your domain. Now you can start exploring how to develop your site and create content! And don’t forget to check out more of our Drupal articles: