Using Amazon S3 and WHM for Off-Site Backups
No matter how secure your website or how carefully you manage your data, there will most likely be a time when you will have to restore your website from backups. It is vital that you have a backup strategy in place before you need it: not having backups available can cost you a lot of time and money.
If you use cPanel, we recommend Configuring cPanel Backups in WHM. These are a great start to developing your backup strategy. These automatic cPanel backups have one major flaw: they are stored on your server. If something happens and your whole server is compromised, there’s a good chance your backups will be compromised as well. You can prevent this from happening by using off-server backups.
Liquid Web has lots of different options to help you manage off-server backups, but if you want to use an external service, Amazon S3 (which stands for Simple Storage Solution) is a popular service that works well with WHM. All you have to do is set up an Amazon Web Services account and then tell WHM to send your backups to that account.
Notice: |
| Liquid Web is not affiliated with Amazon Web Services. Any specific support questions about your Amazon S3 account should be directed to Amazon. Liquid Web has no control over Amazon Web Services pricing or services. |
Signing Up for Amazon Web Services (AWS)
To connect your server backups to Amazon S3, you need an Amazon Web Services account. You’ll log into this account to manage all your S3 services.
Create an AWS account on the Amazon Web Services website. Setting up an account requires payment information. Amazon will charge you monthly based on the amount of storage you use. Then, create an S3 bucket to store your backups. If you want, you can also create folders within your bucket. Once you’ve set up your S3 account, you can set up your S3 backups in WHM.
Configuring WHM for S3 Backups
Now that your Amazon S3 bucket is set up, you can configure WHM to send your cPanel backups to S3.
- Log into WHM. If you haven’t logged into WHM before, read Getting Started with WHM first.
- In the search bar on the left-hand side of WHM, search for “Backup.” Then click on Backup Configuration in the Backup section.

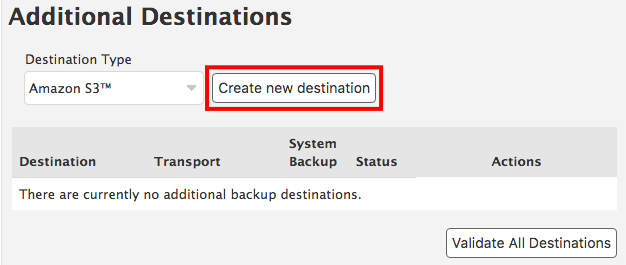
- When you scroll to the bottom of the Backup Configuration page, you’ll see an Additional Destinations section. This is where you’ll configure your connection to the S3 service. In the Destination Type dropdown menu, select Amazon S3. Then click the Create new destination button.

- Choose a Destination Name. This can be anything you’d like: it’s used to help you organize your off-site backups if you have more than one destination.

- If you’d like to move your system backups to S3, check the box next to Transfer System Backups to Destination.

- Now you’ll fill in information from your AWS S3 account. Enter the Folder and Bucket you set up in the first part of this walkthrough.

- Next, verify that your bucket belongs to you! Enter the Access Key ID and Secret Access Key to verify your identity.

- Click Save and Validate Destination to check that all your information is correct. You’ll see a success message confirming that the destination was added.


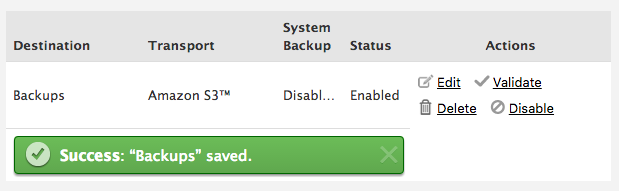
Now your backups will automatically be transferred to Amazon S3 when they are generated.