Restoring with Restore a Full Backup/cpmove File in WHM
The “Restore a Full Backup/cpmove File” feature in WHM allows you to restore a full backup of an account and even assists with moving an account between servers. While there are some limitations to this feature, it does allow you to complete full account restores when everything is prepared correctly.
File Formats and Locations
The filename of the backup must use one of the following formats:
- cpmove-{USER}
- cpmove-{USER}.tar
- cpmove-{USER}.tar.gz
- {USER}.tar
- {USER}.tar.gz
- backup-{BACKUP-DATE_TIME}_{USER}.tar
- backup-{BACKUP-DATE_TIME}_{USER}.tar.gz
In order for this feature to work, the backup or cpmove file must reside in one of the following directories:
- /home
- /usr/home
- /web
- /home2
- /home3
- /root
- /usr
You may also select a file from your local filesystem.
Restoring a full backup or cpmove file
To begin a full restoration from the backup file of the account, perform the following steps:
- Log into WHM (see Getting Started with WHM)
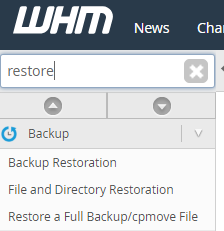
- Type Restore into the search bar at the top left of the screen. Choose Restore a Full Backup/cpmove File from the menu.
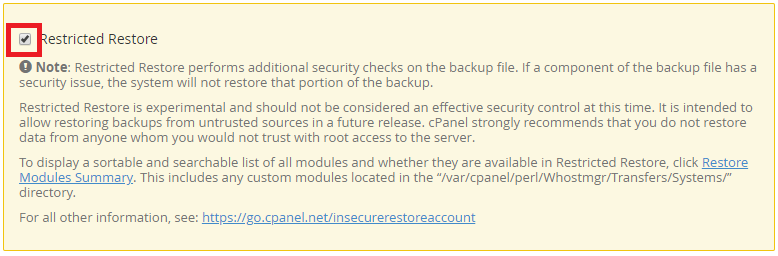
- If you wish to use Restricted Restore, check the box next to Restricted Restore (be sure to review the warnings and details in that feature box).
- Select the Transfer Method. If you choose Username, select the username of the account you want to restore. If you choose with File, select the backup or cpmove file to restore.
- Select replacing all of the instances of the original server’s IP addresses or only replacing basic cPanel-provided A records.
- If you wish to overwrite the account with the data in the backup file, check the box next to Overwrite an Existing User.
- Click Restore.
After you click Restore, the Account Restore interface will appear and will update you on the progress of the restoration. For more information about using the Restore a full backup/cpmove file feature, see cPanel’s documentation.