Using Git with Plesk
Git is a popular code management system used by developers around the world. Plesk now offers support for using Git via an extension. Once you’ve installed and enabled the Git extension, you can publish and update your public directories via push or pull from Git. You can use either a Local Repository on your workstation or a Remote Repository (like Github or BitBucket).
NOTE: |
| Git is not supported on Plesk installations running on Windows Server 2008. Please contact our Support team about a free migration to a Windows 2012 or 2016 server with Plesk. |
Getting Started
Git Extension
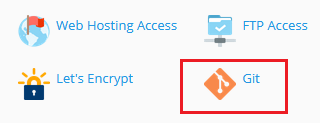
To use Git in Plesk, you need to make sure you’ve got the Git extension installed. This is generally included by default, so you can check by going to your domain and looking for the Git extension.
Git Management on Service Plan
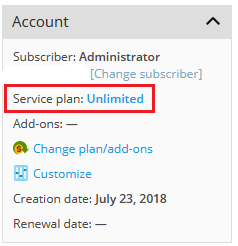
To use Git, the domain’s subscription must be assigned to a service plan that has Git Management enabled. You can access a domain’s subscription information in the Subscription Info panel on the right side of the domain’s main screen. Clicking on the Subscription name will open the Subscription. From the subscription, you can find the Service Plan assigned to the subscription. You can then modify the permissions for the plan or assign a different service plan, depending on your management needs.
Using a Local Repository on your Workstation
To start using Git to publish content to your website, you first need to create a Git Repository for your domain.
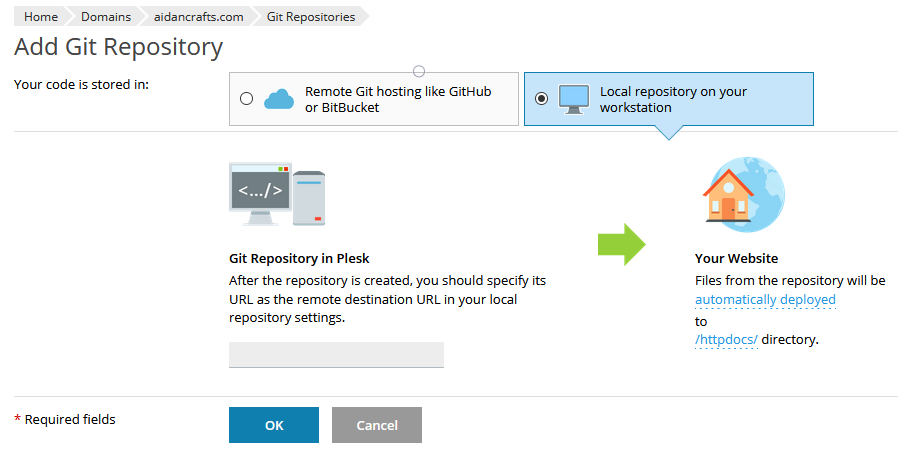
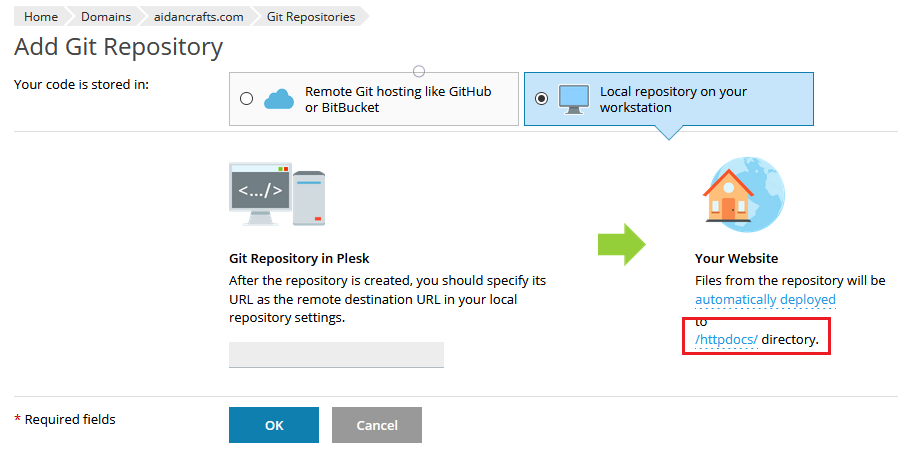
- Go to the domain, then click on Git. If you haven’t set up a repository for the domain, you’ll be taken to the Add Git Repository screen. Select Local Repository on your workstation.
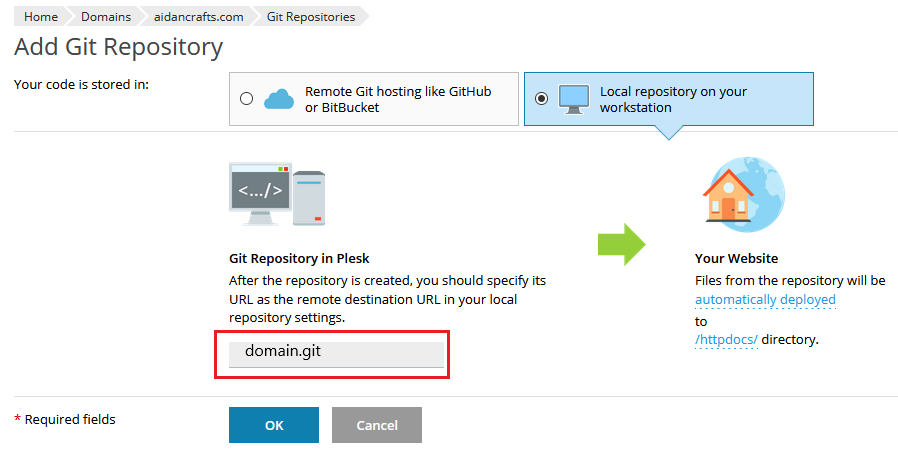
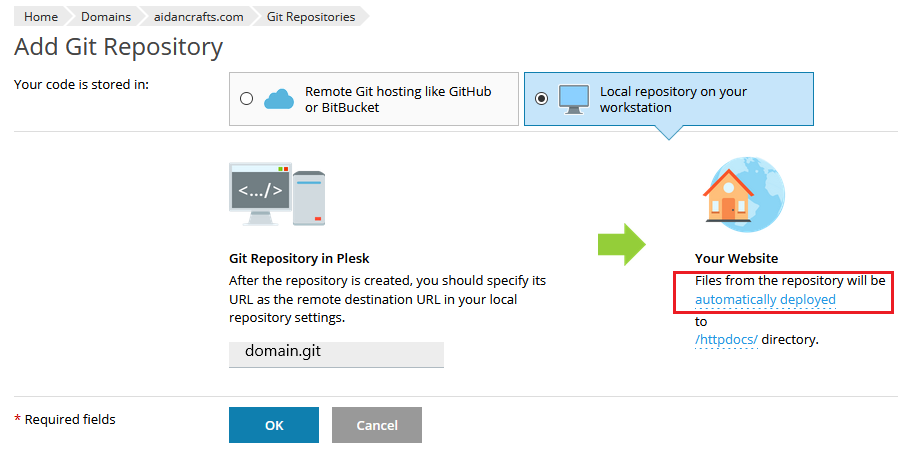
- Specify a name for the Git Repository in Plesk (the default is domain.git).
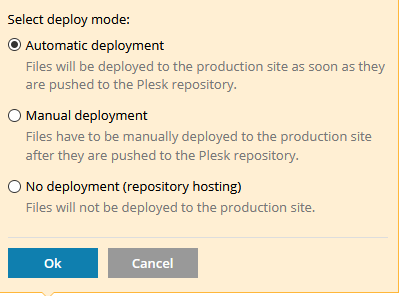
- Select the deployment method by clicking on the automatically deployed link. The default method is automatic deployment, meaning that when changes are made to the repository, they will be automatically deployed to your website. You can also select Manual Deployment or no deployment (if you don’t want to update your site, but want to use the repository for code storage, for example).


- Select the deployment folder where you want the files to be placed by clicking on the /httpdocs/ link. The default is /httpdocs/ but you can choose any folder in your domain to be the deployment folder.
- Click OK to create the repository. Plesk will show the Repository URL that you can copy to your Git client on your local workstation. You can also choose which protocol you want to use (either http or https. SSH is not currently supported for local repositories).
For additional information on using Git from a Local Repository, see Plesk’s administrator guide.
Using Remote Git Hosting
If you are already using a remote Git repository for your code and site files, you can clone that repository to your Plesk server to use for deployment.
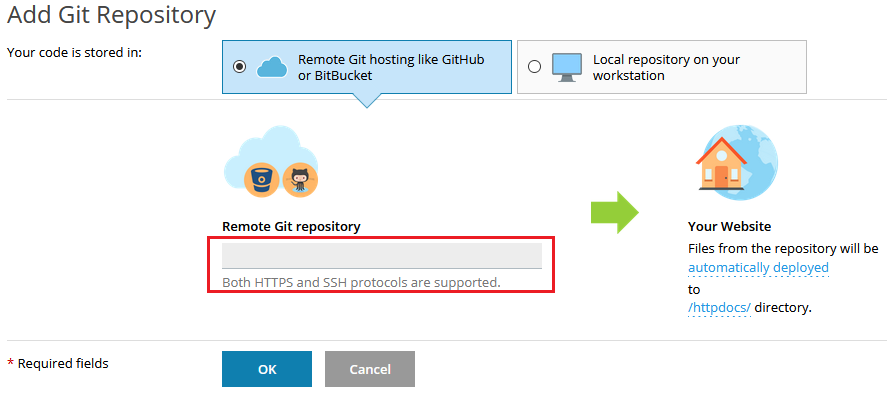
- Go to the domain, then click on Git. If you haven’t set up a repository for the domain, you’ll be taken to the Add Git Repository screen. Select Remote Git hosting like GitHub or BitBucket.
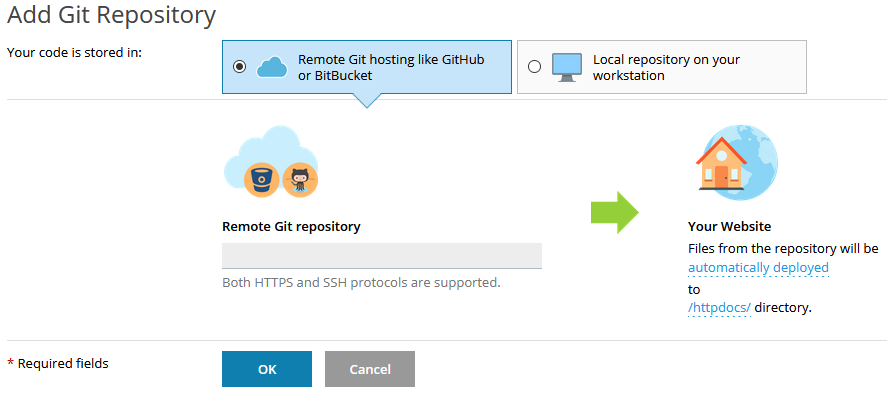
- Enter the path to your remote repository. You can choose either https or SSH format. Authentication is NOT supported for http/https protocols, so if you need to access a private Git repository, enter the path in SSH format. For more information about using an SSH connection, see Plesk’s documentation.
- Select the deployment method by clicking on the automatically deployed link. The default method is automatic deployment, meaning that when changes are made to the repository, they will be automatically deployed to your website. You can also select Manual Deployment or no deployment (if you don’t want to update your site, but want to use the repository for code storage, for example).
- Select the deployment folder where you want the files to be placed by clicking on the /httpdocs/ link. The default is /httpdocs/ but you can choose any folder in your domain to be the deployment folder.

- Click OK to complete the clone. Plesk will attempt to connect to the remote repository. If the attempt is successful, you will see the repository listed in the Git extension for the domain.
For additional information on using Git from a Remote Repository, see Plesk’s documentation.