Using Let’s Encrypt in Interworx Web Panel
Securing traffic on your website is an important part of doing business on the Internet. Webservers use SSL certificates to encrypt information sent between the server and the client (for more information on SSL’s, see What Is an SSL Certificate?). You can create your SSL certificates, order them from a trusted provider (like Liquid Web), or use a service like Let’s Encrypt to create them for you. If you want your site to load without errors, you’ll want to either order an SSL certificate from a provider or use Let’s Encrypt on your InterWorx Web Panel server. We’ll provide instructions on using Let’s Encrypt on InterWorx in this article.
NOTE: |
| To use Let’s Encrypt, the domain name must be registered and pointed to the server. For more information on registering your domain, see Registering a Domain Name (Main URL). |
- Log into your InterWorx (SiteWorx) server as the domain user. For help logging in, see Logging into InterWorx Web Panel.
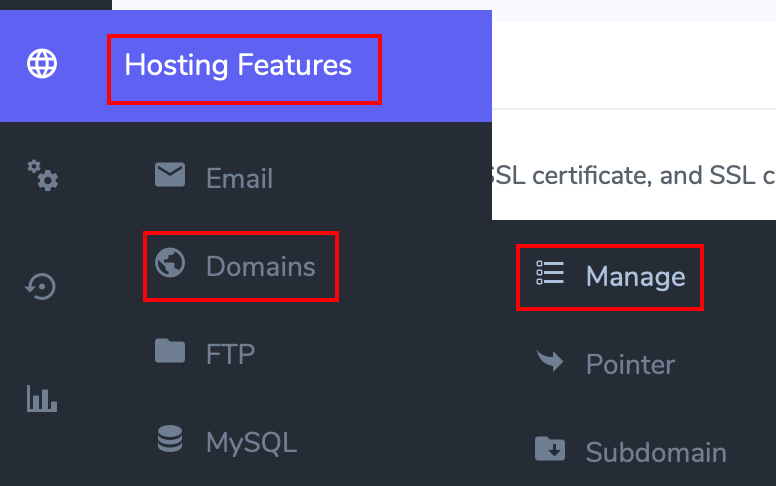
- Click on the Hosting Features, then Domains, then Manage.
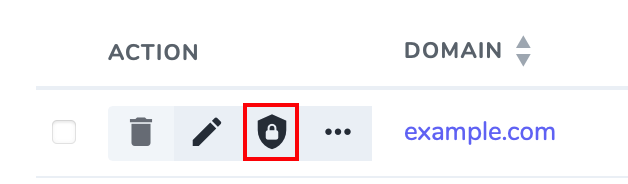
- On the Existing Domains page, click the padlocked shield to access the SSL management screen.
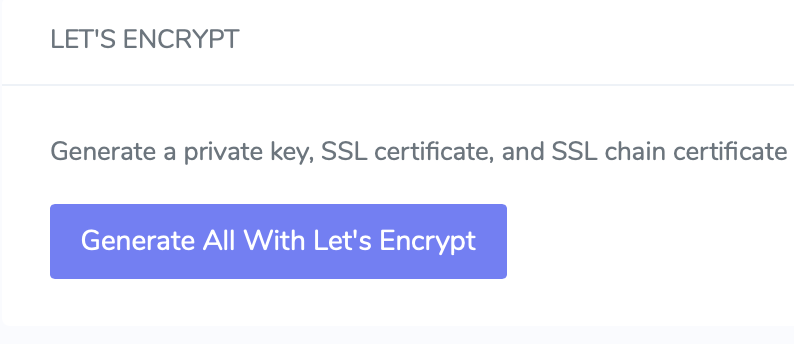
- In the SSL management screen, you can click on Generate All With Let’s Encrypt to open the Let’s Encrypt setup screen.

- Verify the primary domain name and select any and all additional Subject Alternative names you want included in the SSLs. These are common sub-domains that you can include.
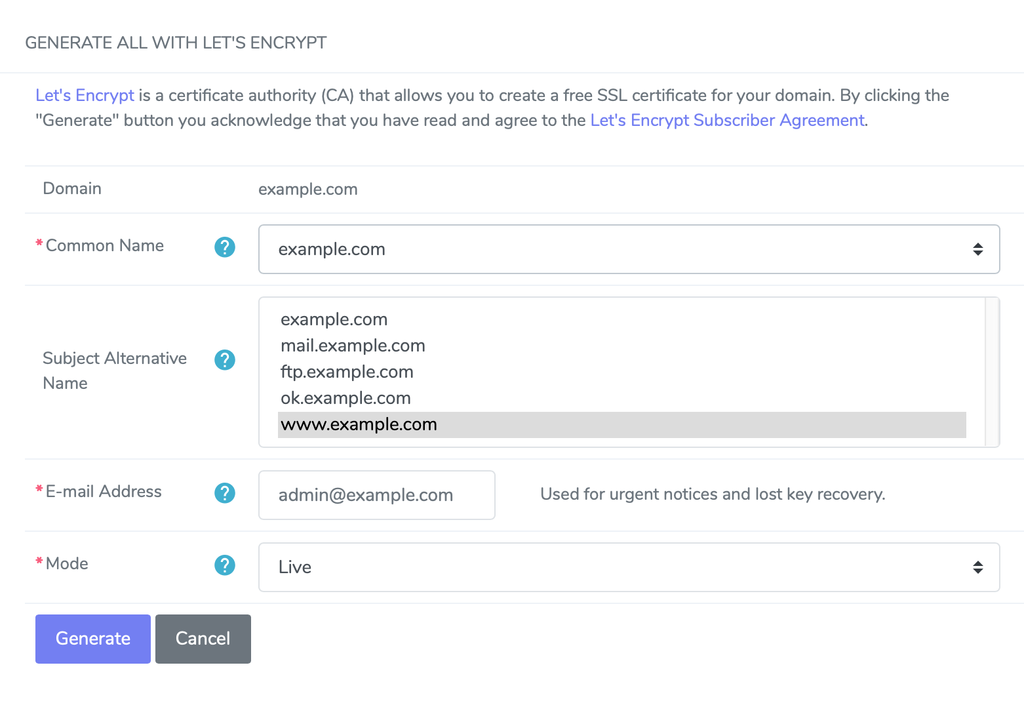
- Click Generate to have Let’s Encrypt automatically complete all the parts of the SSL and install it. NOTE: Let’s Encrypt uses a file placed in the main directory of the domain for validation, so you will need to register the domain and point the DNS records to your InterWorx server before you install the SSL. See Registering a Domain Name (Main URL).
That’s all that you need to do! If everything was configured correctly, you’ll receive a message indicating that the installation was successful and you’ll see the SSL listed on the SSL Management screen.
You can verify the SSL is correctly installed using our SSL Checker on this page. For more information, see our help doc on how to check if your SSL is working.