Using Webmail in InterWorx Web Panel
Setting up an email client on your computer or phone to check your email is the best way to access your email accounts. But what if you need access to your email and you aren’t at your own computer? InterWorx provides browser-based webmail that allows you to send, receive, and manage your email from any computer browser.
Accessing Webmail
You can launch your webmail client by going to your server’s IP address directly, or to your domain name, or the hostname of the server (assuming you’ve registered the domain and have appropriate DNS records configured). The general format for the address is https://serverip:2443/webmail (where serverip is the actual IP address of your server).
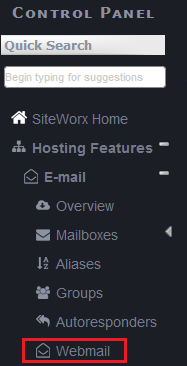
You can also login in your SiteWorx control panel and click “Webmail” to launch the webmail login screen.
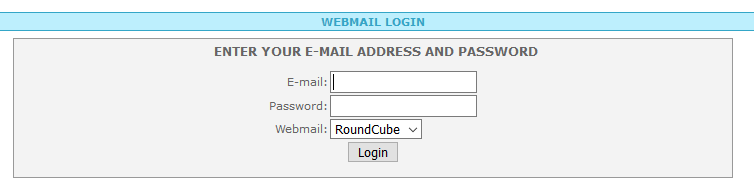
Once at the login screen, enter your full email address and password, select which version of webmail you’d like to use (this article uses RoundCube), and click Login.
Once logged in, you’ll see a number of icons at the top of the page that provide further access to important information. The Mail icon takes you to the main list of received emails. Contacts allows you to view, add, and edit contacts. Settings allows you to adjust your preferences, folders, and more.

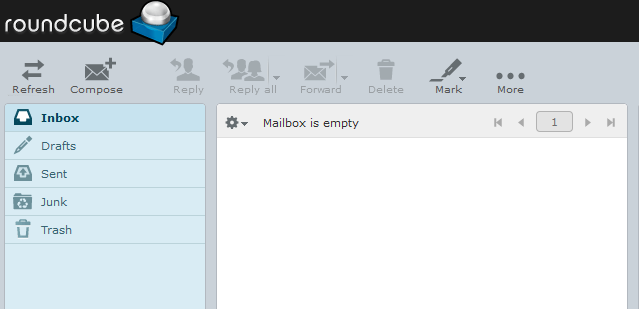
The primary section for interacting with your email is the Mail section. The icons at the top of the section allow you to refresh the display, compose new emails, reply to messages, forward a message, delete a message, or mark a message a read or unread.

You can click on the icon that shows three dots with the word “More” to select additional options, like printing or downloading messages.

The default view takes you to your Inbox folder. This is a list of the email that has been received on your account. Click on an individual email to read the full email, view header information, or reply to the email.
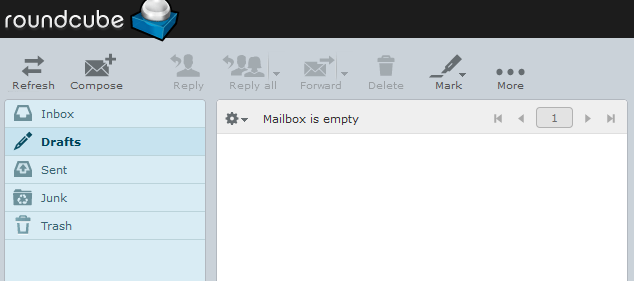
The Drafts folder shows you all the email messages that you have started but not yet sent. You can complete the draft and send it, or delete it as needed.
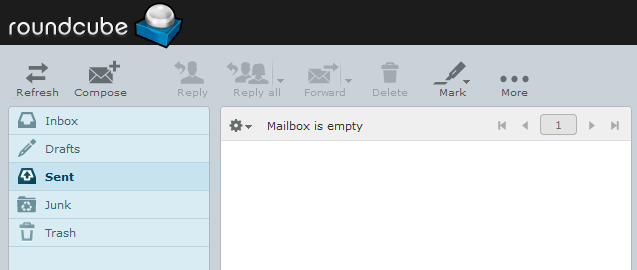
The Sent folder shows you email that you have already sent. This can be convenient if you need to resend a message or send a similar message to another account.
The Junk folder contains email that has been flagged as spam by the server. If you are expecting an email from someone but haven’t received it in your Inbox, you may need to check the junk folder for incorrectly flagged messages.

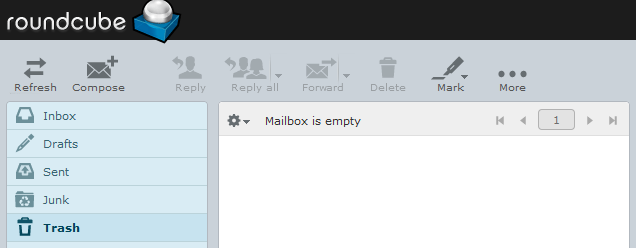
The Trash folder is a temporary folder for deleted messages. This folder allows for a simple way to retrieve a message that may have been accidentally deleted. Once the trash has been emptied, the only way to retrieve a deleted message would be from a backup, if one exists.
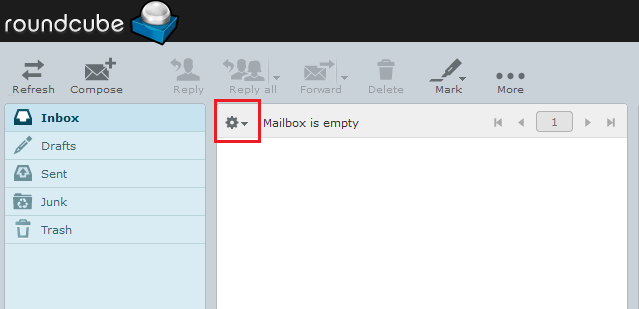
For any folder, clicking on the Gear Icon at the top of the folder will allow you to select the layout, sorting, and sort order for the folder.
Contacts
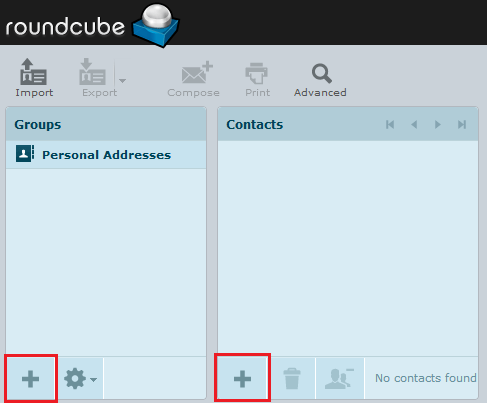
The Contacts tab lets you manage all of your personal contacts. You can import addresses from a vCard or csv (comma-separated) file and either add the addresses to your existing address book or replace the existing address book entirely.

To add a new address or group, just click the plus sign at the bottom of the appropriate column. These contacts and groups are only available to your individual user and will not be available to other users of the domain.
Once you have contacts or groups in your address book, you can select one and then click Compose to send a message directly from the Contacts screen, or click Print to print a copy of the contact information.
Settings
The settings tab allows you customize almost every aspect of the webmail experience.
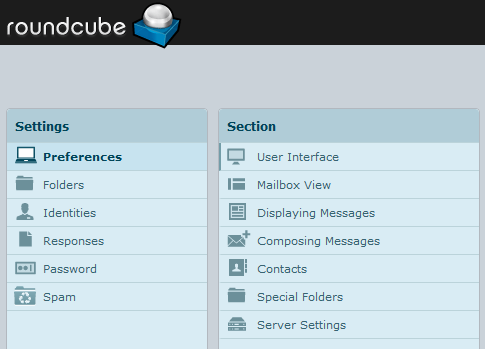
Preferences
The Preferences tab lets you customize the User Interface, Mailbox View, how you would like to display messages, default settings for composing messages, and more.
Folders
The Folders tab allows you to add additional folders to your account for sorting and storing important email messages. Click the plus sign at the bottom of the screen to add additional folders. Click the Gear sign delete or empty folders.
Identities
You can manage multiple email identities if they are assigned to the same account. This feature would allow you to send and receive email from different accounts without having to log in and out of the system.
Responses
Standard responses can help simplify your email communications. You can set up these responses to make typical email messages simpler to compose and send.
Password
Use the Password tab to change the email password of the current user. Frequently updating your password to a new, strong password is an excellent way to protect your account. See Best Practices: Protecting Your Email Accounts from Compromise.
Spam
While Spam settings are generally configured on the InterWorx server, individual users can set their own spam settings using the Spam tab. You can adjust the spam score higher or lower than that used for the server as a whole, as well as use additional filters and rules to control how spam is handled for your individual account.