Windows SQL Server Management Studio for Cloud Sites
Securely access your MSSQL database for Cloud Sites using Microsoft SQL Server Management Studio.
If you have an MSSQL database created for your Cloud Sites website, you can easily and securely access your database remotely using Microsoft SQL Server Management Studio. This is a physical download to your local workstation which provides much better security than using myLittleAdmin to reach your MSSQL database from the Cloud Sites control panel.
Note: |
| In order to log into SQL Server Management Studio, you must be the creator of the database and use the credentials set when you first created the database. Secondary users set up to access the database must still use myLittleAdmin. |
You can download SQL Server Management Studio on your Windows workstation, it is not currently available for Mac or Linux operating systems. Follow this link: https://msdn.microsoft.com/en-us/library/mt238290.aspx to download the software, installation instructions can be found there as well.
Once the software is downloaded to your workstation, open SQL Management Studio.
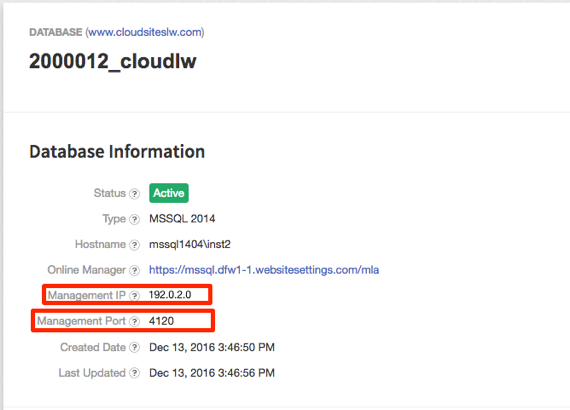
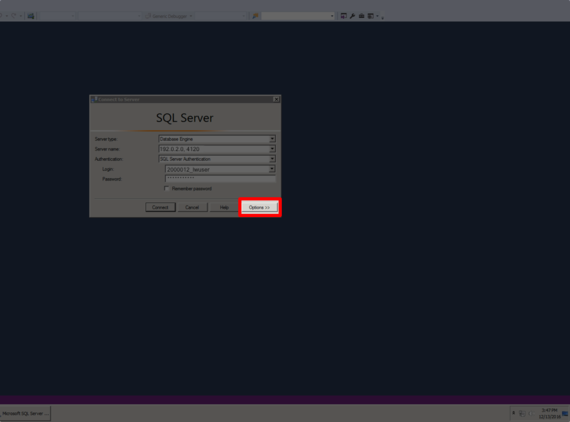
- A dialogue box will open for you to enter your credentials. Copy and paste the Management IP and Management Port from the database information in Cloud Sites.

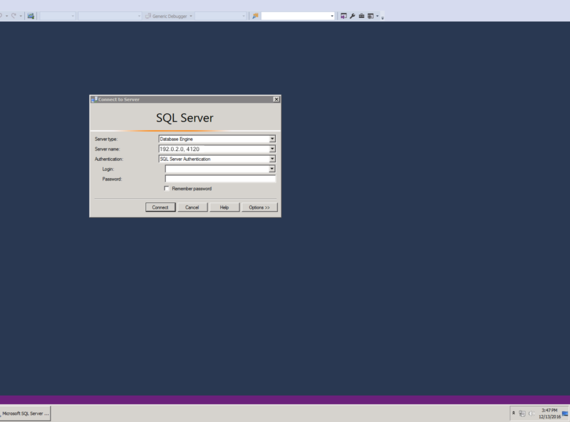
- In SQL Server Management Studio, enter the Management IP in the Server name section, followed by a comma (,) and the Management Port number 4120.

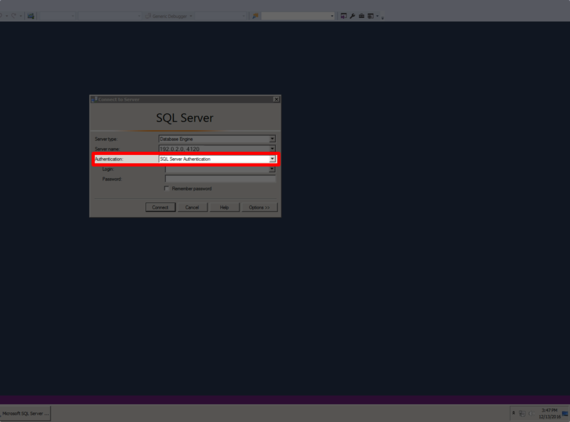
- Select SQL Server Authentication from the drop down under Authentication.
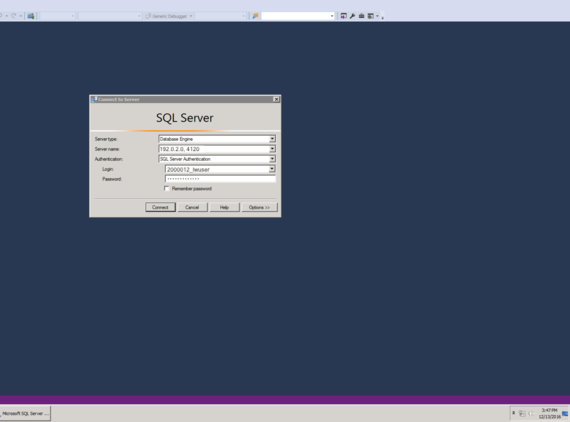
- Enter the Cloud Sites database username in the Login section and type in your password.
- Next, click on the Options at the lower right-hand of the dialogue box.
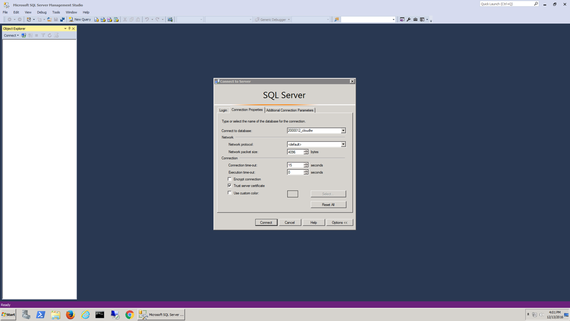
- Enter the Cloud Sites database name in the section Connect to database.

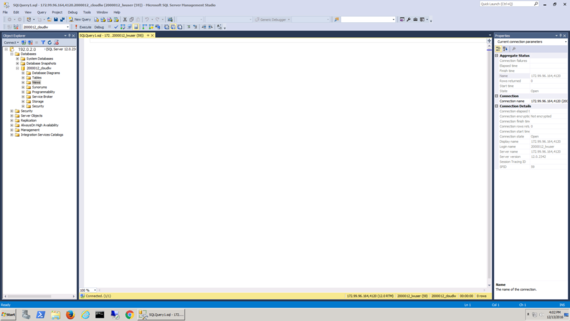
- Click on Connect and you will be directed to your database administration page. From here you can run queries, add tables and columns and more on your database.