Restore Cloud Sites Databases or Content Backups
Introduction
Accidents happen. Whether it’s a corrupted file, a bad update, or a security compromise, restoring from a backup is your safety net. This guide shows you how to use Restore Points in the Cloud Sites control panel to revert your website content or database to a previous, clean state.
Security Note: If you are restoring to fix a hack, this will remove the infected files, but it does not fix the security vulnerability that let the hacker in. You must update your software immediately after restoring.
How to identify a Restore Point
The following icons are used to identify Databases and Website files (Content).
Icon | Type of Restore Point |
|---|---|
| Database |
| Content |


Step-by-Step Instructions
- Log in to your Cloud Sites Control Panel.
- Click the link for the site you want to restore from the website list.
- Scroll down to the Backups section and click it to expand your options.
- Locate the specific Restore Point (date and time) you want to use.
- Click the gear icon next to the specific Content or Database you want to restore, then select Restore.
- A pop-up will appear. Click Restore to confirm the action and begin the process.
- Status: A green status message will appear at the top of the page. Once it fades, your site has been successfully reverted to the selected date.
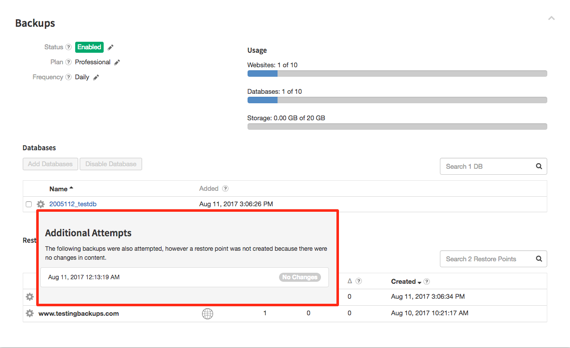
Restore With No Site Changes
If no changes have been made to your site or database, hovering over its name will notify you. You can still restore to this point; the notification simply indicates no changes since the last backup.