Configuring Your Cloud Firewall
Firewalls safeguard servers by filtering network traffic based on rules. All Liquid Web servers have a software firewall; Linux servers typically have CSF, while Cloud servers can add an extra layer of protection with a Cloud firewall. It's advisable to use both CSF and the Cloud firewall for enhanced security.
Firewalls help protect your server from malicious attacks by comparing network traffic to rules. Every server at Liquid Web has at least one software firewall. If you have a Linux server, you likely have ConfigServer Security & Firewall (CSF). If you have a Cloud VPS, you can configure a second Cloud firewall that filters traffic before it goes through CSF. We recommend using both your server’s software firewall and your Cloud firewall. You can manage your Cloud Firewall in both manage.liquidweb.com and my.liquidweb.com.
Using my.liquidweb.com
- Log into your Liquid Web account.
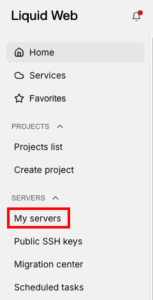
- Click on the My Servers link at the left of the page. This will take you to a list of the servers on your account.

- Click on the name of the server for which you need to make Cloud Firewall adjustments.
- Click on the Networking tab.


- Scroll down to the Firewall block. If the Cloud Firewall is currently disabled, click on Enable to activate it.


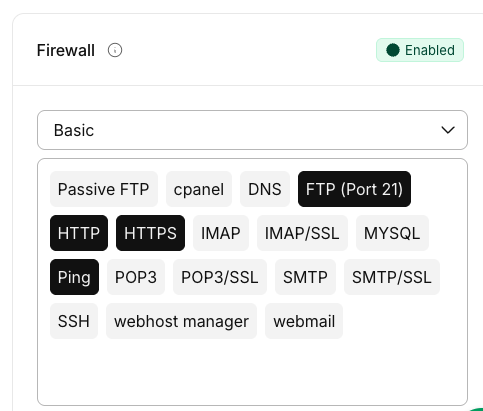
- The Basic Firewall allows you to allow services simply by clicking on them. If you need to use a service, check the name of the service to open that firewall port. All firewall ports are closed by default. Open firewall ports will be shown in black.

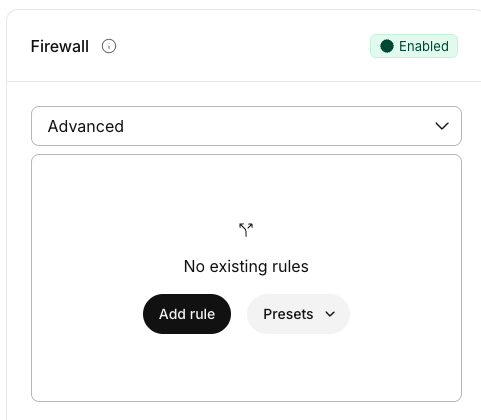
- The Advanced Firewall automatically closes all the ports in your firewall. So, if you want email on your server or cPanel account access or WHM access, you need to create rules to allow that traffic. Advanced Firewall configurations are best if you are experienced in firewall management and know exactly how you want to set up your Cloud firewall. The Basic Firewall is the best choice for most users. To add a rule to the Advanced Firewall, just click Add rule.

Advanced Firewall Preset Feature
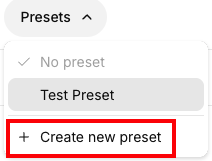
- The Preset Feature allows you to create a template of your Advanced Firewall settings to use on multiple servers. Once you’ve configured your Advanced Firewall rules, you can convert them to a Preset to use on other servers.
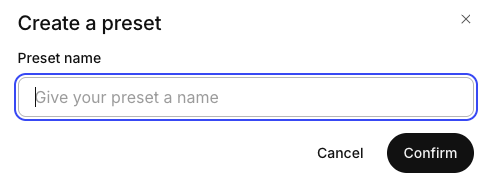
- On the Presets drop down, choose Create new preset.

- Add a name for the Preset and click Confirm to save it.

- You can edit any of your saved presets by clicking on the Services tab at the left of the screen and selecting Firewall Presets.
After you’ve set up your Cloud Firewall, learn how to Change Your SSH Port to protect against some mass attacks.