Configure WordPress Multisite on Cloud Sites
If you are planning on using WordPress Multisite on Cloud Sites, there are a few special configuration changes to ensure everything will work as intended. Before you begin making Cloud Sites-specific changes, please set up WordPress Multisite.
Once you’ve enabled Multisite and made the necessary global configuration changes, there are a few more changes specifically for Cloud Sites. These are:
- Redirect all URLs to remove “www.”
- Add domain aliases for new sites.
- Add your sites to WordPress Multisite.
Redirecting URLs to Remove “www.”
Cloud Sites doesn’t use nested subdomains (for example, www.blog.mysite.com). If you use subdomains for your multisite, redirecting any “www.” URLs prevents any potential unexpected redirection. You can redirect these URLs using your website’s htaccess file.
Add the following block of rules to your .htaccess file to force the pages to redirect to non-www versions of the domain:
RewriteEngine On
RewriteBase /
RewriteCond %{HTTP_HOST} ^www.(.*)$ [NC]
RewriteRule ^(.*)$ http://%1/$1 [R=301,L]
Adding Domain Aliases
Because of the way Cloud Sites works, each site managed by the main Multisite installation must be created as an alias. The aliased domain, added through the Cloud Sites control panel, must have the primary Multisite domain as its target.
- Log into the Cloud Sites control panel.
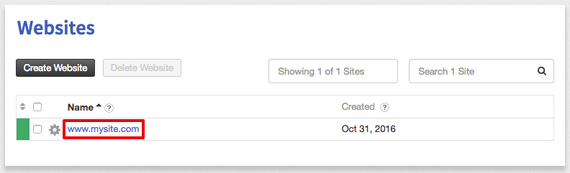
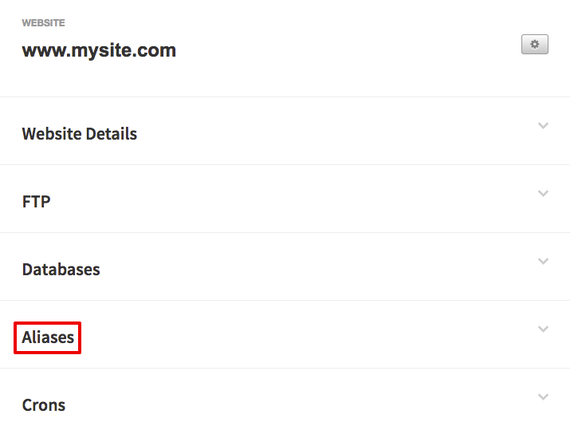
- Click on the name of the website where you want to add an alias.

- Scroll down to Alias and click to expand the Alias section.

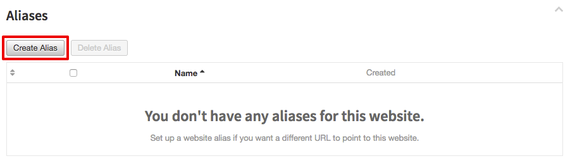
- Click the Create Alias button.

- Type the domain or subdomain that you want to mirror the website’s content. Then, click Create New Alias.

- Now, you’ll need to edit the DNS CNAME record of the alias domain so the site will properly resolve. If your DNS is hosted at Liquid Web, you can edit your DNS in your Liquid Web account. If your DNS is hosted elsewhere, you’ll have to edit the CNAME record wherever your DNS is hosted. The alias domain’s IP needs to match the IP of your main website.
Adding Sites to Your WordPress Multisite Network
Once you’ve added the necessary domain alias, you can add your site to the Multisite network. Without a domain alias, each website won’t be able to find the Multisite network.
- Log into the WordPress dashboard for your Multisite installation.
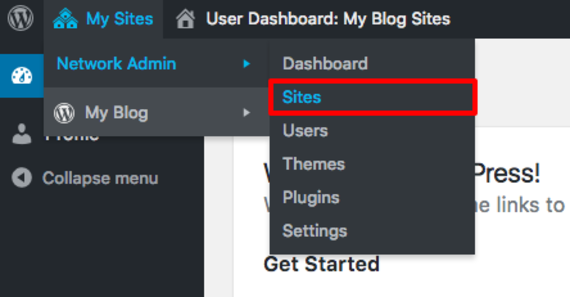
- In the top navigation menu, click on My Sites, then Network Admin, then Sites.

- You’ll see a listing of all the sites your Multisite installation currently supports. To add a new site, click Add New.

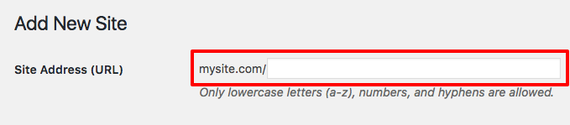
- Enter your new site’s Site Address (URL). Depending on how you initially configured your Multisite network, the field will ask you for either a subdomain or a subdirectory.

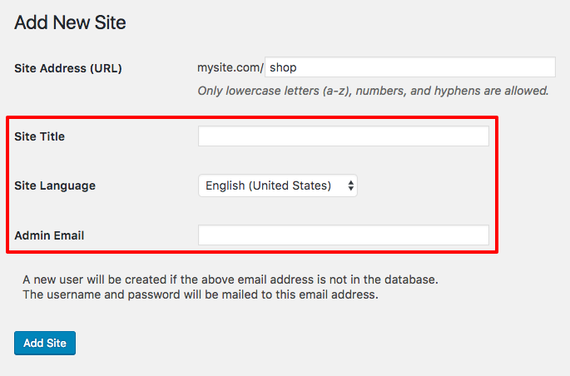
- Then, add a Site Title and Admin Email. This is just like a normal WordPress installation: the site title will show up in the header of the site and can be changed at any time. The admin email will create a user account for logging into just this new site’s WordPress dashboard.

- Once you’ve chosen your site’s settings, click Add Site.