Install WordPress on InterWorx Using Softaculous
Softaculous is a powerful auto-installer tool integrated into many InterWorx SiteWorx accounts. It allows users to install applications like WordPress in just a few clicks—no manual setup required.
Follow the steps below to install WordPress easily through Softaculous in InterWorx.
Installation requires a Premium Softaculous license. Your Liquid Web server with Interworx should come with the Premium license installed. If you find that the Softaculous license is listed as “Free”, reach out to our Support team to have the license upgraded for free!
Prerequisites
Before starting, ensure the following:
- You have access to your SiteWorx control panel.
- Your domain or subdomain is configured and pointing to your server.
- Softaculous is available in your SiteWorx panel (check under Software).
WordPress Installation via Softaculous
1. Log Into SiteWorx
- Log into Siteworx. For help logging in, see Logging into Siteworx
2. Launch Softaculous
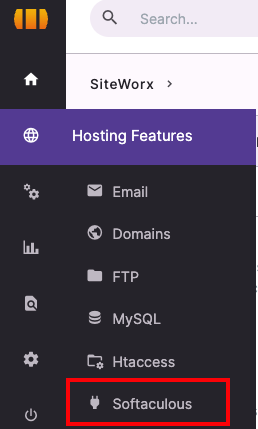
- In the SiteWorx dashboard, scroll down to Software → click on Softaculous.

- In the Softaculous interface, find WordPress under the Blogs category or search for it in the top search bar.
3. Start the WordPress Installation
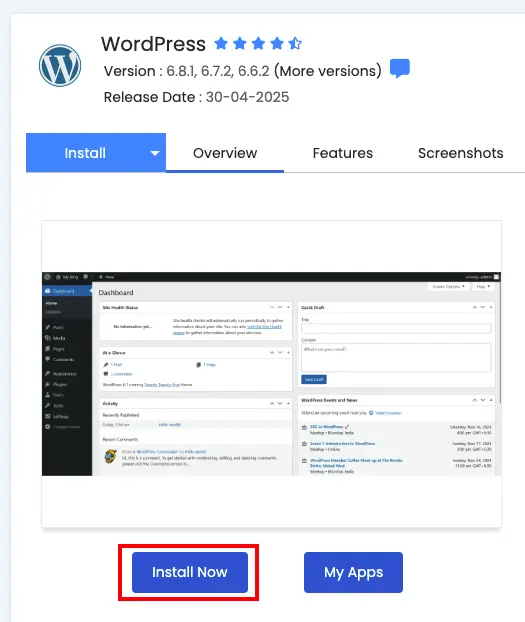
- Click on the WordPress icon.
- Click the Install Now button.

4. Fill Out Installation Details
Software Setup:
- Choose Protocol: http:// or https:// (use HTTPS if SSL is installed).
- Choose Domain: Select the domain or subdomain where WordPress will be installed.
- In Directory: Leave blank to install in the root (e.g., https://example.com) or enter a folder name (e.g., blog for https://example.com/blog).
Site Settings:
- Site Name and Site Description: You can change these later in WordPress.
- Enable Multisite (optional): Check this only if you need WordPress Multisite functionality.
Admin Account:
- Admin Username
- Admin Password
- Admin Email
➡️ Make sure to use a strong password and valid email address.
Choose Language:
- Select the desired language for your WordPress site.
Select Plugins (optional):
- You can pre-install common plugins like Limit Login Attempts or Classic Editor.
Advanced Options (click to expand):
- Customize database name, table prefix, and configure automatic backups if desired.
Select Theme (optional):
- Choose a default theme or skip this to use the WordPress default theme.
5. Click Install
Softaculous will now install WordPress. It typically takes less than a minute.
6. Installation Complete
Once done, you’ll see:
- A link to your WordPress site.
- A link to your WordPress admin panel (usually https://yourdomain.com/wp-admin).
✅ Bookmark this link for quick access to manage your site.
Troubleshooting
- Softaculous Not Found? Contact our Support Team to ensure Softaculous is installed and enabled.
- SSL Issues? If you’re installing over https://, make sure you’ve installed an SSL certificate through SiteWorx or Let’s Encrypt.
Conclusion
With Softaculous, installing WordPress on InterWorx is fast, easy, and user-friendly—even for beginners. Once installed, you can log in, choose a theme, add plugins, and start building your website right away.