How to install Invision Power Board
Download the Invision Power Board package
- Using your preferred browser, purchase and download the Invision Power Board.
- Save the file on your machine, then extract the files and note their location.
Configure FTP credentials to transfer the Invision Power Board package
Log in to your SiteWorx control panel.
- If you do not know your password, click Forgot your password on the login page.
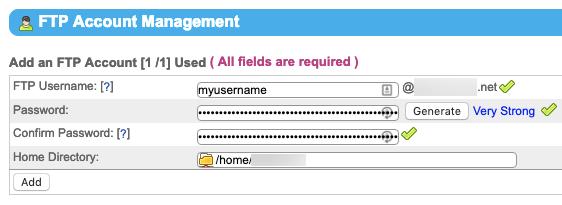
From the main menu, select Hosting Features > FTP > Accounts
Under Add an FTP Account , fill-in the FTP Username, Password, and Confirm Password fields, then click Add.

Transfer Invision files to your Nexcess server
Your exact method of transferring files will vary according to your choice of application. Whatever the method, you will need the username and password you created in Step 2C. For detailed instructions and an example using Cyberduck, see How to transfer files to a server with SFTP.
Configure your database
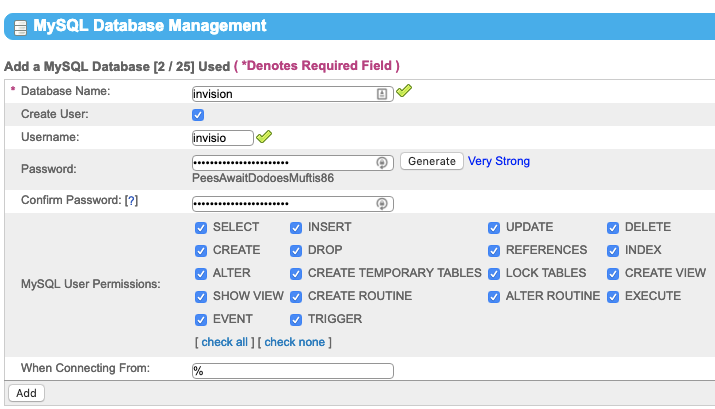
- From the SiteWorx main menu, click Hosting Features > MySQL > Databases.
- Fill the DatabaseName field, though we recommend “inivision.” Select the Create User check box.
Type a name for your database in the username field.
Fill the Username field, though we recommend “invision.” Fill the Password and Confirm Password fields, or click Generate. Note this information for use in Step 5. Verify all MySQL User Permissions are selected, then click Add when ready.

Configure Invision Power Board
- Navigate to your domain along with the path of your Invision Power Board installation. For example, if your domain is example.com and your Invision installation is board, you will navigate to example.com/invision. If your Invision installation is at the top level of your domain, then go to the domain itself.
- When the system check panel appears, click Next.
- When the license agreement window appears, select the I agree to the license agreement check box and click Next.
- On the Addresses page appears, leave the default settings and click Next.
- On the License Key page, paste your License Key in the License Key field, then click Next.
- ON the DB Details page, enter your Database Name, SQL Username and SQL Password into the corresponding fields and click Next.
- On the Admin Account page, create your administrator user by entering a Username, Password, and Email Address in the corresponding fields. Click Next when ready.
- On the Installation page, click Start installation.