 Ronald Caldwell
 After setting up your brand new cPanel server, whether that’s a dedicated server, VPS, or cloud server, the first thing to do is log in for the first time. The cPanel control panel is a graphical user interface (GUI) for web hosting providing management of domains and files. Users can also control email, databases, and much more.
This tutorial walks through the basic steps of how to log into cPanel.
Requirements
For this tutorial, you will want to ensure you have the following:
- A server running cPanel.
- cPanel login credentials.
How to Login to cPanel
1. Type https://youripaddress:2083 into your browser’s address bar, and press Enter to access the cPanel login screen. Replace youripaddress with your IP address.

2. Enter your Username and password and press Log in.

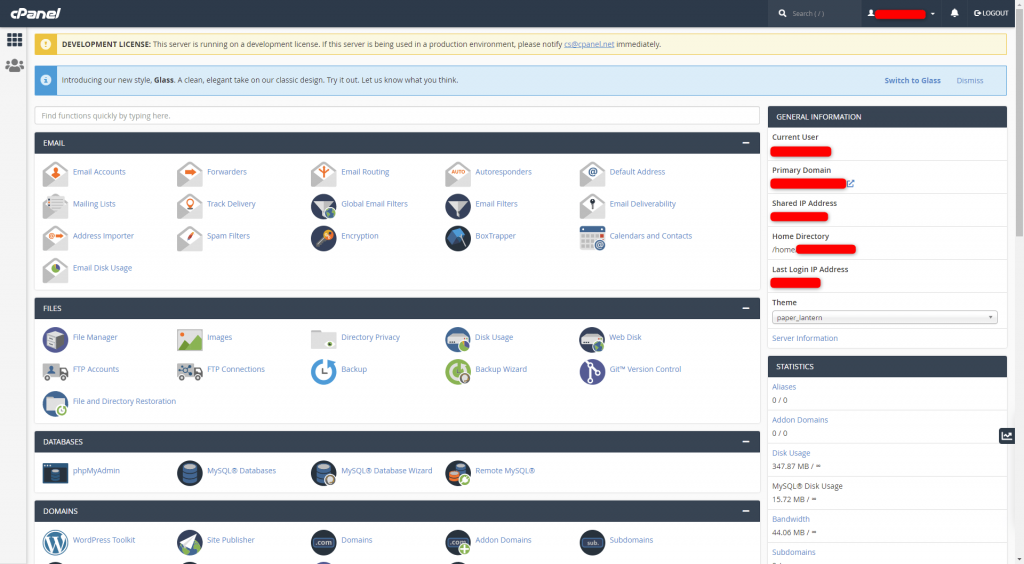
3. You are logged in to cPanel and greeted with the home page. From here, users have access to all cPanel functionality based on their allowed permissions.
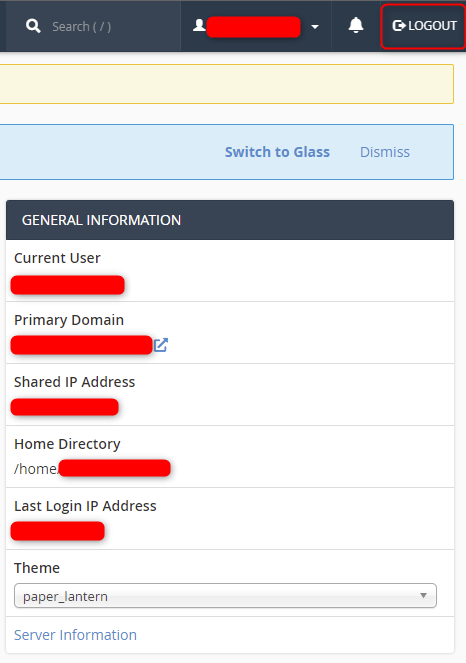
4. To log out of cPanel, click the Logout button in the upper-right corner.
Wrapping Up
Logging into cPanel is a primary function that is vital to your web hosting experience. Users unfamiliar with cPanel hosting have a great starting point with this critical tutorial. Liquid Web fully managed servers with cPanel also get 24/7/365 support.
Ready to get started hosting with cPanel? Contact our sales team for more information on our hosting options. In addition, our support team is available for assistance with cPanel functionality.