How to Configure and Use the Share App Link Feature in the LearnDash App
Introduction
The Share App Link feature encourages users to promote your mobile app within their networks boosting installs, engagement, and organic growth.
This guide walks you through configuring app sharing, customizing preview content, and how users can share your app link directly from the LearnDash App.
Configure the Share App Link Feature
Enable App Sharing
- In WordPress, go to Learndash App > Settings > Feedback.

- Scroll to Share App Link.
- Check App Sharing to activate the in-app share button.

Customize Preview Content
- Enter a Preview Title. This will be shown when users share the app link.
- Add a compelling Preview Description.
- Click Upload next to Preview Image and select an image (recommended: 1200×628 px, PNG/JPG).

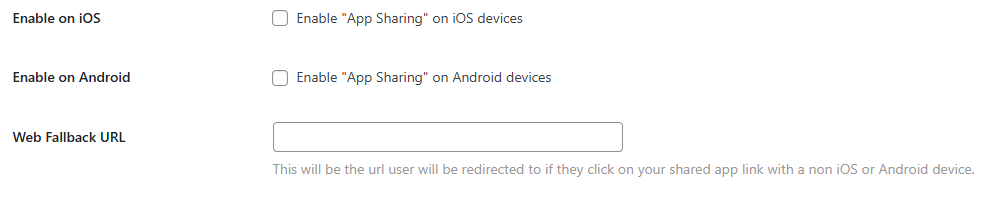
Enable Platforms & Add Fallback
- Check Enable on iOS for Apple sharing support.
- Check Enable on Android for Google Play sharing.
- In Fallback Link, paste a backup URL (e.g., your website) for desktop or unsupported devices.
Retrieve the App Share URL
- At the top of the Share App Link settings, copy the App Sharing Link.
- Use it on your site’s buttons, Quick Links, or navigation menus.
Share the App from the Mobile App
- Open the Learndash App on your mobile device.
- Go to More > Settings > Share this App.
- Tap it to open the share modal.
- Select a channel (e.g., Contacts, Facebook, LinkedIn) to send your app link.
Troubleshooting & FAQs
Q: Why isn’t the “Share this App” option showing in the app?
A: Confirm that App Sharing is enabled, save settings, clear cache, and restart the app.
Q: Why isn’t my preview image appearing when shared?
A: Check that the image is PNG or JPG, sized correctly (1200×628 px), and saved properly.