Gravity Forms Integration
The LearnDash Gravity Forms integration allows you to register new users on your site and instantly provide them access to one (or more) of your courses. It can be used to create a signup form, both for free courses, as well as those that require payment (using one of Gravity Forms payment add-ons).
Requirements
Before you can use this integration, you will need:
- LearnDash
- Gravity Forms plugin (the Elite license)
- Gravity Forms User Registration add-on enabled
Upload & activate the Gravity Forms plugin
- Download the Gravity Forms plugin from your account page on gravityforms.com
- In the WordPress admin area, navigate to Plugins > Add New
- Click the Upload Plugin button
- Click the Choose File button
- Select the Gravity Forms
.zipfile you downloaded in step 1 - Click Install Now
- Click Activate Plugin
Enter your Gravity Forms license key
You can follow along with the setup wizard, but if you’d rather enter your license key manually:
- Go to Forms > Settings
- Enter your license key (from your account page on gravityforms.com)
- Click the Save Settings button at the bottom

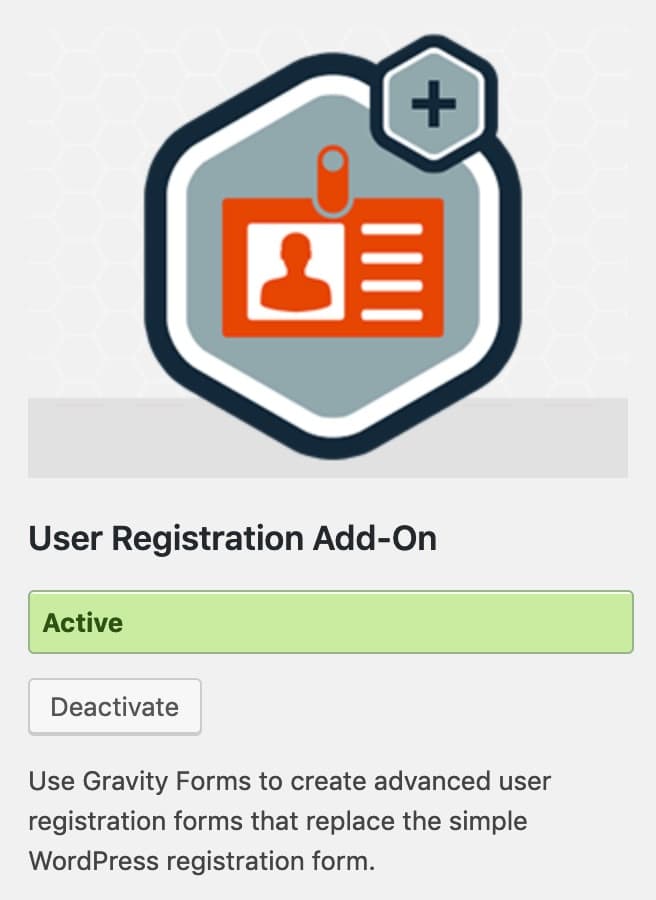
Enable the Gravity Forms User Registration add-on
- Go to Forms > Add -Ons
- Scroll down to the User Registration Add-On
- Click the Install button
- Click the Activate button
Install the LearnDash Integration
Option 1: Add-ons Menu (requires an active LearnDash license)
In your WordPress admin area, go to LearnDash LMS > Add-Ons and locate the Gravity Forms for LearnDash add-on. Click Now and once the installation is complete, click the Activate plugin button.

Option 2: Manual Upload
Download the plugin file (remember that you must be logged in to download). In your WordPress admin dashboard go to Plugins > Add New and then Click to upload the Gravity Forms for LearnDash plugin. You’ll need to browse for the plugin .zip that you downloaded previously. Once you find it (it may be in your computer’s Downloads folder), click Open, Install Now and finally, click the Activate Plugin button.
Create a Form
To use the integration, you’ll need a form to assign courses to. Follow Gravity Forms documentation on creating a form.
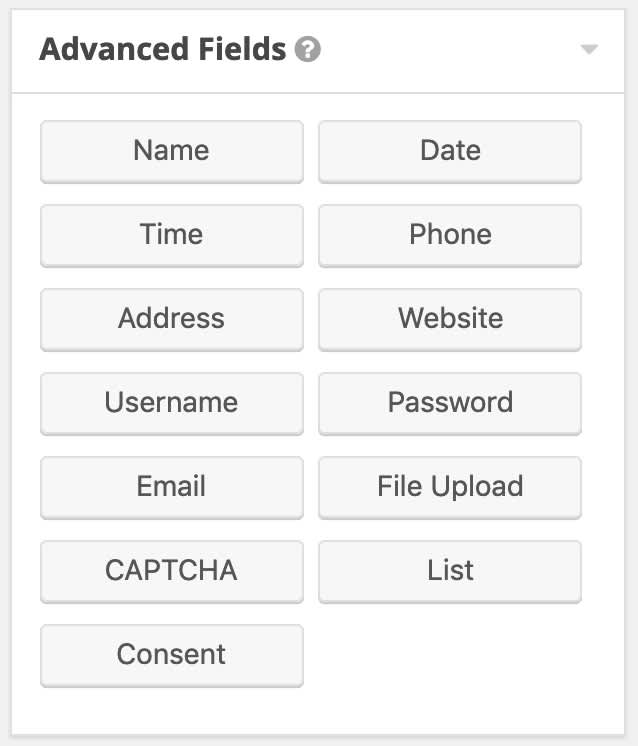
You can include as many form fields as you’d like, but the email field is required for user registration to work. You might also want to include:
- Name
- Username
- Password
* All of these fields can be found under “Advanced Fields.”
Name is not required, but in most cases, you’ll want to ask for it.
Username can be set to the email address, any other form field, or you can allow the user to choose one upon signup.
Password can be automatically generated upon completion of the form, or you may choose to include this field in your form to allow the user to choose one upon signup.
Now that your form is ready, you’ll need to set up a user registration feed.
Configure User Registration
Before assigning LearnDash courses to your new users, you’ll need to create a user registration feed. Since this is a Gravity Forms feature, please follow their instructions on setting up a user registration feed.
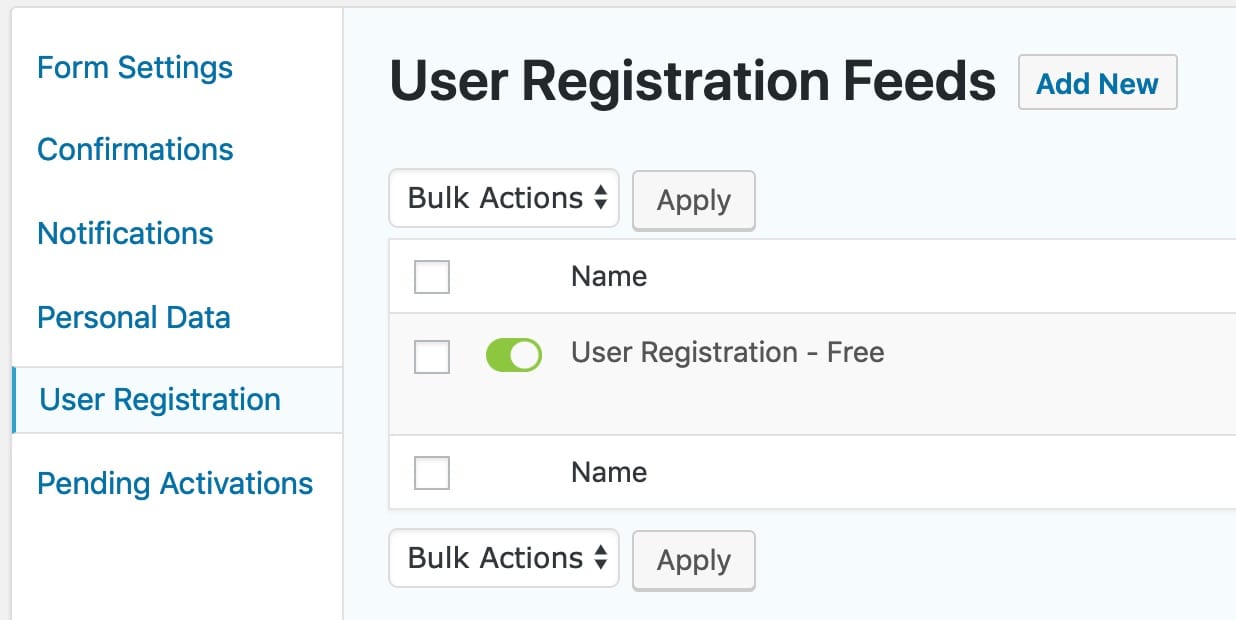
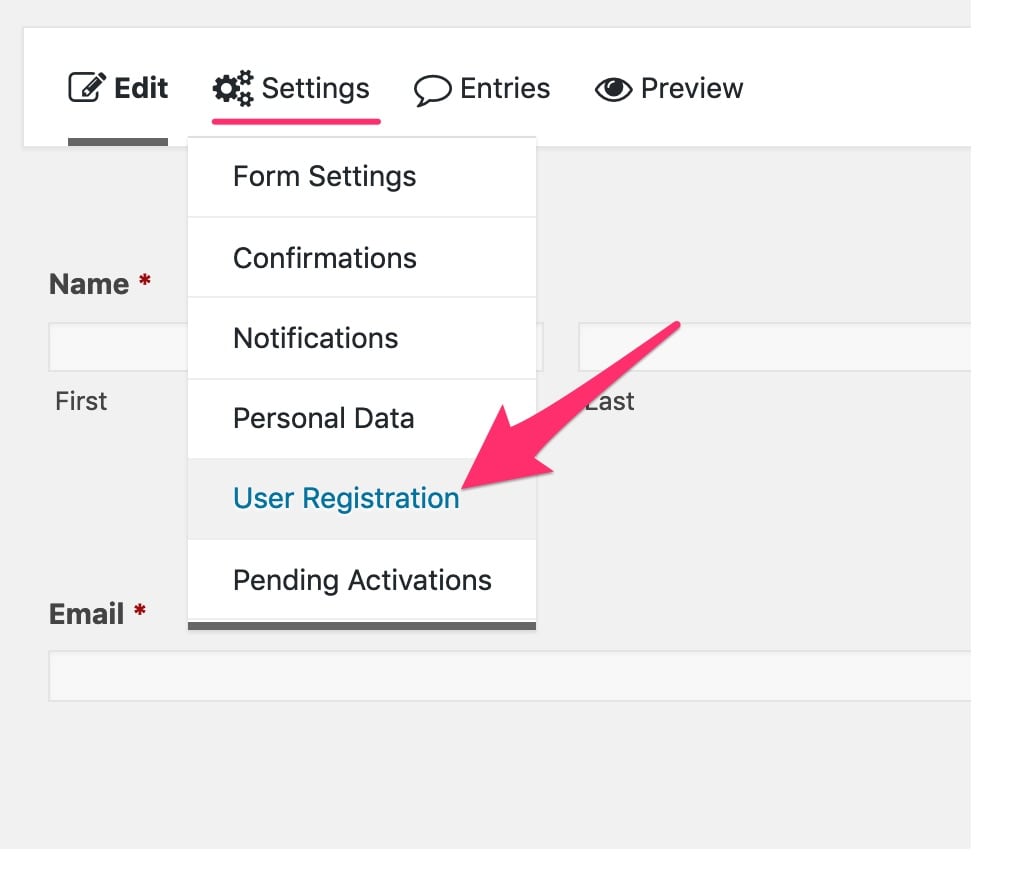
To get started, from the Edit Form page:
- Go to Settings > User Registration
You are free to experiment with different settings, as there is no definitive way to set this up. However, for the simplest setup, we recommend the following:
Feed Settings
- Name: Anything you’d like
- Action: Create user
User Settings
- Username: Either use the “Email” form field, or provide a specific “Username” form field
- First Name: Name (First)
- Last Name: Name (Last)
- Nickname: Name (First)
- Display Name: {first name} {last name}
- Email Address: Use the “Email” form field
- Password: Either provide a Password form field, or choose Auto Generate Password
- Role: Subscriber
If you’re using custom roles, LearnDash groups, etc., you might want to assign a different role.
Additional Options
These are beyond the scope of this article. Please reference Gravity Forms documentation for more info.
Assign LearnDash Courses
The final step is to assign a course (or courses) that the user will be enrolled in once they submit the form.
- Locate the final group of settings on the User Registration Feed titled LearnDash Settings
- Check the box(es) next to the course(s) you want the user to be enrolled in
- Save/Update your settings
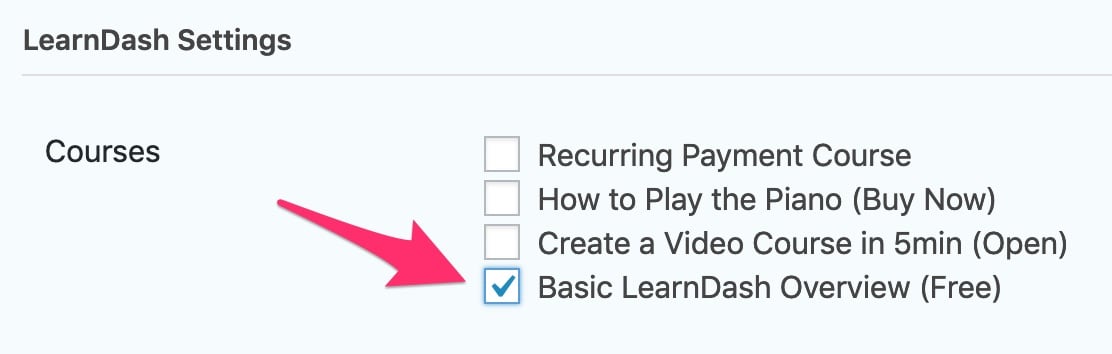
Congratulations! Now when someone successfully submits the form, a new user account is created for them, and they will be automatically enrolled in the associated course(s).
Require Payment
In addition to allowing free user registration, Gravity Forms also provides a way to charge for your courses during the signup process. To enable this, you will need an account with one of Gravity Form’s payment gateway add-ons. Most of the payment add-ons require the Elite license of Gravity Forms.
IMPORTANT: When using paid courses the Paid Form feature needs to be enabled by ticking the box in the LearnDash Settings option.
Gravity Forms payment options include:
- Stripe (docs)
- PayPal Payments Standard (docs)
- PayPal Payments Pro (docs)
- 2Checkout (docs)
- Authorize.net (docs)
Use the “docs” links above to follow Gravity Form’s documentation on setting up each payment add-on.