

How to Add Product Specific Swatches
If you want to use swatches for a specific product only or override the styling for your global swatches, then you can do so with WooCommerce Attribute Swatches.
To add product-specific swatches, take the following steps:
Note: This guide presumes you already have a variable product set up and saved with attributes already assigned.
- From your WordPress dashboard, go to Products > All Products and click to edit the product you want to edit or add custom swatches to.
- Scroll down to the Product data section of the Edit Product page and click the Attribute Swatches tab.
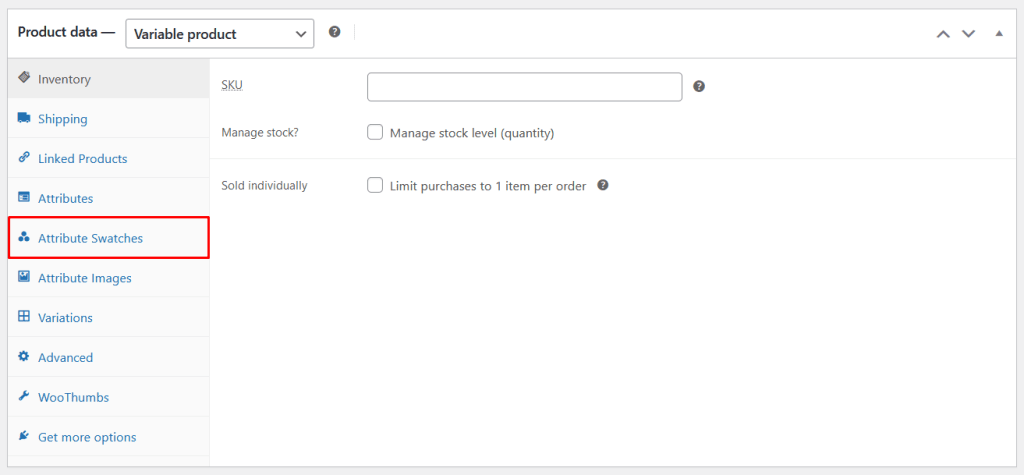
- Here you’ll see all the attributes assigned to your variable product, with a section underneath each heading for managing both swatch and fee settings.
- If you created a custom attribute for the product you’re editing, this will also appear here.

- Click on the Swatches section underneath the attribute heading, or hover over the section and click the black down arrow to see more information.
- In the Swatches settings, the value in the Swatch Type dropdown menu will be Default if you have not previously configured a product-specific swatch settings for the attribute . Change this to whatever type of swatch you want to create and all your custom swatch settings will appear.

- If you’re editing a swatch that was first created as a global swatch, all of the existing (global) settings for this attribute will then appear. You can change everything from the swatch colors, to their size, shape and more.

- Once you’re happy with your changes, scroll to the top of the page to the Publish section and click the blue Update button.