
◦ Comprehensive security
◦ 24/7 support
WordPress Guide → Development → Wix
How to move Wix to WordPress: a website migration guide
Wix can feel limiting once your site starts to grow. Whether it’s SEO, design freedom, or plugin flexibility, many site owners eventually outgrow the platform and start looking for something more powerful.
WordPress is a flexible, open-source platform that gives you total control over your website—design, features, and even hosting. But moving from Wix to WordPress takes a bit of planning. Here’s everything you need to do, step by step.
Get fast, reliable hosting for WordPress
Power your site with the industry’s fastest, most optimized WordPress hosting
1. Choose WordPress hosting and install WordPress
To get started, you’ll need to create a home for your new WordPress site.
Pick a WordPress hosting provider
Unlike Wix, WordPress is self-hosted, meaning you’re in charge of choosing a web hosting provider. Look for one that’s optimized for WordPress performance, offers easy installation tools, and includes expert support. Managed WordPress hosting takes care of server maintenance, backups, and updates for you.
Purchase hosting and a domain name (or transfer your existing one)
If your Wix site uses a free subdomain (like yourname.wixsite.com), now’s a good time to register your own custom domain. If you already own a domain through Wix, you can transfer it to your new host or update its DNS records to point to WordPress.
Install WordPress on your new hosting account
Most hosting providers include a one-click WordPress installer in the dashboard. Once installed, you’ll get a link to log into your WordPress dashboard at yourdomain.com/wp-admin.
2. Prepare your WordPress site for content import
Before migrating content, set up your site structure and design.
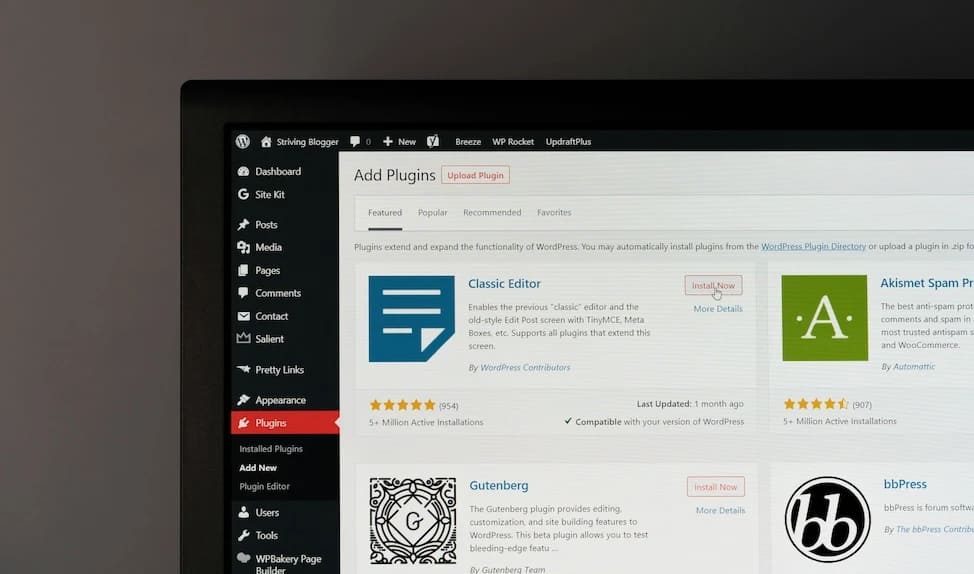
Choose and install a WordPress theme
Pick a WordPress theme that closely matches your Wix site or take the opportunity to redesign. WordPress has thousands of free and premium themes, many of which are mobile-optimized and block-editor–friendly.
To install one, go to Appearance > Themes > Add New and search for a theme, then click Install and Activate.
Customize your WordPress theme
Use the Customizer (under Appearance > Customize) or the Site Editor (if you’re using a block theme) to add your logo, edit your homepage layout, create navigation menus, and adjust colors or typography.
3. Transfer your content from Wix to WordPress
Wix doesn’t offer an official export tool, so most content needs to be moved manually.
Manually copy and paste text and images
Go page-by-page through your Wix site and copy the content into new WordPress Pages or Posts. Use the block editor to recreate layouts with headings, paragraphs, images, galleries, and other blocks.
If your site has only a few pages, this is a quick and clean method. Don’t forget to set featured images and page titles.
Use RSS to migrate blog posts (if available)
Older Wix sites (classic blogs) may still have an RSS feed at yourwixdomain.com/blog-feed.xml. You can import posts using Tools > Import > RSS, which brings over titles, content, and publish dates—but not images or categories.
If your RSS feed is blocked or missing, fall back to manual copy-paste for blog content.
Upload media files manually to the WordPress Media Library
Wix doesn’t let you bulk-export images, so you’ll need to download them from the live site or from your computer if you still have the originals.
Go to Media > Add New in WordPress to upload images and reinsert them into pages and posts using the Image block.
4. Set up proper redirects to preserve SEO
Redirects are essential if you want to keep your search rankings and avoid broken links after migrating.
Use 301 redirects for old Wix URLs
If your Wix site was on a free subdomain, you can’t set up redirects. But if you had a custom domain (like yourdomain.com), Wix lets you set 301 redirects—as long as you keep paying for your Wix plan.
The better option is to update the DNS for your domain to point to WordPress, then manage redirects using a redirect plugin like Redirection. This lets you forward old URLs to their new WordPress counterparts.
Map old URLs to new WordPress URLs
Wix URLs often use formats like /about-us or /blog/post-title. Try to match your new WordPress slugs to these if possible. If not, create a spreadsheet of old and new URLs so you can set accurate redirects.
5. Post-migration cleanup and launch
Once your content is in WordPress, it’s time to polish things up and go live.
Test your WordPress site thoroughly
Check every page and post for broken links, formatting issues, and missing images. Preview your site on mobile, tablet, and desktop. You can also use the Broken Link Checker plugin to spot problems.
Optimize SEO with a WordPress plugin
Install an SEO plugin like Yoast SEO or Rank Math to add meta titles, descriptions, schema, and generate XML sitemaps. These tools also help you optimize content readability and keyword usage.
Submit your site to Google Search Console
Once your domain is pointed to WordPress and your site is live, log into Google Search Console to:
- Verify your domain
- Submit your XML sitemap
- Use the “Change of Address” tool (if you changed domains)
This tells Google to index your new WordPress version and helps preserve your SEO.
Bonus: Keep your Wix site live during the transition
If you want to avoid downtime or need time to build your new WordPress site, keep your Wix site live on its current domain while developing WordPress on a temporary URL.
Options include:
- Installing WordPress on a subdomain like new.yourdomain.com
- Using a temporary domain provided by your host
- Developing the WordPress site locally with a tool like Local or DevKinsta
Once everything looks good, update your domain’s DNS records to point to your new WordPress host and launch your site.
Wix to WordPress FAQs
Next steps for moving Wix to WordPress
Migrating from Wix to WordPress gives you more flexibility, control, and scalability—but it takes planning and hands-on work to do it right.
Start by setting up your WordPress hosting and choosing a theme that matches your brand. Then focus on transferring content carefully, setting up redirects, and optimizing your new site for SEO.
Ready to upgrade your WordPress experience? Professional hosting improves speeds, security, and reliability for a website and a brand that people find engaging and trustworthy. Liquid Web’s WordPress hosting options configure business-class servers and support plans specifically for WordPress websites.
Don’t want to deal with server management and maintenance? Our fully managed hosting for WordPress is the best in the industry. Our team are not only server IT experts, but WordPress hosting experts as well. Your server couldn’t be in better hands.
Click through below to explore all of our hosting for WordPress options, or chat with a WordPress expert right now to get answers and advice.
Additional resources
What is managed WordPress hosting? →
Get details and decide if managed WordPress hosting is right for you.
How to push specific pages in WordPress →
Easily push specific pages from staging to live in WordPress without affecting the entire site.
A complete guide to WordPress shortcodes →
Shortcodes make life easier. Learn how to get started!