
◦ Comprehensive security
◦ 24/7 support
WordPress Guide → Plugins → Weglot Plugin
How to use Weglot Plugin on your WordPress Website

Weglot is one of the leading WordPress multilingual plugins available and makes adding multiple languages to your site simple and fast.
With Weglot’s translation plugin you can have a multilingual WordPress website up and running instantly. In just 5 minutes, install the Weglot plugin on your site and get a multilingual website, without the need for a developer. With an automatically added front-end language switcher, your website visitors can switch between their language of choice.
Weglot works by detecting, translating, and displaying 100% of the content of your WordPress website, giving you a layer of machine translation to use as you choose. Keep your website 100% machine translated, or make use of Weglot’s translation editing features available in your Weglot Dashboard. Here you can make manual edits, add teammates, or even order professional translators.
What’s more, Weglot also incorporates multilingual SEO within its plugin – a key part of getting more visitors from international audiences. With it, you’ll get language-specific subdirectories, translated metadata, and automatically added hreflang tags.
Get fast, reliable hosting for WordPress
Power your site with the industry’s fastest, most optimized WordPress hosting
How to install the Weglot translation plugin on your WordPress website
Step 1: Install, and active the Weglot translate plugin
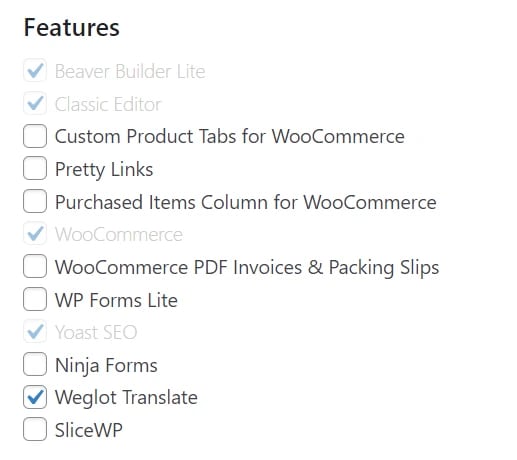
If you are using Managed WordPress or Managed WooCommerce then you can easily install and activate the Weglot plugin using the Liquid Web installer in wp-admin on your site.

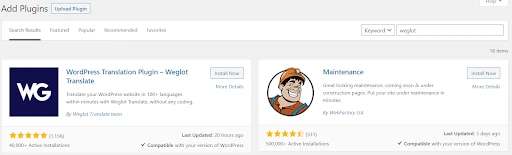
The plugin can also be installed in your WordPress Dashboard, head to the ‘Plugins’ tab and ‘Add New’. Using the search bar type Weglot. We’ll be the first option that comes up, simply click ‘Install Now’ and then ‘Activate’.
You’ll now see a Weglot tab has appeared in your WordPress Dashboard. Click on the tab to finalize translating your website.
Step 2: Create a Weglot account
To finalize the process you’ll need to create a Weglot account. This is where you’ll manage all your translations. Once you’ve signed up, you’ll get a unique API key to paste into the Weglot tab in the WordPress admin.
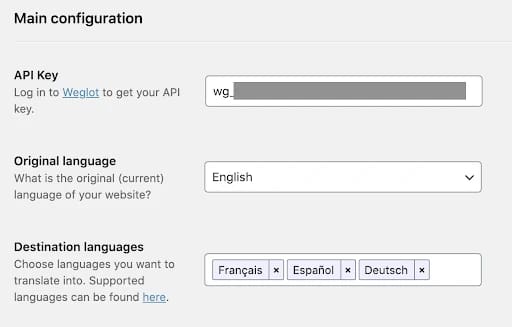
Next, add the original language of your website, and then in the third box, add the languages you want to translate your WordPress website into.
Choose from 100+ or create a custom language. Finally, make sure you click ‘Save Changes’.
Step 3: Your WordPress website is now multilingual!
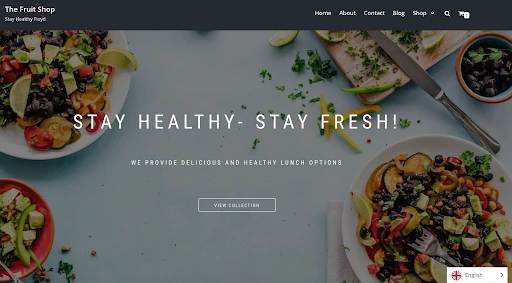
Your multilingual WordPress website has now been translated. If you navigate to your WordPress website you’ll see a front-end language switcher has been added and when you switch between languages, your website will automatically translate.
Easily edit your translations through your Weglot Dashboard to set your translation quality and get access to numerous translation features, including in-context editing.
Getting started to use Weglot Plugin on your WordPress Website
Try Weglot for free for 10 days. For 24-hour assistance any day of the year, contact our support team by email or through your Client Portal.
Liquid Web has been leading the industry in WordPress hosting for decades. And if you select managed WordPress hosting, our team of experts will manage server IT for you — so you can focus on growing your brand.
Click below to explore options or start a chat with one of our WordPress hosting experts now to get answers to your questions and further guidance.
Additional resources
What is a WordPress plugin? →
A complete beginner’s guide to WordPress plugins and how to manage them
How to use the SliceWP plugin on your WordPress website
→
SliceWP is a WordPress plugin that makes it easy for you to start and manage an affiliate program for your store.
How to check if a plugin is safe →
Simple steps to evaluating a plugin before you install and activate it

Luke Cavanagh, Strategic Support & Accelerant at Liquid Web, is one of the company’s most seasoned subject matter experts, focusing on web hosting, digital marketing, and ecommerce. He is dedicated to educating readers on the latest trends and advancements in technology and digital infrastructure.