Getting Started with your Bare Metal server
Bare Metal Servers at Liquid Web offer unparalleled performance and control, providing dedicated resources for your most demanding applications. This guide will walk you through the basics of managing your Bare Metal Server from the Liquid Web Account Portal, including powering on and off, rebooting, and destroying the server.
Finding your server information
- Log in to your Liquid Web account.
- Click on the My Servers link in the left navigation bar.
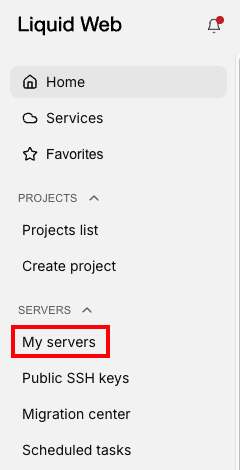
- This is the Servers list for your account. You can use the three-dot menu to the right of each server’s name to manage the power state of the server. Click on the name of the server to bring up the server details page.

- On the Server details page, you’ll find everything you need to manage your Bare metal server, including server information, Networking information, and Server Credentials.
Powering On/Off the server
You can manage the power state of the server by using the three-dot menu to the right of the server name in the servers list.
- On the server details page, click the three dot menu to the right of the reboot button. Click Shutdown server to power off the server. (NOTE: you will still be charged for the server, even if it is left in a powered off state).

- If the server is currently powered off, Click Start server to start the server.

Rebooting the server
- To reboot the server, click the Reboot button (this button is only available if the server is powered on).
- When you click the Reboot button, you’ll be presented with some additional choices.

- Click on Schedule for later to schedule the reboot for a more convenient time/day. Click on the calendar icon to specify the date and time for the reboot.

- This will open the Task Scheduler dialogue. Click on the date or the time to adjust as needed.

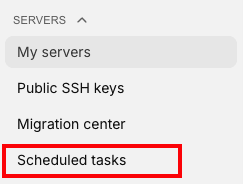
- You can see and manage your scheduled tasks by clicking Scheduled Tasks in the Servers menu.
- You can also choose to enable the Force Reboot option if the server is unresponsive. This is the equivalent of powering off the server and is not recommended unless the server is unresponsive.
Destroying your server
When the server has served its purpose, you may need to remove it from your account to save on resources or make room for another project. You can destroy the server from your Liquid Web account.
- From the Servers List page, click the three-dot menu next to the server you wish to remove and click Destroy.

- You can also find the Destroy button on the Server detail page for the server you want to remove. This may help you be sure that you are removing the correct server from your account. Click the three-dot menu on the Server detail page and click Destroy Server.

- Whichever method you choose, once you click on the Destroy button, you will be presented with a confirmation page. This page confirms that you are about to destroy the server and confirms that this is an irreversible action. Liquid Web WILL NOT be able to retrieve data or reinstate the server once it has been destroyed. This server will immediately be destroyed when you click the Destroy button at the bottom of the page.
- We ask that you provide additional feedback about your experience with the server. By sharing your experience, you can help us improve this product offering.
- Once you are sure that you are finished with the server, click Destroy at the bottom of the page to remove the server from your account. If the destroy button is greyed out or not clickable, you may still need to complete the feedback request.
Please reach out to Liquid Web support if you need additional help with the server.