Use WP Super Cache in Cloud Sites
Because Cloud Sites has a unique infrastructure setup, WP Super Cache functions better with a little additional configuration. Before you make these changes to the WP Super Cache settings, please install and configure WP Super Cache in Optimizing WordPress with Caching Plugins. This article assumes you are familiar with WP Super Cache and have installed the plugin and set basic configurations on your WordPress hosting.
To change settings for WP Super Cache, you’ll log into your WordPress dashboard and, in the left navigation menu, click on Settings, then WP Super Cache.
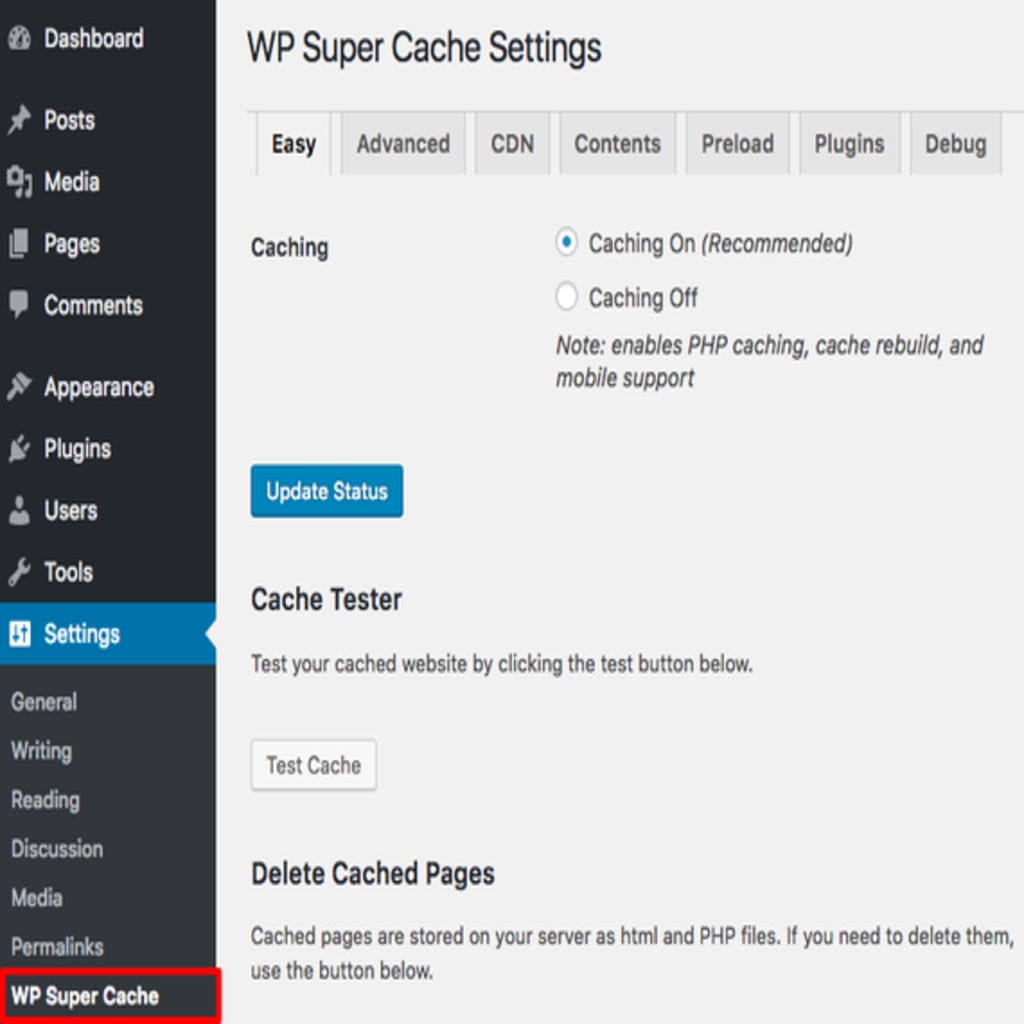
As you’re changing settings, make sure to click Update Status or Save after each section.
Advanced
In the Advanced tab, use the checkboxes and radio buttons to select the following options:
Caching
- Cache hits to this website for quick access.
- Use mod_rewrite to serve cache files.
Miscellaneous
- Compress pages so they’re served more quickly to visitors.
- Don’t cache pages for known users.
- Cache rebuild. Serve a supercache file to anonymous users while a new file is being generated.
Advanced
- Mobile device support. (External plugin or theme required. See the FAQ for further details.)
- Extra homepage checks. (Very occasionally stops homepage caching)
After making those changes, click Update Status.
Once you update these settings, you’ll see a message at the top of the screen saying you need to update the rewrite rules. Scroll down to the Advanced section and click Update Mod_Rewrite Rules. When you click the button, the rules will be automatically updated: you don’t have to make any changes to your configuration files!
Expiry Time & Garbage Collection
In the Expiry Time & Garbage Collection section, change Cache Timeout to 0 seconds then click Change Expiration.
Preload
Click on the Preload tab next.
Use the checkboxes to select these options:
- Select Preload mode (garbage collection only on legacy cache files. Recommended.)
Choose how often you’d like to refresh the preloaded cache in Refresh preloaded cache files every ___ minutes. How often you’d like to refresh the cache depends on how busy your site is and how often you update your site. You may need to experiment with this setting to make sure website visitors are seeing the most up-to-date website information every time they visit. Once you’ve chosen these options, click Update Settings.
After you’ve updated your settings, click Preload Cache Now. Depending on the size of the site and amount of content, the cache will take a few seconds to a minute to build. Once complete, you should see faster page load times.
Any time a layout change has been made (such as adding a widget or changing the theme), it will be necessary to go to the admin panel and click Delete Cache and verify your page looks as you want. Then, go into the Super Cache settings, click on the Preload tab and click Preload Cache Now to regenerate the cache for the site.