Managing Administrator Settings in Your Email Control Panel
Once you add an administrator in the Email control panel, you can manage their account access, passwords and enable security measures like two-factor authentication. This tutorial will show you the steps to:
- Delete an administrator
- Disable an administrator
- Reset an administrator password
- Set up password expiration
- Enable login restrictions
- Enable two-factor authentication
To get started:
- Log into your Email control panel.
- Click Manage Administrators under the Common Actions section.

Delete Administrators
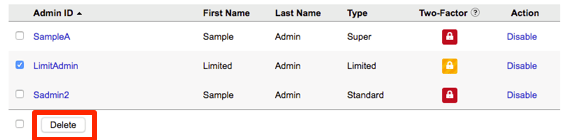
- To delete an administrator, click the box next to their name in the administrator list.

- Click the Delete button at the bottom of the list.
- Confirm that you want to delete the administrator in the pop-up that appears.

- The administrator will be deleted and no longer show in the administrators list.

Disable Administrators
- To disable an administrator, click the Disable link in the row with their name.
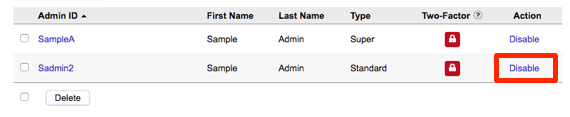
- The administrator will now be disabled and unable to log into the control panel.
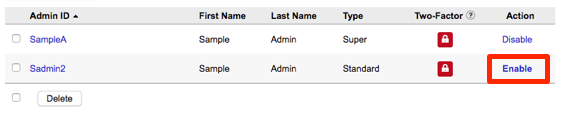
- If you want to enable them at any time, you can click the Enable link and their permissions will be restored.
Reset Password
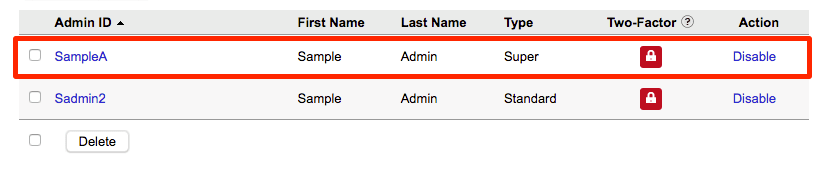
- Select the administrator from the list and click on their Admin ID.
- In the Password section, click the Send Password Reset Email button to send a new password link to the administrator.
Note:
While you do have the ability to reset the password, it is not advised. For security reasons, you should never share a password or write it down. For more information, see our article Best Practice: Creating a Secure Password.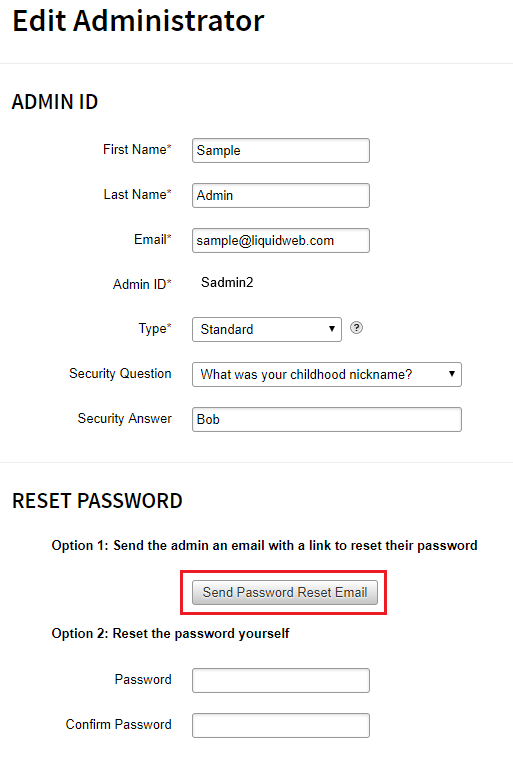
- An email will be sent to the administrator with a link to reset their password.

- They will be asked to verify their security question and then prompted to change the password. Once completed, they can log in using the new password.
Password Expiration
You can enforce regular password updates by setting an expiration for the administrators password. This helps keep email accounts secure and avoid compromise.
- Use the radio button to enable password expiration under the Security Settings section.

- Enter the number of days you want between password changes. 90 days is the suggested number of days, but you can set it for as few or as many days as you’d like.

- Scroll to the bottom of the page and click Save.
Login Restrictions
You can manage any login restrictions for the administrator in this section. You can allow the administrator to login in multiple browsers/locations or restrict their login to be allowed only by specific IP addresses (example: you only allow them to login from their work computer IP).
To disable simultaneous logins, uncheck the box next to the permission.
To restrict logins to certain IPs, check the box and enter up to 3 IP addresses separated by commas.
Two-Factor Authentication
Two-factor authentication requires a second method of authentication in addition to the user’s password to be able to log in. Before setting up, your administrator will need to download a two-factor authentication app like Duo Mobile or Google Authenticator on their phone or desktop.
- Once you enable two-factor authentication by checking the box in the Security Settings section, they will be required to set it up on their next log in.

- On their next login, they will see the two-factor authentication setup page.

- Once they enter the verification code, two-factor authentication will be enabled on their account. They will be required to verify both their password and authentication code each time they log into their administrator account.