Creating a Cron Job in cPanel
Automate your server tasks easily. Learn how to create, schedule, and manage Cron Jobs in cPanel without the risk of command-line syntax errors.
As we learned in our article What Is a Cron? you can create scheduled tasks using a crontab file that tells your server to run a specific script or action on a regular basis. You can create the cron manually using a text editor, but the easiest way to set up a cron is to create it in cPanel. Creating a cron in cPanel allows you to pick your settings, enter the command and receive email updates when the cron runs, all without having to format the argument and run into potential issues of missing a character or entering incorrect syntax. Follow the simple steps below to create a cron.
- Log into cPanel.
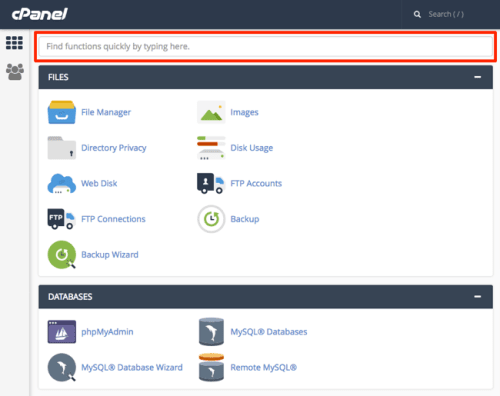
- In the search bar at the top of the page, type the word cron to find the link for Cron Jobs.

- Click the link to be directed to the home page for Cron Jobs.

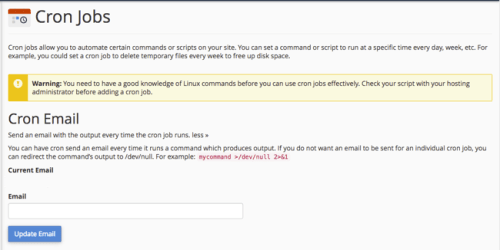
- The first section of this page asks you to enter an email address you would like to have emails with the cron output sent each time the cron runs.
Tip:
Depending on the frequency of the cron, you may want to redirect the output to /dev/null so that you are not getting endless emails. 
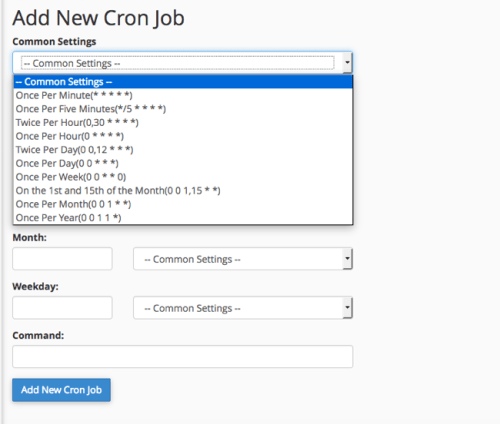
- To schedule the new cron job, you can use the drop-down under Common Settings. This provides you with the most common schedules for crons.

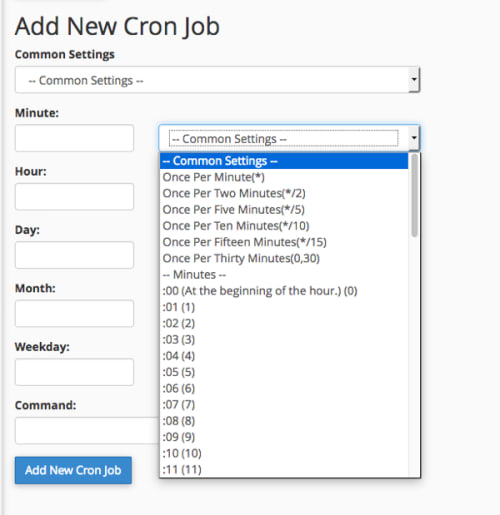
- You can also set up your own using the sections below. For each, there is a drop-down with the most common settings to choose from as well.

- Once you’ve chosen the frequency for your cron, you can enter the command in the last section.

- Save the cron by clicking the Add New Cron Job button.
- When the cron is saved, it will show in your Current Cron Jobs list at the bottom of the page.