Adding a VPS to a Private Parent
Adding a VPS to your Private Parent is a different process in portal.liquidweb.com than it was in Manage. In portal.liquidweb.com, instead of selecting your Private Parent, you select a VPS from the Marketplace (Linux, Windows, or Interworx) and then deploy it onto your Private Parent. You’ll allocate the resources to your new VPS from your Private Parent during the process.
- Log into your Account Portal and click on Shop at the top and then click on Marketplace.
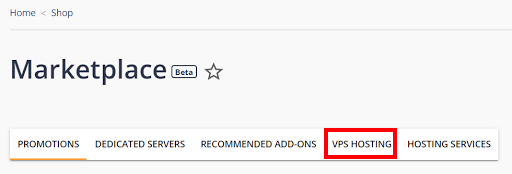
- We want to narrow down the list all of the possible choices by selecting VPS Hosting.
- Select the Linux VPS. NOTE: You can select a different operating system later in the process when you allocate resources. You’ll allocate the resources to your new VPS shortly. Also, ignore the price for now. It will reset further in the process described below.
- On the right side of the screen, click on Add and Configure.
- On the next screen, it is very important that the first thing you select is your Private Parent when clicking on “Deploy onto”.

In the above image, we selected our Private Parent named labcontrol.lwtraining.net
- Once you’ve selected your Private Parent from the “Deploy onto” dropdown, the panel where you can allocate your Private Parent resources to your new VPS will appear:

Notice the OS dropdown. This is where you can select to have either a Linux VPS or a Windows VPS.
- Once you’ve allocated your resources, the next section is where you can select to have Acronis Backups or elect not to have off-site backups.
- The next section is the Server Template screen. This is where you can either build your VPS from a pre-configured Liquid Web template such as a Fully Managed CentOS7 cPanel server, or you can create your VPS from a stored Cloud Backup or a stored Cloud Image.
- Continue with the Network Options, Bandwidth Options, and the Cloud Storage sections to complete building your VPS.
- With all of your options selected, click on the orange Continue button in the lower right corner.
- On this screen, enter the hostname you would like for this VPS.

Note that the system will automatically add the word host to the beginning of your hostname.
- Click on Proceed to Cart and then Checkout to place your order.
- Finally, click on Submit Order to submit your order.