Managing Disks in VMware Multi-Tenant
Managing Disks in the VMware Multi-Tenant can be done through the same process as resizing a VM (see Resizing a VM in VMware Multi-Tenant). In addition to changing the size of the hard drive of a VM, you can also add additional drives as needed.
Resizing a Hard Drive in a VM
- Log in to your Virtual Data Center (VDC). For help logging in, see Logging in to the VDC in VMware Multi-Tenant.
- Click the box containing the details of the VDC that contains the VM you want to resize.
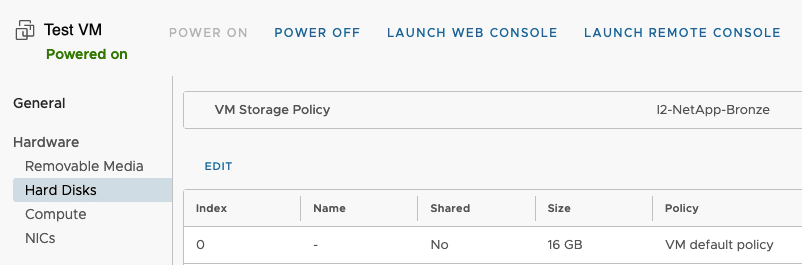
- In the Virtual Machines section, click the name of the VM you want to resize. This will bring up the details for that VM.
- Power Off the VM before attempting to make any changes.
- In the Hard Disks section, click EDIT to adjust the size of a hard drive attached to the VM.
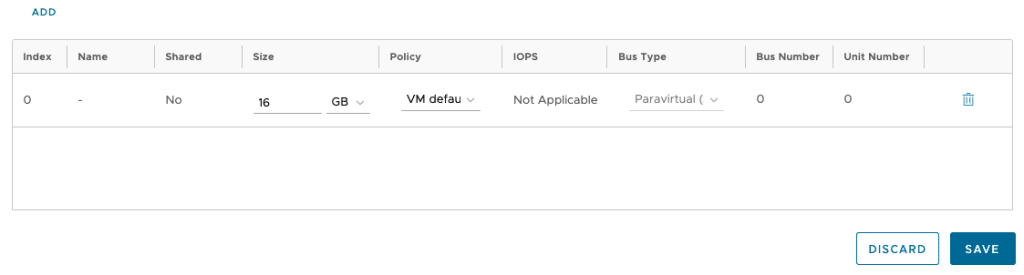
- Adjust the size of the hard disk as needed. Click Save to save your changes.
- Power on the VM. Adjust the disk size in the operating system to match the new size you specified.
NOTE: |
| Only adding storage to a VM is possible at this time. It is not possible to downsize a Hard Drive for your VM. Additionally, in order to use the added space, you will need to resize the disk inside the actual VM after you have increased the disk space in the VDC. |
Adding a Disk to a VM
- Log in to your Virtual Data Center (VDC). For help logging in, see Logging in to the VDC in VMware Multi-Tenant.
- Click the box containing the details of the VDC that contains the VM for which you want to add a hard disk.
- In the Virtual Machines section, click the name of the VM you want to resize. This will bring up the details for that VM.
- Power Off the VM before attempting to make any changes.
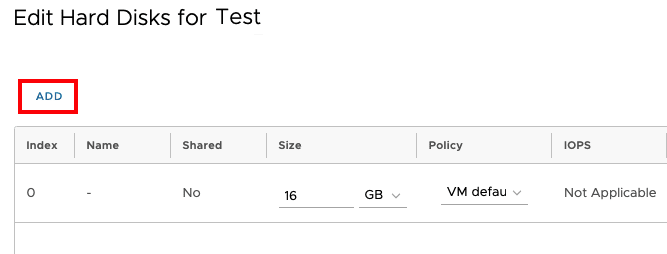
- In the Hard Disks section, click EDIT to open the details of the hard disks attached to the VM.
- Click ADD to add a new hard disk to the VM.
- The Primary Boot Disk should receive the lowest priority number as lowest boots first. If adding a disk changes this, make sure to specify the boot disk as the lowest number.
- Specify the size of the hard disk. Click Save to save your changes.
- Power on the VM.