Using IPMI Via VPN Access on Dedicated Servers
IPMI stands for Intelligent Platform Management Interface. It is a set of specifications for a computer subsystem that also for remote management and monitoring capabilities independent of the operating system of the target server.
As an example, IPMI provides a way to manage a server that is powered off or unresponsive by using a network connection to the hardware rather than to the operating system or login shell. This means you can bypass the operating system and log in via console to troubleshoot and get your server back up and running if it goes unresponsive for any reason.
Liquid Web provides IPMI access via VPN for your dedicated servers. Because IPMI operates at the local network level, you will first need to download and install a VPN (Virtual Private Network) client on your computer. See our article Setting Up Your Cloud VPN for operating system specific instructions on how to download and install the Cloud VPN service.
Once you’ve set up your Cloud VPN through your Liquid Web Account and installed the VPN client, you will need to contact our Support team to obtain the IPMI address, username and password to connect. Next, connect to the Liquid Web VPN that you configured and navigate to https://$IPMI-ADDRESS in your internet browser. The IPMI login page will open for you to enter your username and password and connect to IPMI via your VPN client.
System > System Information
This view is the first page displayed when you log into the IPMI web portal. There are a few important pieces of information on this page, including your IPMI IP address, the firmware revision of the IPMI BMC, and your system’s MAC addresses. The “Remote Console Preview” page gives you a small thumbnail display of what the video display would look like if directly connected to your server. Also note that you can perform some power cycling actions from this page, including “Power On,” “Power Down,” and “Reset.”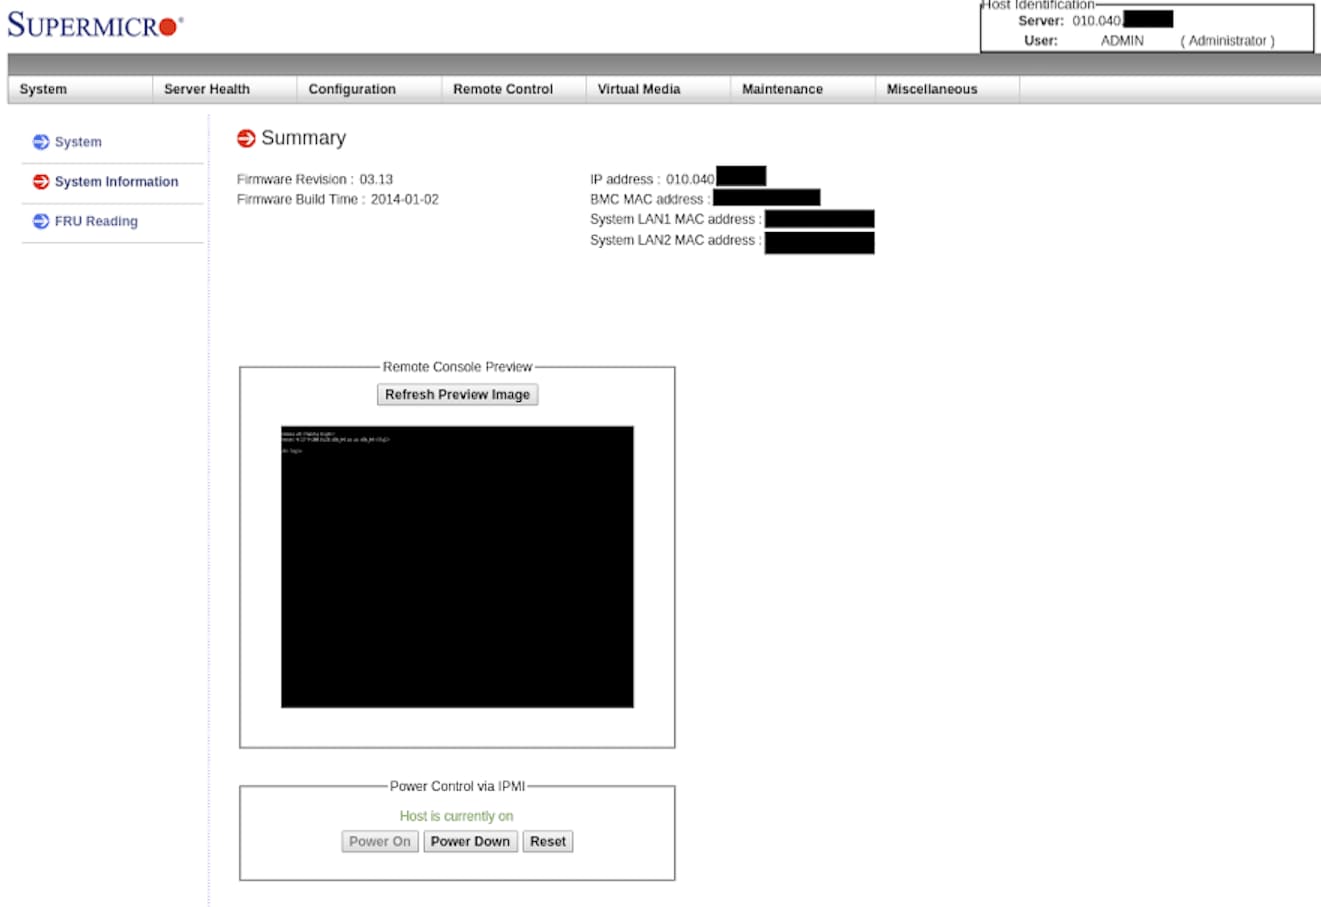
Remote Control > Console Redirection
While there is not much to look at on this page, it is one of the most important pages on the web portal! Clicking the “Launch Console” button will allow you to remotely connect to your server as if you had a KVM installed. When you click the button, your browser will prompt you to download a new file called “launch.jnlp.”

Server Health > Event Log
The “Event Log” page displays some fundamental logging information from the IPMI console. This page will keep a record of IPMI logins, and some other information on who accessed the system.
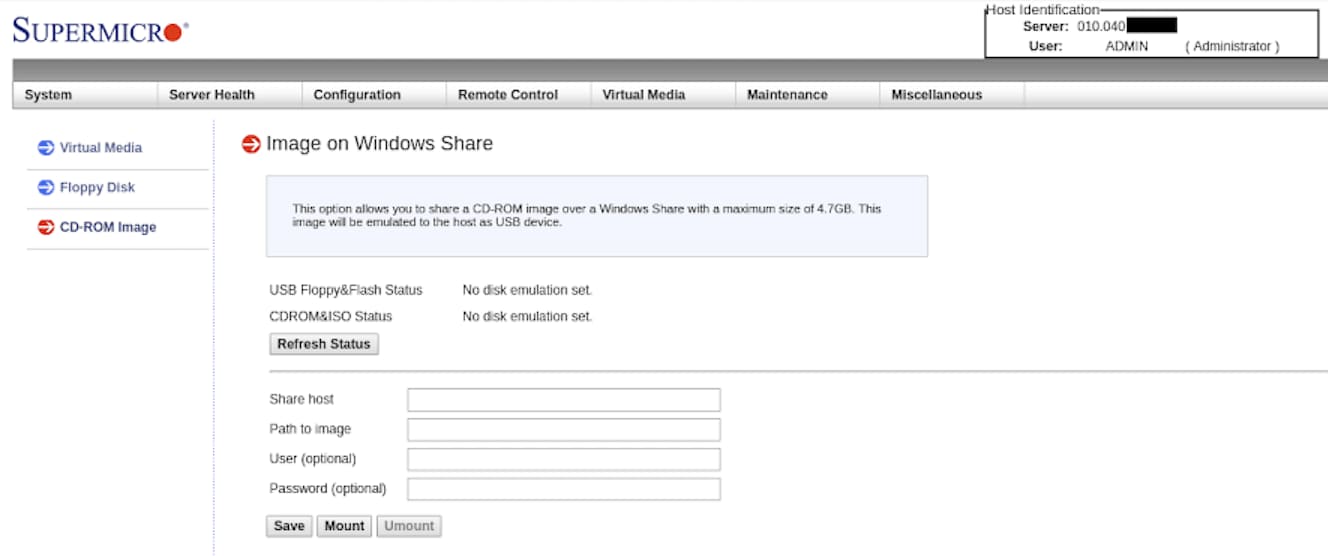
Virtual Media > CDROM Image
On this page, you can mount a CD-ROM ISO stored remotely on a Window share which can be useful if you would like to install a custom operating system remotely.
Server Health > Sensor Readings
This page displays information gathered by sensors on the motherboard. You can see information on many physical aspects of your server here. For example, some data here includes fan speed, component temperatures, voltage readings on the CPU and RAM, and more.
When appropriately used, IPMI can be a valuable tool in maintaining your server. It provides similar level access as if you were physically present in front of your server. It used to be that this capability was only possible when purchasing additional expensive KVM hardware. Liquid Web Dedicated Servers have this functionality as a standard at no extra cost! Give us a call if you would like to discuss getting an IPMI capable server.