Managing Networking in VMware Multi-Tenant
Setting up networking for a VMware infrastructure can be a complicated process. We’ve provided information for some common networking tasks.
Verifying VDC Network Configuration
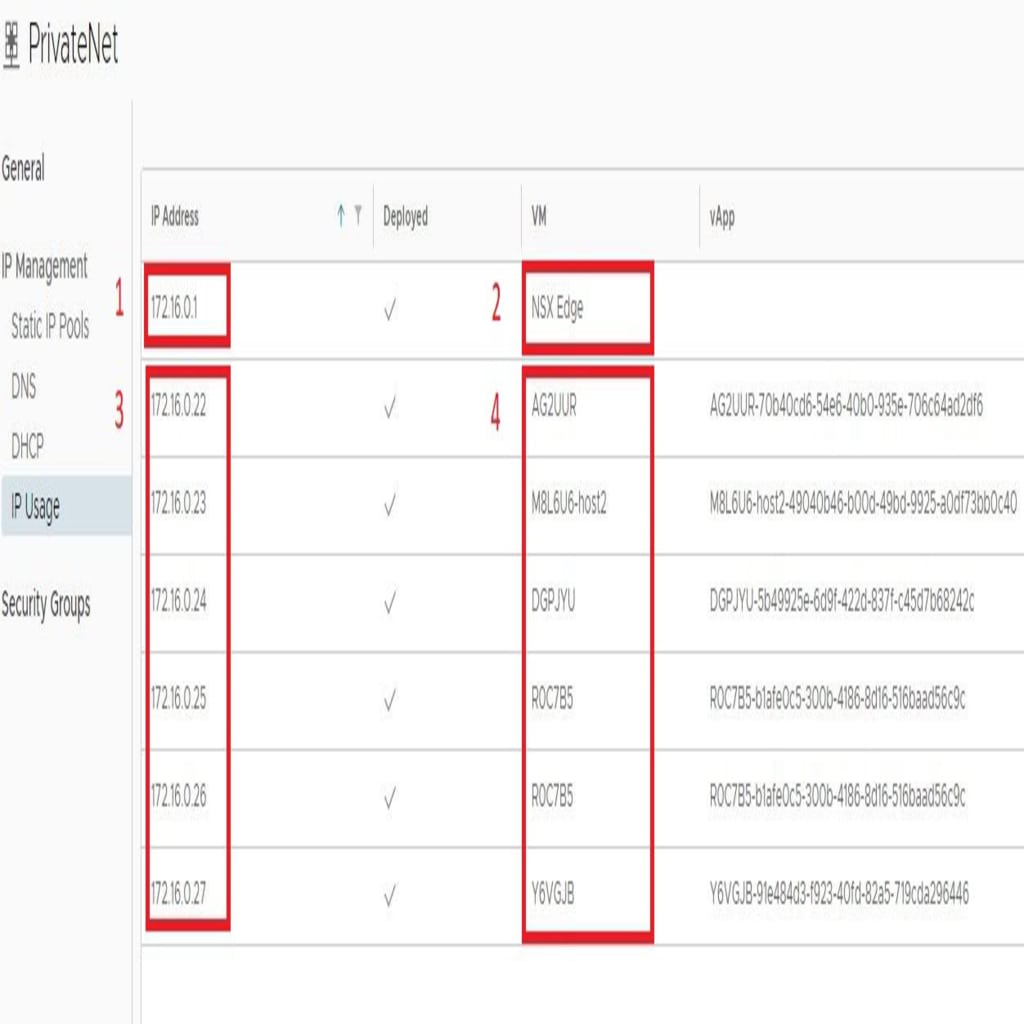
Every Virtual Data Center (VDC) will have a private network that every VM instance will connect to. To view the private network settings navigate to VDC >> Networking >> Networks and click on ‘PrivateNet’. This is the default private network for the VDC. Viewing the IP usage is the best way to see how the private network is configured. Each private IP deployed in the private network will be listed along with the VM to which the IP is allocated.
In the example screenshot below, numbers 1 and 2 are the NSX Edge gateway private IP. This is the private IP that leads to the public network. Numbers 3 and 4 are the private IPs allocated to each VM instance. The VM instance can be identified by the name of the instance.
VDC Edge Gateway
Every VDC will be connected to an Edge Gateway. The Edge Gateway provides services like firewall and NAT. Public IP addresses are linked to a VM instance through NAT rules. Every NAT rule is either inbound or outbound. As such every public IP allocated to a VM instance will require two NAT rules, one for inbound traffic and one for outbound traffic. To view the NAT rules navigate to VDC >> Networks >> Edges and click on the customers edge gateway (should be named for the customer account). Then navigate to Services >> NAT. Every public IP address should be set up in a one to one manner, meaning one public IP address mapped to one private IP address.
- Each NAT rule will be named for the name of the instance the rules apply to and whether the rule is inbound or outbound.
- The public IP address.
- The private IP address.

To add additional public IP addresses to the VDC, please contact our Support Team. Once assigned to the VDC, public IP addresses can be NAT assigned to your VMs as needed.
Adding an IPv4 Assignment to a New VM
You can use DHCP to assign random IP addresses to your new VMs. However, if you want to permanently assign an IP address (for web services, database connections, etc.), you’ll need to create an IPv4 Assignment (or Binding) in your VMware Network.
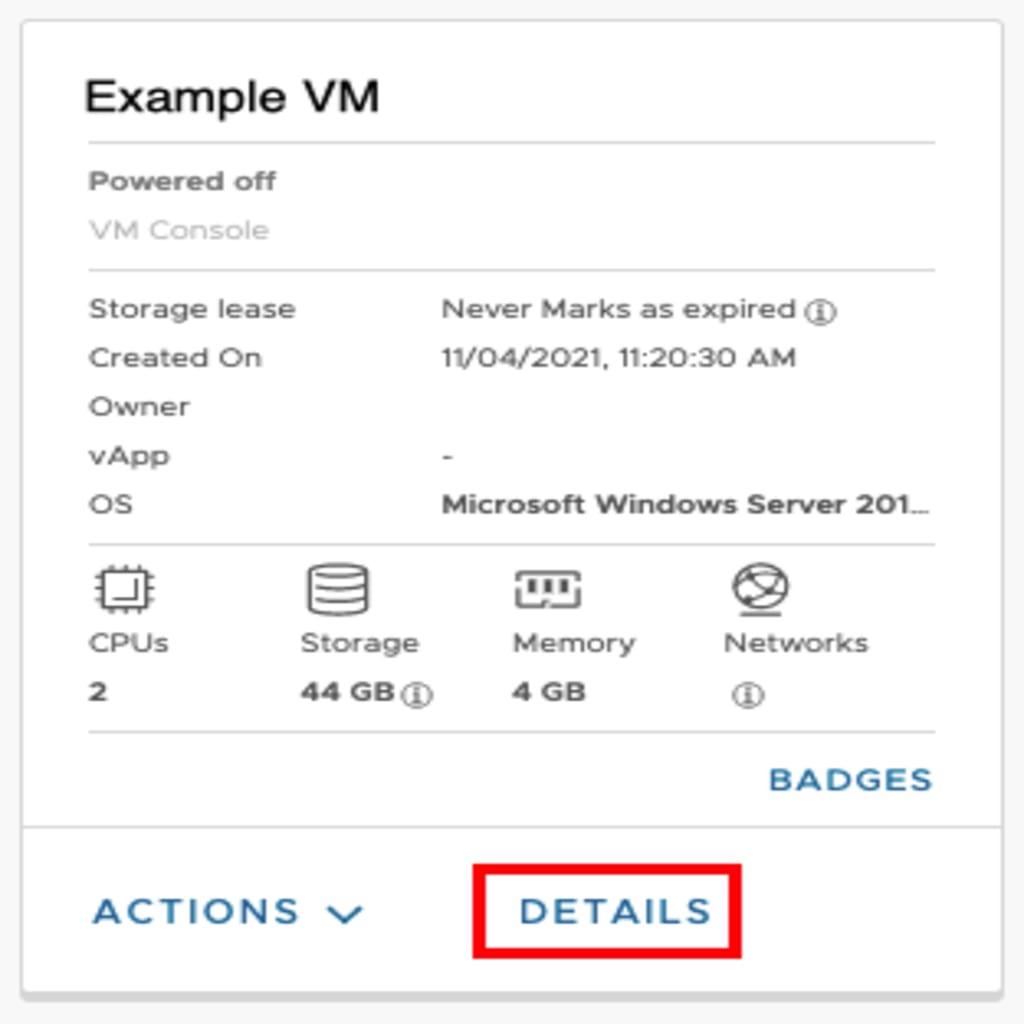
- First, you’ll need to record the MAC address of the NIC (virtual network card) of the VM for which you want to make the IP assignment. Open the details section of the VM.
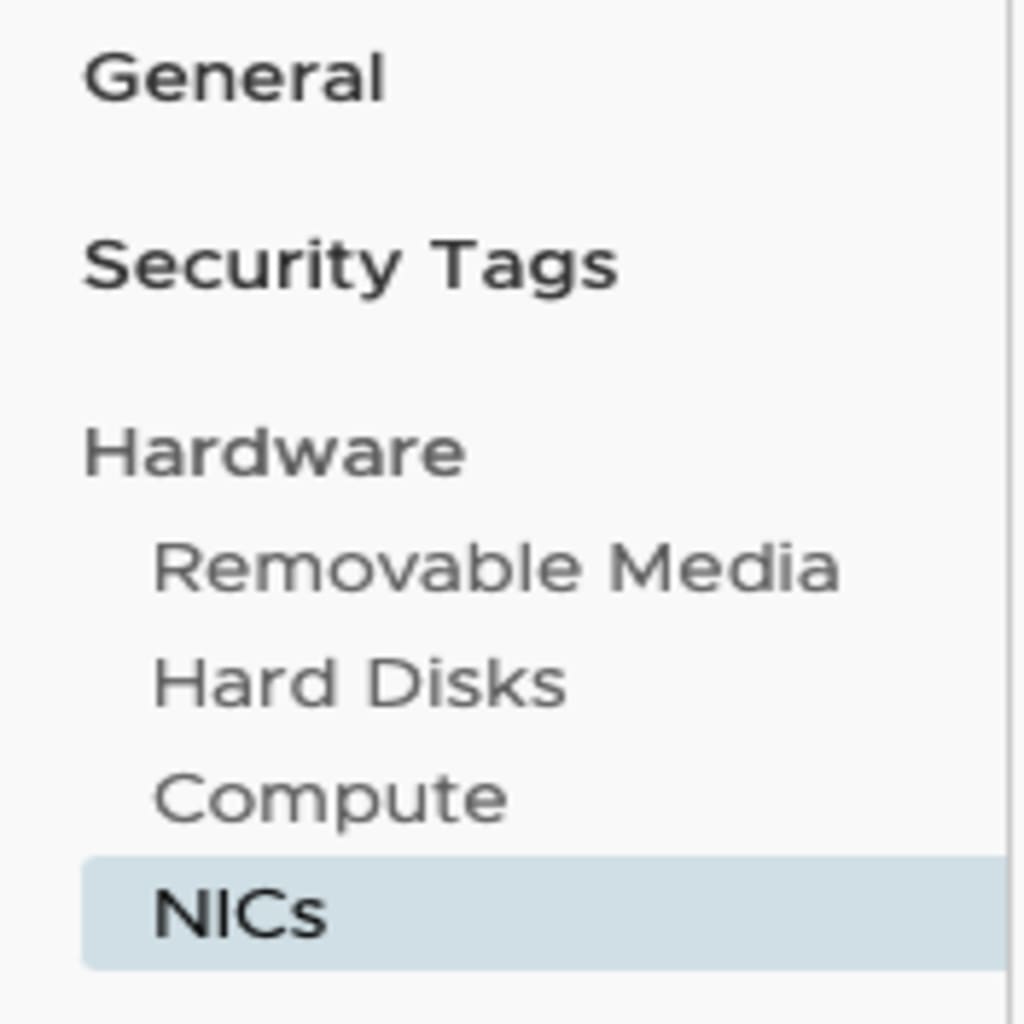
- Go to the NICs section of the VM.
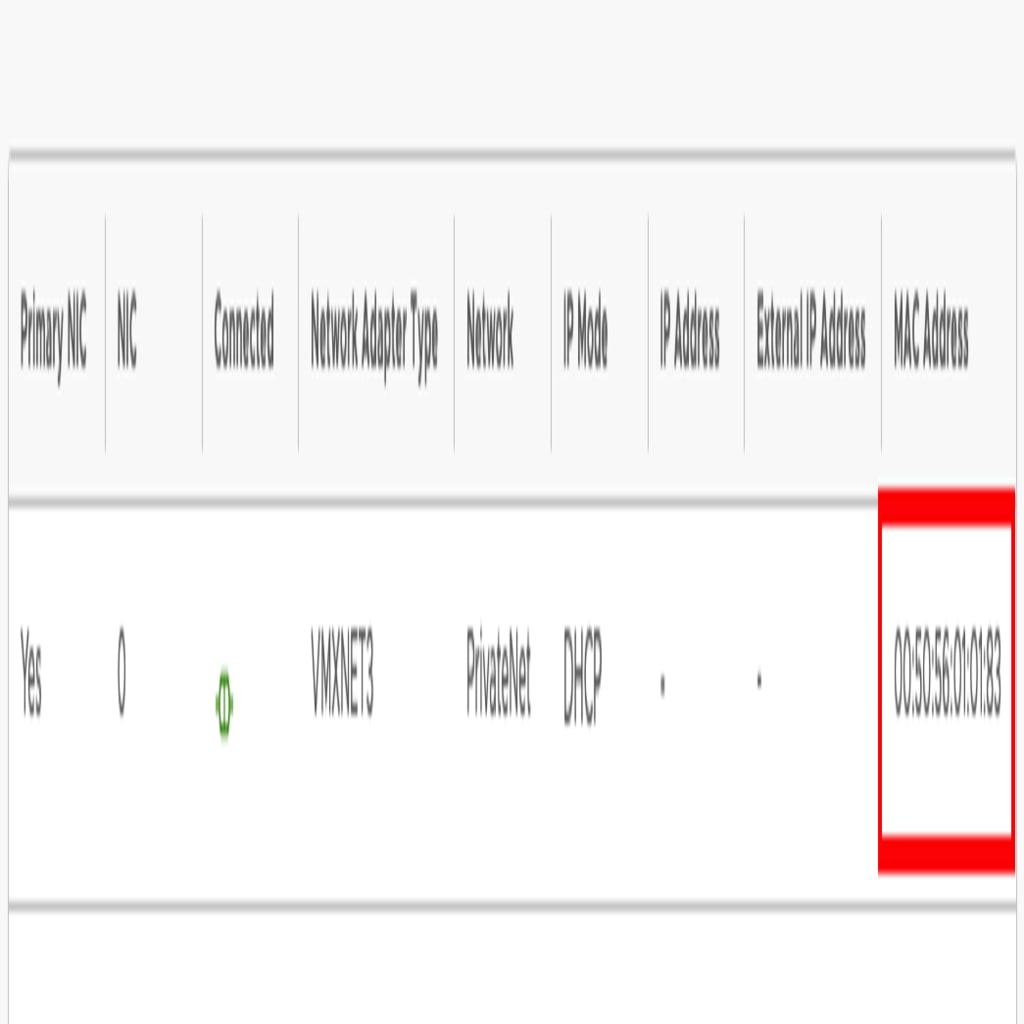
- Find the MAC address of the NIC. Copy this to your clipboard to be used when creating the IP Assignment.
- Now go to the Networks section of your VDC. Select IP Management -> DHCP -> IPv4 Bindings
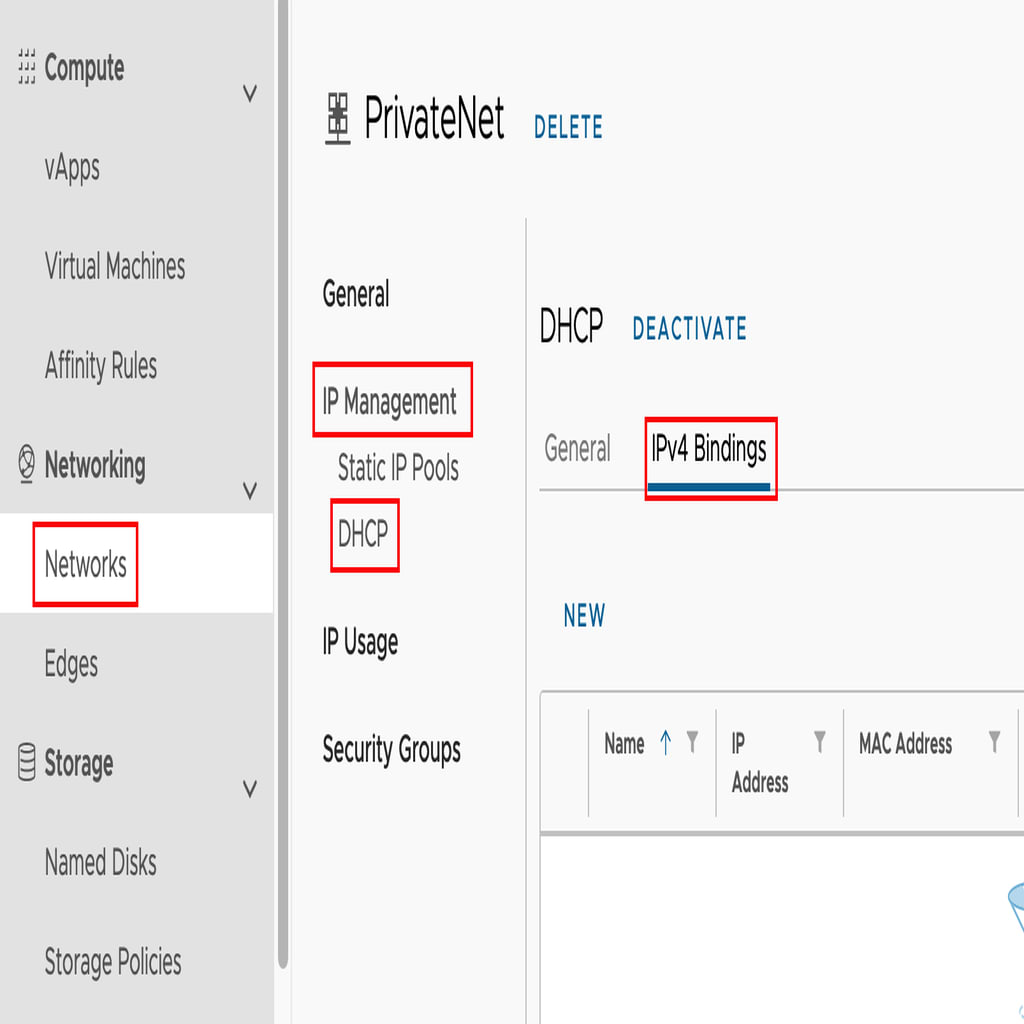
- Click NEW to create a new IPv4 Binding.
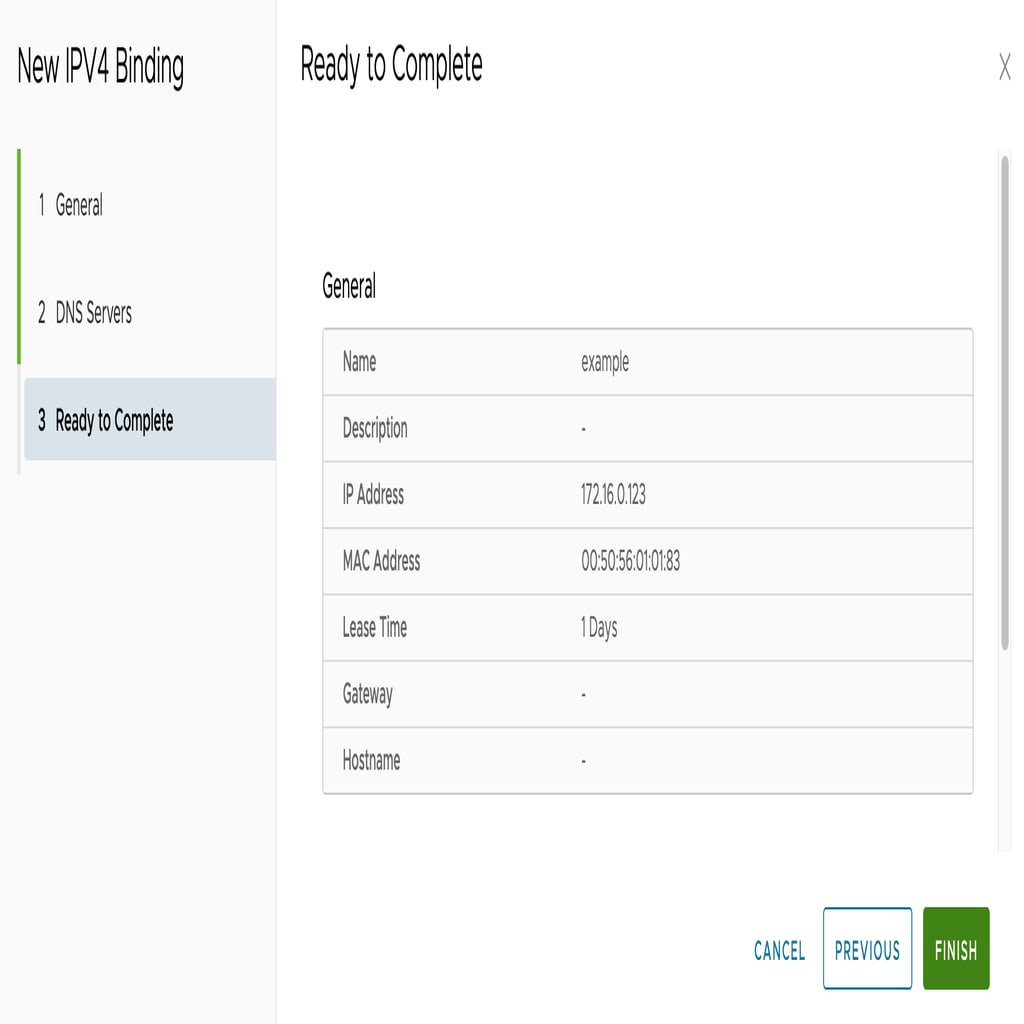
- Enter a Name, Description, IP address, and MAC address for the new IP Binding. You can leave the Gateway blank as it will use the VDC gateway. Click Next. (The lease time of 1 day is default and is appropriate for most situations).

- Enter 10.10.10.10 as the DNS server (This is Liquid Web’s primary DNS server and will provide the most reliable DNS information for your VM). Click NEXT.

- Verify all the information on the screen is correct and click Finish to create the IPv4 binding.
Setting Up NAT for a New VM
In order for the Edge Gateway to pass information correctly from your Public IP address to the Private IP address of your new VM, you’ll need to set up NAT (or Network Address Translation).
- From the portal select your VDC (Virtual Data Center)
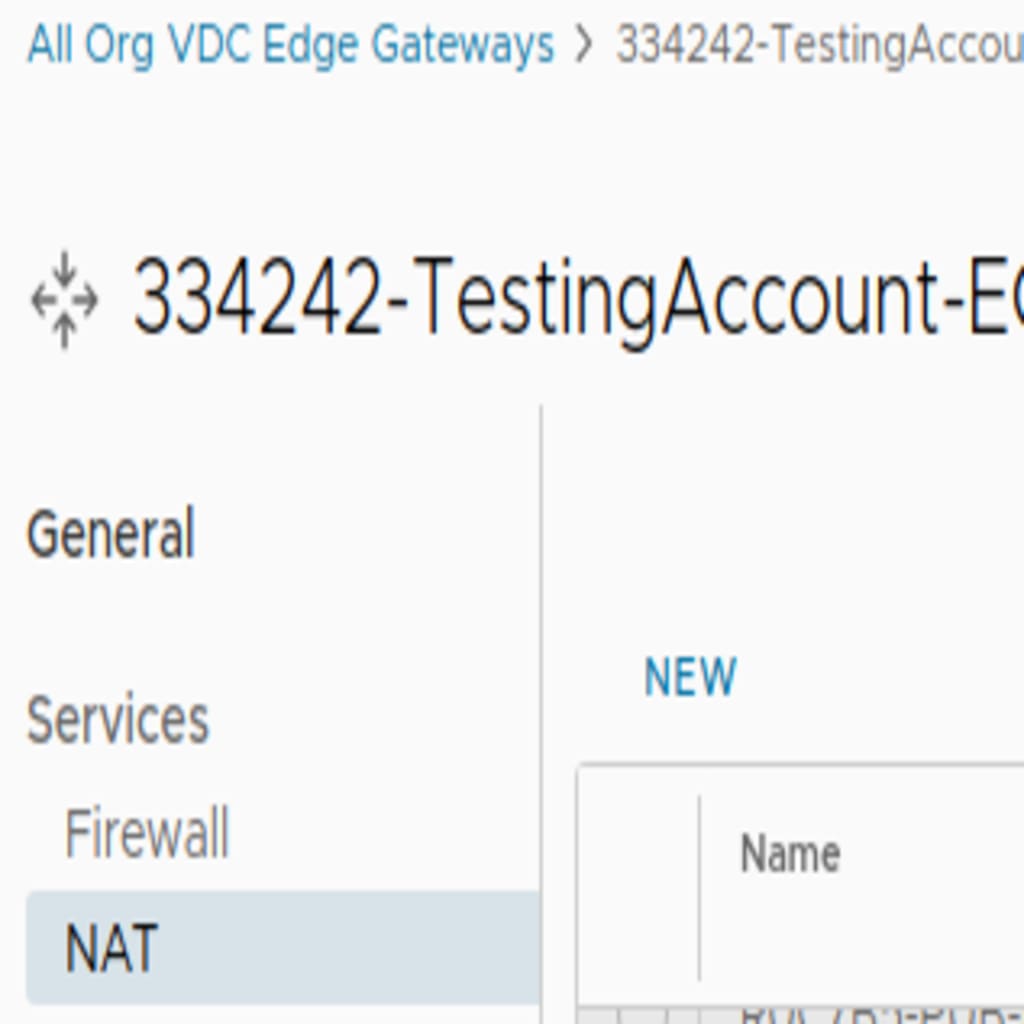
- Navigate to Networking -> Edges -> NAT
- Click “New” to create Inbound NAT
- “Name” – VMname-PUB-in
- “Description” – inbound to VMname
- “Interface Type” – DNAT
- “External IP” – IP assigned by Liquid Web
- “Internal IP” – the internal IP of the host on PrivateNet (172.16.0.XXX)
- “Application” – do not change
- Click “Advanced Settings”
- “Firewall Match” – set to “Match External Address”
- Leave other advanced settings as is
- Click SAVE

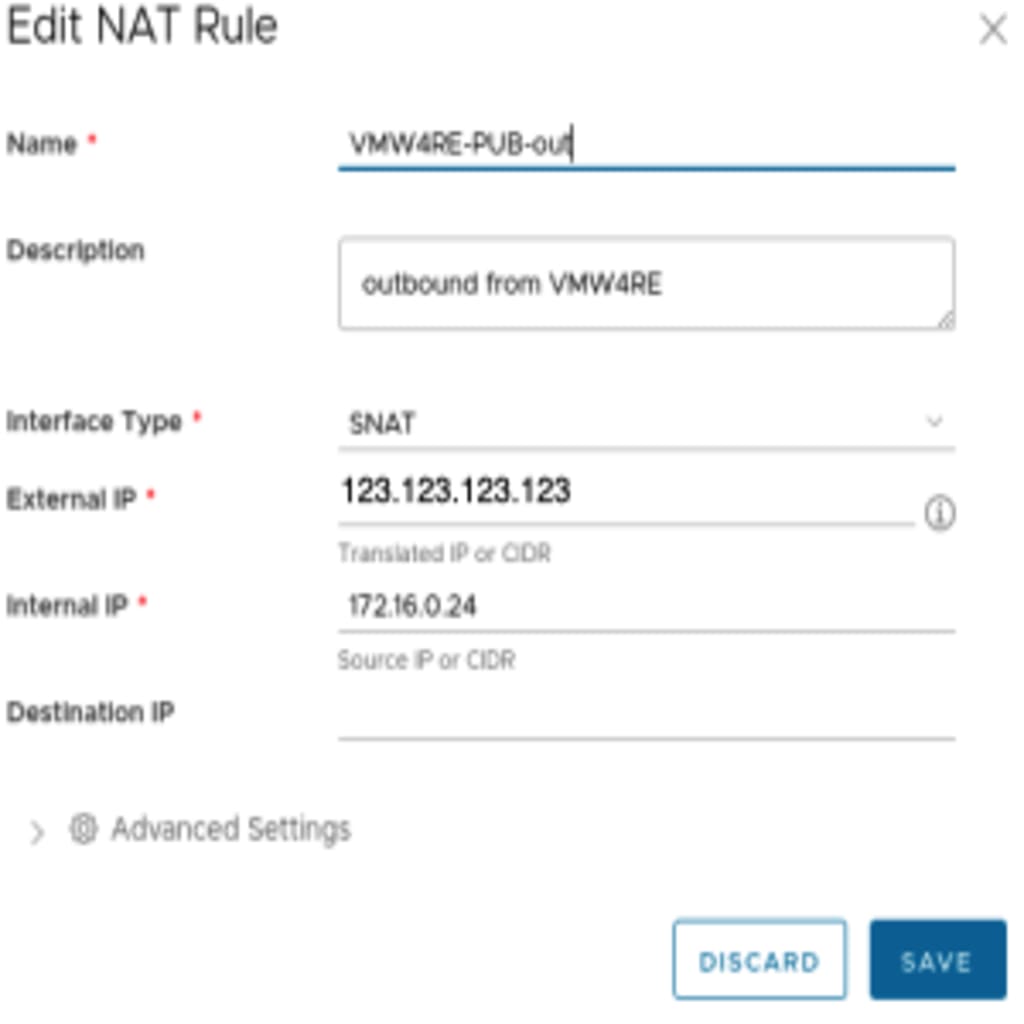
- Click “New” again to create outbound NAT
- “Name” – VMname-PUB-out
- “Description” – outbound from VMname
- “Interface Type” – SNAT
- “External IP” – IP assigned by Liquid Web
- “Internal IP” – The internal IP of the host on PrivateNet (172.16.0.XXX)
- Leave “Destination IP” blank
- Click SAVE
NOTE: |
| Due to a minor bug in VMware, you should not attempt to Edit a NAT rule in the Chrome browser. Doing so will create strange results in the UI, including randomly changing or deleting other NAT rules. At this time, we recommend creating a new rule instead of trying to edit an existing rule. |