Opening and Closing Firewall Ports
Every server at Liquid Web has at least one software firewall to protect your server from malicious connections and communications. The firewall we most commonly use on Linux servers is ConfigServer Security & Firewall (CSF). If you have a Cloud VPS server, you also have a Cloud firewall that can be configured through your Liquid Web account. Some servers also use hardware firewalls: if you think you need a hardware firewall, we offer many different options.
What do firewalls do?
Firewalls look at anything attempting to access your server and compares it to a set of rules. If it breaks the rules, your firewall doesn’t let the traffic through. Your firewall can also block certain IP addresses from connecting to your server if your firewall decides they don’t follow the rules.
Of course, you want certain things, like email, to be delivered to your server. To help direct traffic, different services (like email) use different ports in your firewall. Ports are like tiny holes in your firewall that let certain things reach your server. There are still firewall rules in place, but each port has its own set of rules, making your firewall more efficient.
What ports do what?
It’s important to have the ports open that you need, but also to not leave extra ports open. Having extra ports open leaves your server vulnerable. The best practice is to start with all the ports closed and then only open the ones you need. When you set up your server, some ports are automatically opened to make your server work. These include port 53, which lets DNS traffic through. (Without DNS, you’d have no websites at all!)
Here are some common port numbers and what services they primarily work with. Wikipedia has a much longer list of all assigned or commonly used port numbers.
- Port 20: FTP data transfer
- Port 21: FTP control
- Port 22: Secure shell (SSH)
- Port 25: Simple mail transfer protocol (SMTP)
- Port 43: WHOIS protocol
- Port 53: Domain name system (DNS)
- Port 80: Hypertext transfer protocol (HTTP)
- Port 110: Post office protocol v3 (POP3)
- Port 123: Network time protocol (NTP)
- Port 143: Internet message access protocol (IMAP)
- Port 443: Hypertext transfer protocol over SSL/TLS (HTTPS)
- Port 465: URL Rendezvous Directory for SSM (Cisco)
- Port 587: Email message submission (SMTP)
- Port 993: Internet message access protocol over SSL (IMAPS)
You can see there are hundreds of different ports used for different services. Depending on your website, you might eventually need to open or close a firewall port to run a service. Every new port you open makes your site more vulnerable to attack: make sure to research other options before you open a firewall port. And, if you stop using services, make sure to close ports you no longer need.
Opening and Closing Firewall Ports
The easiest way to open and close firewall ports in CSF is through WHM. (For Windows servers, see Blocking IP Addresses Using Windows Firewall and Scoping Ports in Windows Firewall)
- Log into WHM. You can log into WHM through your Liquid Web account or by going to
mysite.com/whm
Remember to replace mysite.com with your domain.
- ConfigServer Security & Firewall is under Plugins in the left-hand navigation. Or, search for “Firewall” in the search bar. Then, click on ConfigServer Security & Firewall.

- Scroll down to csf – ConfigServer Firewall and click on Firewall Configuration. This page has all the settings for CSF. This is exactly the same file you’d see if you use the command line interface to edit this configuration file, but laid out graphically.

- Scroll down to IPv4 Port Settings. The important settings are TCP_IN and TCP_OUT.
- Add the port number to TCP_IN to allow incoming traffic on a port.
- Add the port number to TCP_OUT to allow outgoing traffic through a port.
- Remove a port number from TCP_IN to block incoming traffic.
- Remove a port from TCP_OUT to block outgoing traffic.
Separate ports with a comma, but don’t use spaces.

TCP: Transfer Control Protocol
TCP stands for Transfer Control Protocol. When TCP information packets move around, they have a packet header (kind of like an email headers) that tells your firewall important information about the packet. Your firewall uses this header to see if the packet follows the firewall rules. - Once you’ve added your ports, scroll all the way to the bottom of the page and click Change.
- Your changes will be confirmed, and the last step is to restart your firewall to put your changes into action. Click Restart csf+ltd.
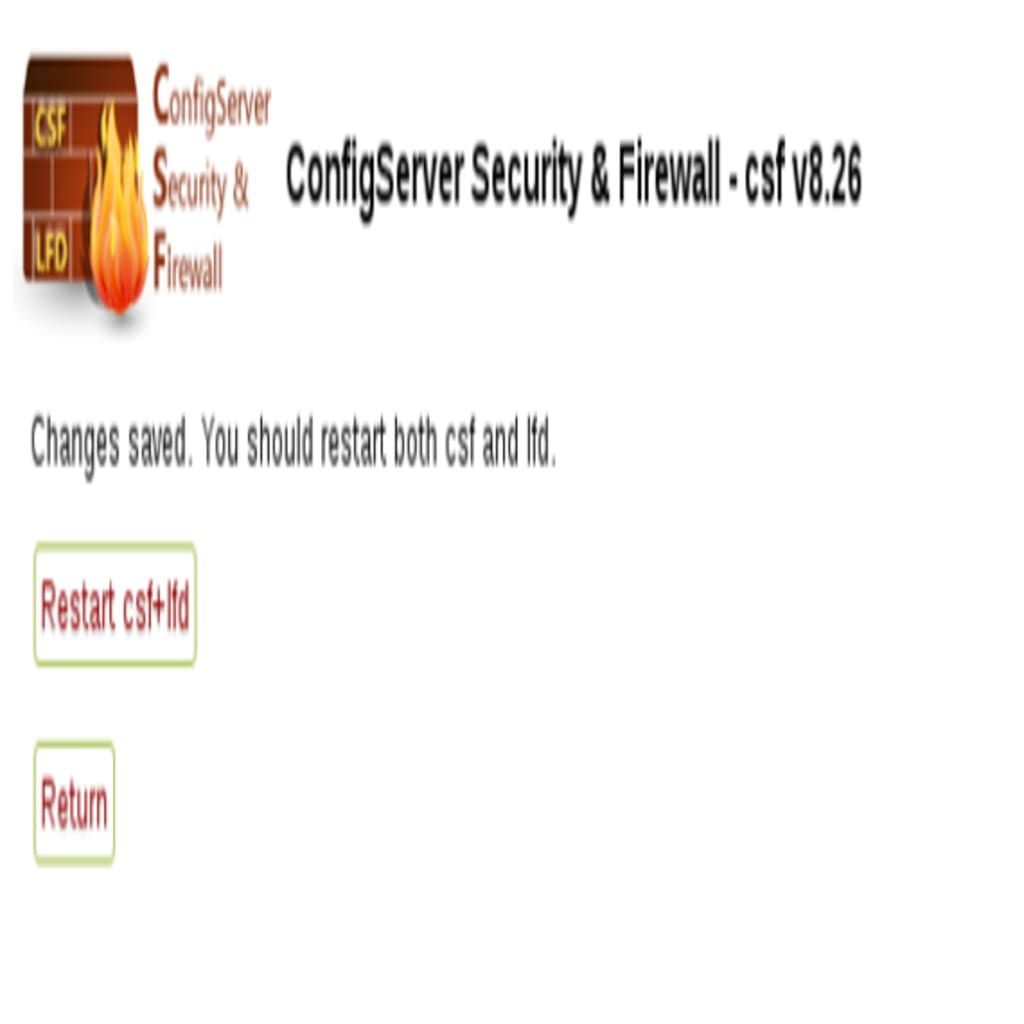
- CSF will restart and the changes you made will be live. You can click Return at the bottom of the page to go back to the main CSF configuration page.