


Modifying Fields in Database Tables with PhpMyAdmin
- Becoming Familiar with Databases in PhpMyAdmin
- Running SQL Queries on a Database with PhpMyAdmin
- How to Search Through a Database with PhpMyAdmin
- Creating Database Tables with phpMyAdmin
- Deleting Tables from a Database with PhpMyAdmin
- Importing Databases and Tables with PhpMyAdmin
- Exporting Databases and Tables with PhpMyAdmin
- Renaming Database Tables with PhpMyAdmin
- Copying a Database Table with PhpMyAdmin
- Inserting Fields into Database Tables with PhpMyAdmin
- Modifying Fields in Database Tables with PhpMyAdmin
- Deleting Fields from Database Tables with PhpMyAdmin
The structure of a field inside a database table can be easily modified! There are a number of reasons why a column would need to be altered. For example, if the existing values needed to be modified to updated data, if a restructuring of tables were needed, or even to help with optimization. PhpMyAdmin makes modifying fields in database tables very straightforward to accomplish.

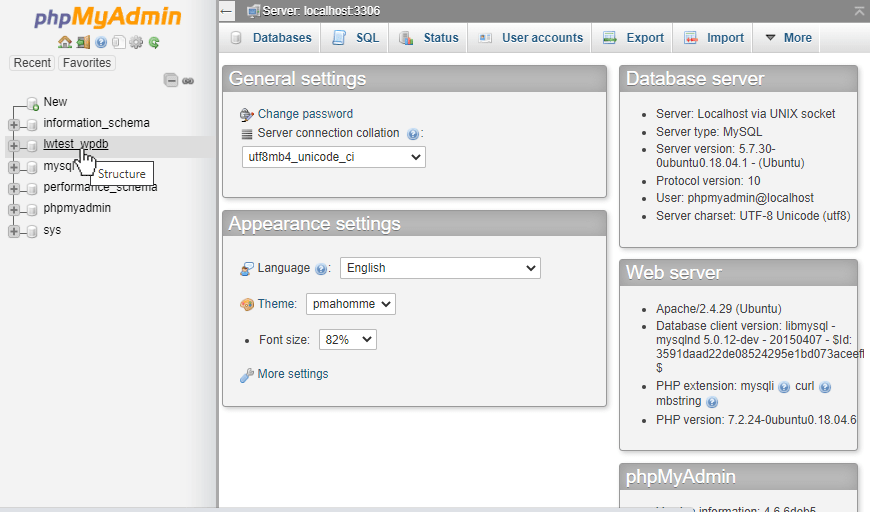
This guide assumes that you have already logged in to PhpMyAdmin. We will now go over how to modify a column within a table.
Starting on the home page of PhpMyAdmin, click on the name of the database where the table resides. We have selected the lwtest_wpdb database.
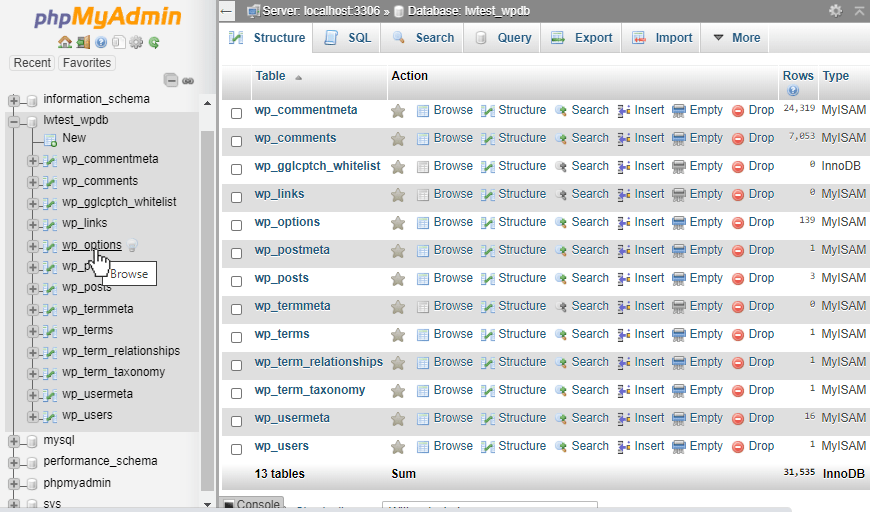
Next, we will click on the table name. In this case, we selected wp_options.
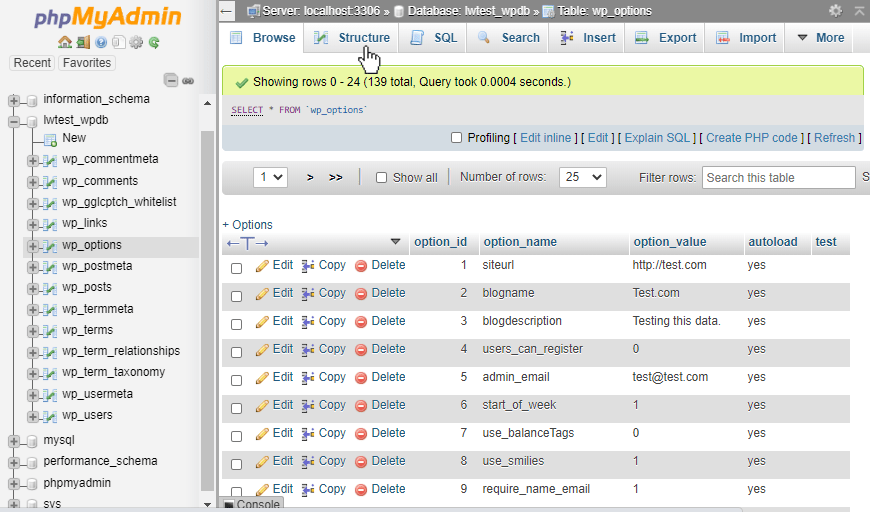
Then, we will click on the Structure tab.
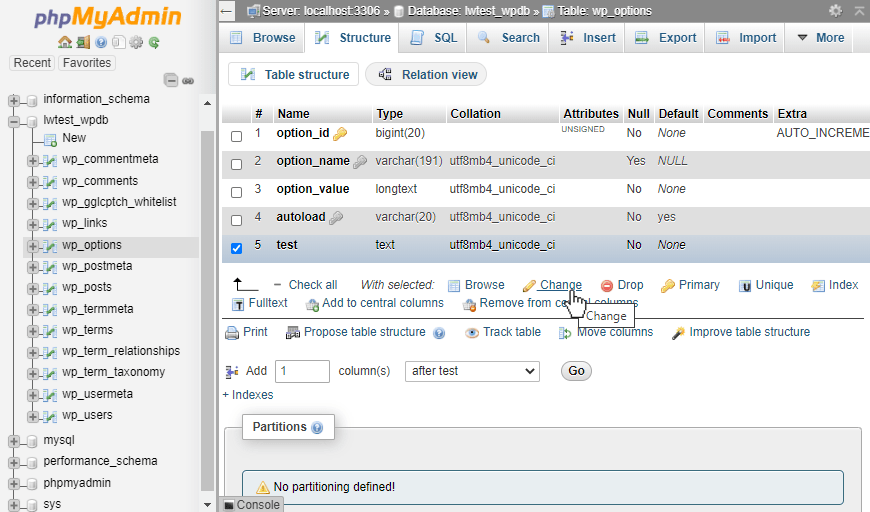
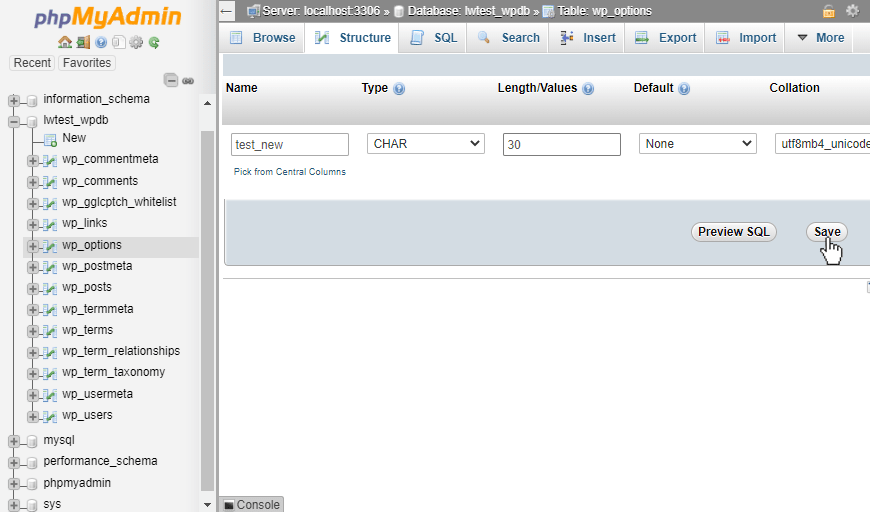
On the Structure page, it lists the existing column fields and the attributes each one is currently set to use. To begin the modification, check the box next to the column name of one or more fields that should be modified. In our case, we selected the test column. Now, click on the Change option link below the list of tables.
The page which now opens is similar to the page when setting up a new column in PhpMyAdmin, but it populates the selected column’s attributes. Next, we change the name from “test” to “test_new”, and the data type from “TEXT” to “CHAR”, and set the length to 30.
PhpMyAdmin does attempt to validate the data when it tries to save the changes, so if the existing records have values that would not be suitable for the new settings, it will provide an error to let us know. For example, if the records were all words, and we tried to change the data type to an integer it would provide an error. We can continue to make other changes as needed and once complete, we can then click the Save button.
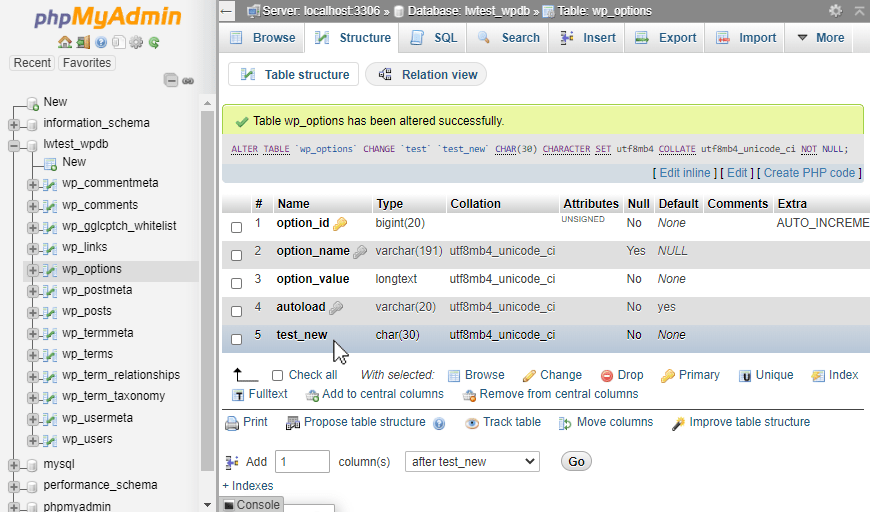
Our values look good so the page lets us know that the table was altered successfully via the green check notification stating "Table wp_options has been successfully altered". We will also see that the test_new field now uses char values that can be up to 30 characters in length!
Our Support Teams are full of talented Linux technicians and System administrators who have an intimate knowledge of multiple web hosting technologies, especially those discussed in this article.
If you are a Fully Managed VPS server, Cloud Dedicated, VMWare Private Cloud, Private Parent server or a Dedicated server owner and you are uncomfortable with performing any of the steps outlined, we can be reached via phone at 800.580.4985, a chat or support ticket to assisting you with this process.
Related Articles:


About the Author: Alex Gorzen
Alex Gorzen has been helping others with technology his whole life. He played with computers even before he could read and wants to make sure his children share that same love as they grow up. In his free time, he enjoys gardening, building things, and learning new skills.


Our Sales and Support teams are available 24 hours by phone or e-mail to assist.
Latest Articles
How to use kill commands in Linux
Read ArticleChange cPanel password from WebHost Manager (WHM)
Read ArticleChange cPanel password from WebHost Manager (WHM)
Read ArticleChange cPanel password from WebHost Manager (WHM)
Read ArticleChange the root password in WebHost Manager (WHM)
Read Article