


Installing Tomcat 9 on Windows
What is Tomcat?
Apache Tomcat installs several Java Enterprise Edition specs including Java Servlet, JavaServer Pages, Java EL, and WebSocket. It provides for a "pure Java" HTTP web server environment in which Java code can run.
Tomcat 9 is the latest version of Apache’s Tomcat service and can easily be installed on Windows to serve as a convenient way to run Java.
There are many features and tools that Tomcat 9 has to offer that can make the deployment of web pages more manageable, including the use of JavaServer Pages.
Prerequisites
JDK or JRE will need to be installed on the Windows Server before you can configure Tomcat 9 on the server. OpenJDK and Amazon Corretto are two examples of open-source Java Development Kit providers.

Installing Tomcat 9
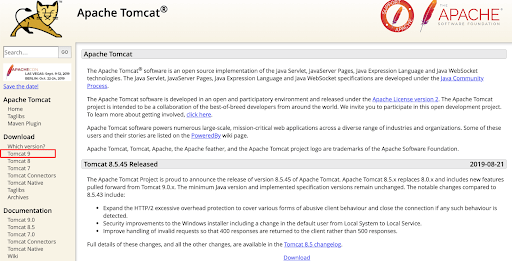
Open your browser and head over to https://tomcat.apache.org.
Scroll down a little to locate and click on the Tomcat 9 link located within the left menu bar.
Next, locate the 32-bit/64-bit Windows Service Installer link and click on it.
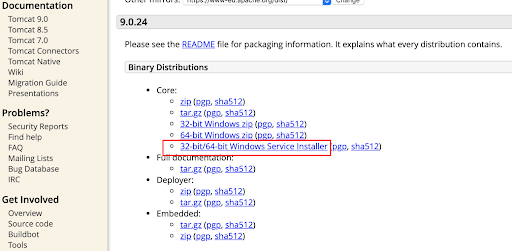
This link will open the Windows Service Installer automatically. Once the installer window pops up, you will initiate the install by clicking on the Start Download button. Once the download completes, double click the .exe installer to begin the installation.
The install wizard should only take a few moments to complete. After the install wizard has finished, it will ask you to make a few different decisions along the way.
Below are the following choices you will be asked to make to install Tomcat 9.
Please note you can configure Tomcat 9 how you would like but for the purpose of this demonstration, we will be installing it with default settings.
Installation
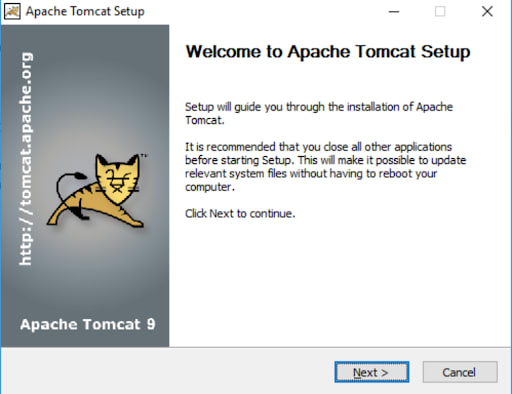
Step 1.
The first page of the install explains what the installer will do and what to expect. Go ahead and click Next on the first page.
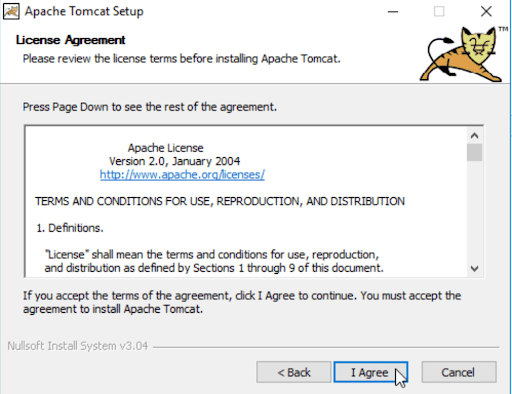
Step 2.
Before you can start the install, you must agree to the Apache License Agreement for the Tomcat 9 service
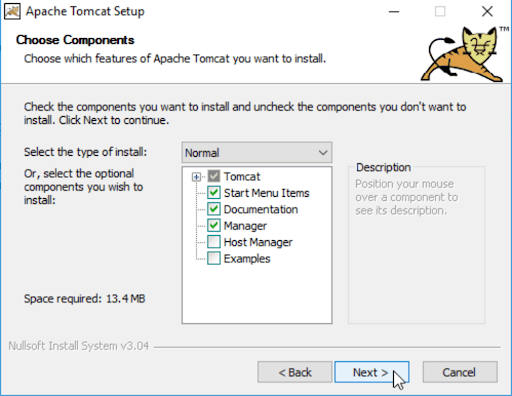
Step 3.
Click on “Select the type of install” dropdown list and choose the “Full” install option and then click Next.
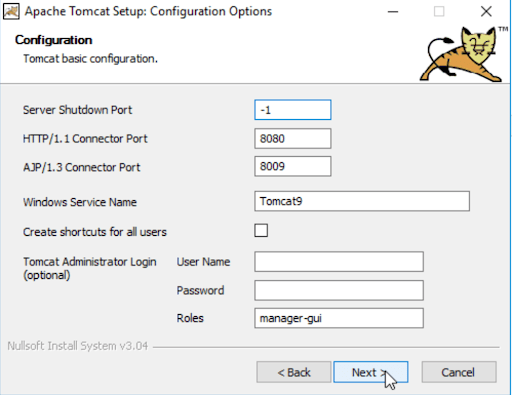
Step 4.
The next screen is the configuration screen. This screen will allow you to set up any default ports that you want the service to connect through, and will also allow you to set an Administrator username and password.
Please note that you can configure these settings later if you choose to.
Choose your selections and click Next.
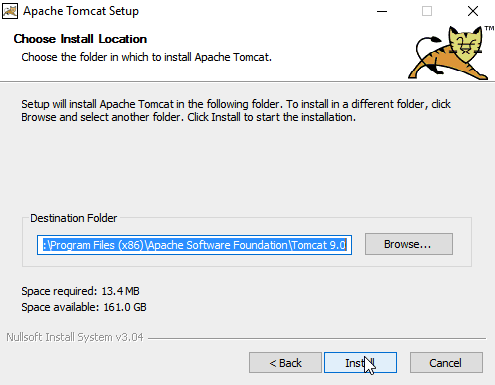
Step 5.
Next, you will choose the location where you want to install the Tomcat 9 service. Click Next.
Step 6.
To correctly install Tomcat 9 on your server, the Wizard will want you to choose the location of any other Java related software on your server.

Step 7.
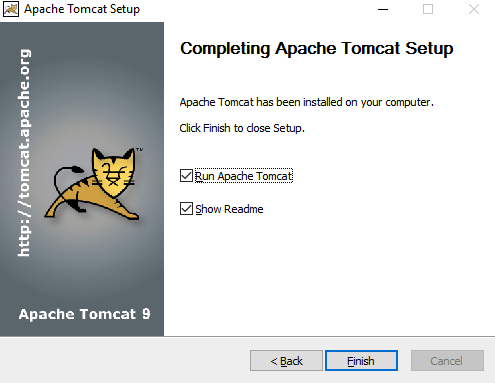
Once the install is complete, click Next.
Lastly, uncheck the Readme checkbox.
If you prefer to start Apache Tomcat 9 after the install, leave the checkbox marked. If not, then you will want to uncheck that checkbox.
To make sure the service is running, go to the Windows startup menu and type services.cmd. From the list of available services, find the Apache Tomcat 9 service, right-click on the service name, select Start, and make sure the service starts successfully. You should see a “running” status next to the service name.
To test the Tomcat 9 install and verify it is running on your server, open and point your browser to localhost:8080 (or whatever custom port you put into the configuration).
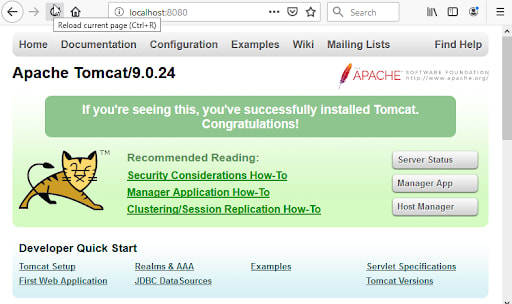
The page that loads will tell you if Tomcat 9 was successfully installed.
Would you like to run Java on your own Tomcat server?
We have multiple platforms and versions of Windows in which Java can be implemented to suit your specific needs. Our flexible Dedicated servers, Cloud Dedicated servers, and VPS servers servers are all compliant with this software. Should you need assistance setting a server up or simply want more information about how this technology can benefit you, simply give us a call at 1.800.580.4985, or open a chat or ticket with us to speak with one of our knowledgeable Solutions or Hosting advisors today!
Related Articles:


About the Author: Alison Gray
Alison Gray is currently an IT Project Manager at Liquid Web and has been with Liquid Web for nearly 10 years. In 2015, She earned her Bachelor's Degree in Media and Information from Michigan State University. In her free time, she loves spending time with her girlfriend and 3 kids. You can usually find her at a basketball court or some sort of sporting event. If the weather's right, she loves being outside in the yard finding some sort of yard work to do.


Our Sales and Support teams are available 24 hours by phone or e-mail to assist.
Latest Articles
How to use kill commands in Linux
Read ArticleChange cPanel password from WebHost Manager (WHM)
Read ArticleChange cPanel password from WebHost Manager (WHM)
Read ArticleChange cPanel password from WebHost Manager (WHM)
Read ArticleChange the root password in WebHost Manager (WHM)
Read Article