Installing a Service SSL in cPanel
SSL certificates keep your web traffic secure using public key encryption. When you visit a website, your browser reads the site’s SSL certificate to make sure the site is legitimate. (Read our full explanation of SSL certificates to learn more!)
SSL certificates that you pay for are signed by a certificate authority. A certificate authority is a company that is trusted to verify website identity. When you log into WHM, cPanel, and when you configure your email, you might see a warning pop up about untrusted certificates. This is because your server has a self-signed SSL certificate. Your server generates its own certificate instead of one signed by a certificate authority. In fact, if you have a newer cPanel server, your server may automatically generate a signed certificate! If you don’t see any warning, your server likely has a cPanel-issued certificate already.
If your server has a self-signed certificate, your browser will probably give you a warning when you try to log into cPanel or WHM. Self-signed certificates don’t necessarily mean that your web traffic is insecure. When you’re accessing your server, you know exactly what IP address you’re accessing. So, you can disregard these warnings. If this warning pops up when you were logging into your bank account, you should be more worried.
You can either accept the self-signed certificates or install what’s called a service SSL certificate on your server.
SSL vs Service SSL |
| A service SSL is slightly different from a regular SSL. While a regular SSL encrypts traffic on a domain, a service SSL encrypts traffic for certain services you use, including cPanel, WHM, and your email server. Before you install your service SSL, you’ll need to:
|
Once you’ve completed the steps above, you can install your certificate!
Installing an SSL Certificate
You’ve created a Certificate Signing Request, ordered an SSL certificate from a certificate authority, and verified the SSL. The last step is installing your SSL certificate.
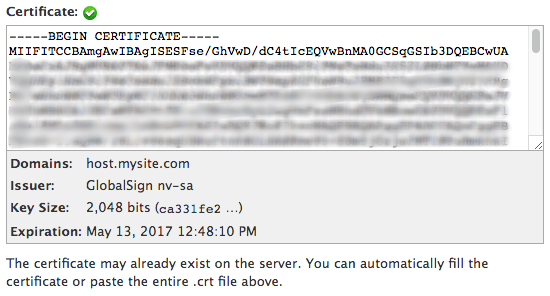
- In your SSL Certificates Dashboard, click on X509 Certificate under Certificates. Text should appear that looks very similar to your CSR. Copy this text. It might be easiest to paste it into a plaintext text editor for now.

- Now, log into WHM. In the search bar in the top left hand side of WHM, search for “Service SSL.” Then, click on Manage Service SSL Certificates under Server Configuration.

- Check the boxes next to the services where you want to install your SSL certificate. We recommend installing your SSL certificate on all available services.

- Paste the whole X509 certificate that you copied from your SSL Certificates Dashboard in your Liquid Web account into the Certificate field.
- Then, copy and paste the whole private key from your CSR into the Private Key field.

- Click Install. The Certificate Authority Bundle will auto-populate.
- You’ve successfully installed an service SSL certificate on your domain! You can make sure everything is installed correctly by running your host name through an SSL checker.